
🍓 Getting Started with Raspberry Pi [07] Trying Ollama and Lightweight Models on Raspberry Pi
Getting Started with Raspberry Pi 4
- [01] Hardware Setup
- [02] Installing Raspberry Pi OS
- [03] Initial Setup and Operation Check
- [04] Editing Raspberry Pi Files from VS Code via Remote-SSH
- [05] Setting Up a Python Environment
- [06] Connecting from Raspberry Pi to a Local LLM
- [07] Trying Ollama and Lightweight Models on Raspberry Pi
👀 Table of Contents
- 🔥 Trying lightweight models on Raspberry Pi
- ✅ Pre-checks
- 🔃 Updating the OS
- 📥 Installing Ollama
- 🤖 Installing lightweight models
- ⌨️ Checking operation from the CLI
- 📡 Connecting to Ollama running on the Raspberry Pi itself from Python
- 📊 Results
- ✍️ Summary of this step
🔥 Trying lightweight models on Raspberry Pi
In the previous article, I confirmed that a Python program running on the Raspberry Pi could send requests to the local LLM on the PochomLab machine.
This time, I will install Ollama on the Raspberry Pi 4 8GB and try running lightweight models directly on the Raspberry Pi itself.
I will also check the response speed, heat generation, and overall heaviness to see how much a Raspberry Pi can handle as a standalone local LLM environment.
✅ Pre-checks
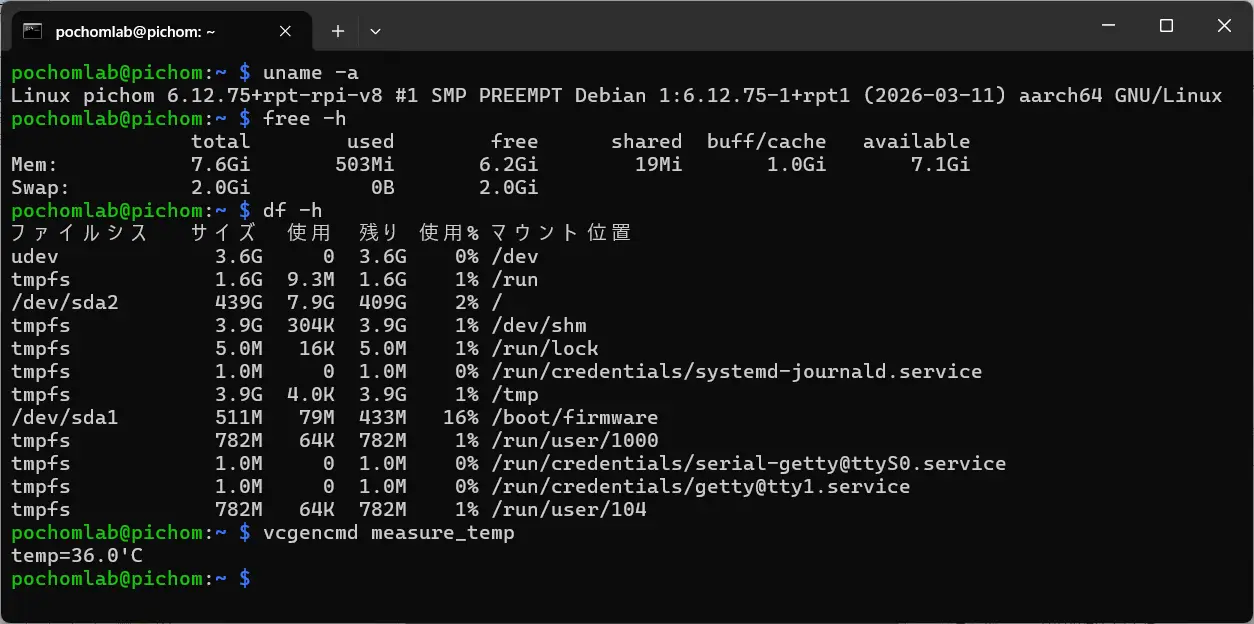
First, I checked the OS, CPU, memory, storage, and temperature status on the Raspberry Pi side.
Check the OS and CPU.
$ uname -aCheck the memory.
$ free -hCheck the storage.
$ df -hCheck the CPU temperature.
$ vcgencmd measure_tempIf vcgencmd is not available, it can be installed with the following command.
$ sudo apt install -y libraspberrypi-binBy checking the state before installing Ollama, it becomes easier to compare heat and load changes later.
🔃 Updating the OS
Before installing Ollama, I updated Raspberry Pi OS.
$ sudo apt update
$ sudo apt upgrade -y
Reboot if necessary.
$ sudo reboot📥 Installing Ollama
For the Linux version of Ollama, the official download page provides the following installation command.
$ curl -fsSL https://ollama.com/install.sh | shAfter installation, I checked whether Ollama was available.
$ which ollama
$ ollama --version
Next, I checked the service status.
$ systemctl status ollamaIf it is not running, start it with the following command.
$ sudo systemctl start ollamaI also enabled automatic startup.
$ sudo systemctl enable ollamaFinally, I checked whether the API responded.
$ curl http://localhost:11434/api/tagsEven if no model has been installed yet, Ollama itself is working if JSON is returned.
🤖 Installing lightweight models
Since this test is on a Raspberry Pi 4 8GB, I started with lightweight models in the 0.5B to 1B range.
First, I checked with a very small model.
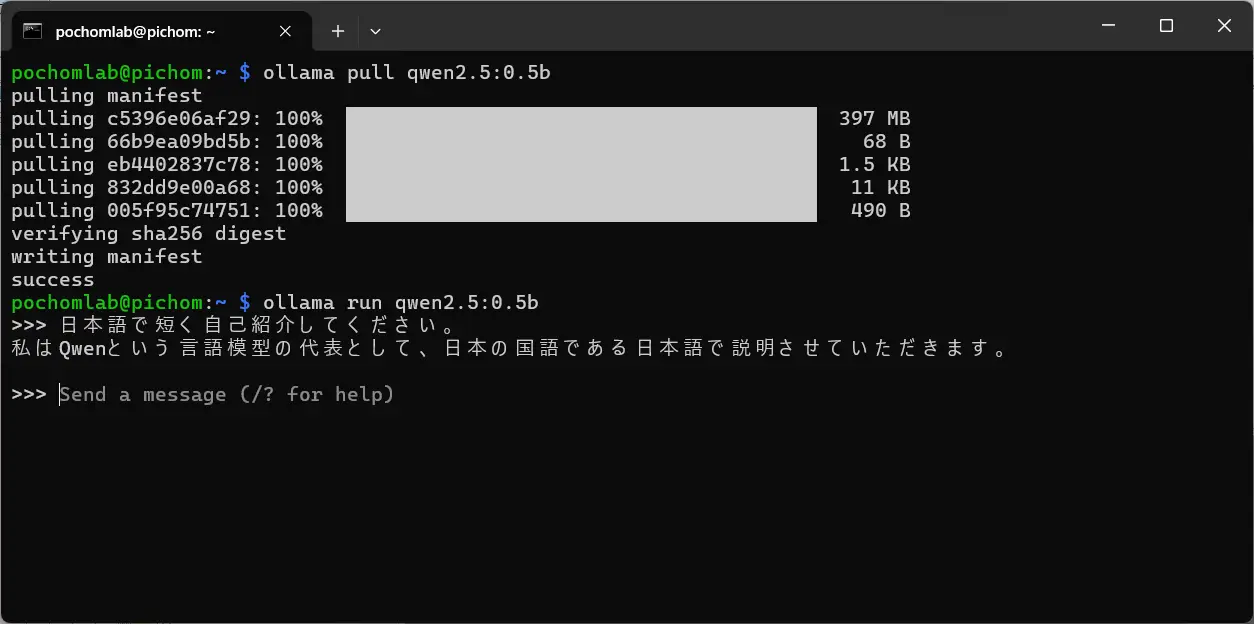
$ ollama pull qwen2.5:0.5b$ ollama pull tinyllamaIn the Ollama library, Qwen2.5 is available in several sizes, such as 0.5b, 1.5b, and 3b.
For a lightweight test on Raspberry Pi, starting with 0.5b seems like the safer choice.
If there seems to be enough room, I will try models around this size next.
$ ollama pull qwen2.5:1.5b$ ollama pull gemma3:1bFinally, I will also try a slightly larger model as a stress test.
$ ollama pull gemma3:4bA 4B-class model may be quite heavy on a Raspberry Pi 4, but I wanted to check how far it could actually run.
⌨️ Checking operation from the CLI
First, I started a model from the CLI.
$ ollama run qwen2.5:0.5bHere is the sample prompt.
> 日本語で短く自己紹介してください。If a response comes back, the basic operation check for Ollama and the model is complete.
📡 Connecting to Ollama running on the Raspberry Pi itself from Python
In [06], I sent requests from the Raspberry Pi to Ollama running on the PochomLab machine.
This time, I will send requests to Ollama running on the Raspberry Pi itself.
ollama_pi_test.py
import time
import requests

OLLAMA_URL = "http://localhost:11434/api/generate"

payload = {
    "model": "qwen2.5:0.5b",
    "prompt": "日本語で短く挨拶してください。",
    "stream": False,
}

start = time.time()

response = requests.post(OLLAMA_URL, json=payload, timeout=300)
response.raise_for_status()

elapsed = time.time() - start
data = response.json()

print(data["response"])
print(f"\nElapsed: {elapsed:.2f} sec")
Run the script.
$ python ollama_pi_test.pyThis script displays both the response text and the execution time.
Even with the same model, the first run took longer because the model had to be loaded. The second response time was shorter than the first one.
📊 Results
The actual results were as follows.
| Model | Size | First response | Second response | CPU temp | Notes |
|---|---|---|---|---|---|
| qwen2.5:0.5b | 397MB | 10.33 sec | 1.52 sec | 42.3℃ | |
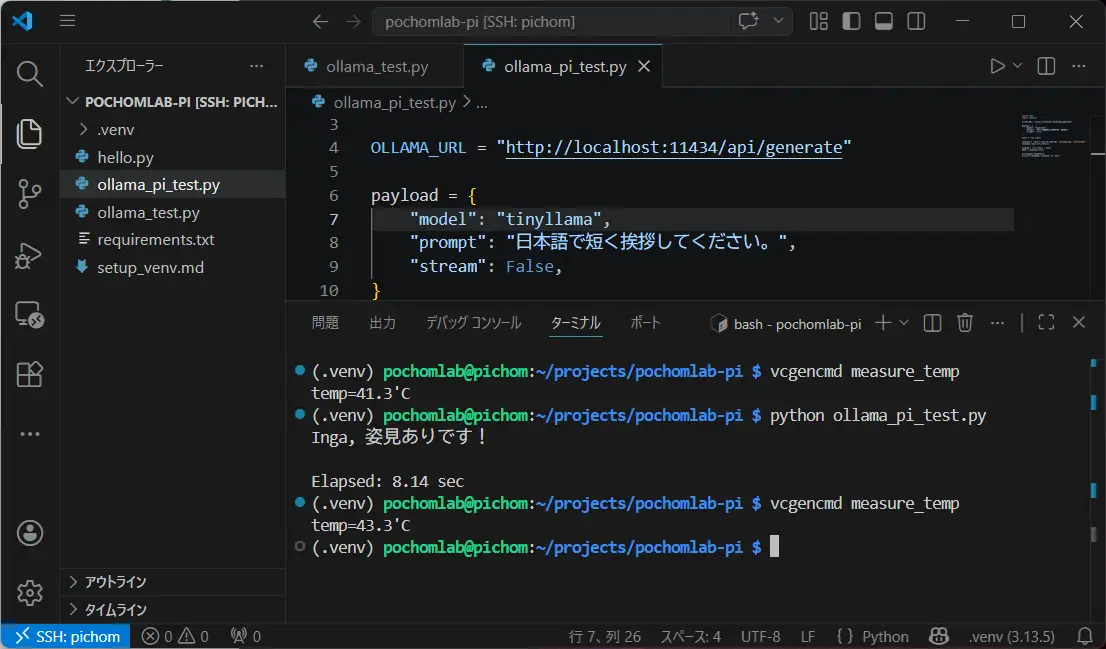
| tinyllama | 637MB | 8.14 sec | 2.68 sec | 43.3℃ | Unnatural Japanese |
| gemma3:1b | 815MB | 7.24 sec | 2.17 sec | 43.3℃ | |
| qwen2.5:1.5b | 986MB | 9.54 sec | 2.32 sec | 43.8℃ | |
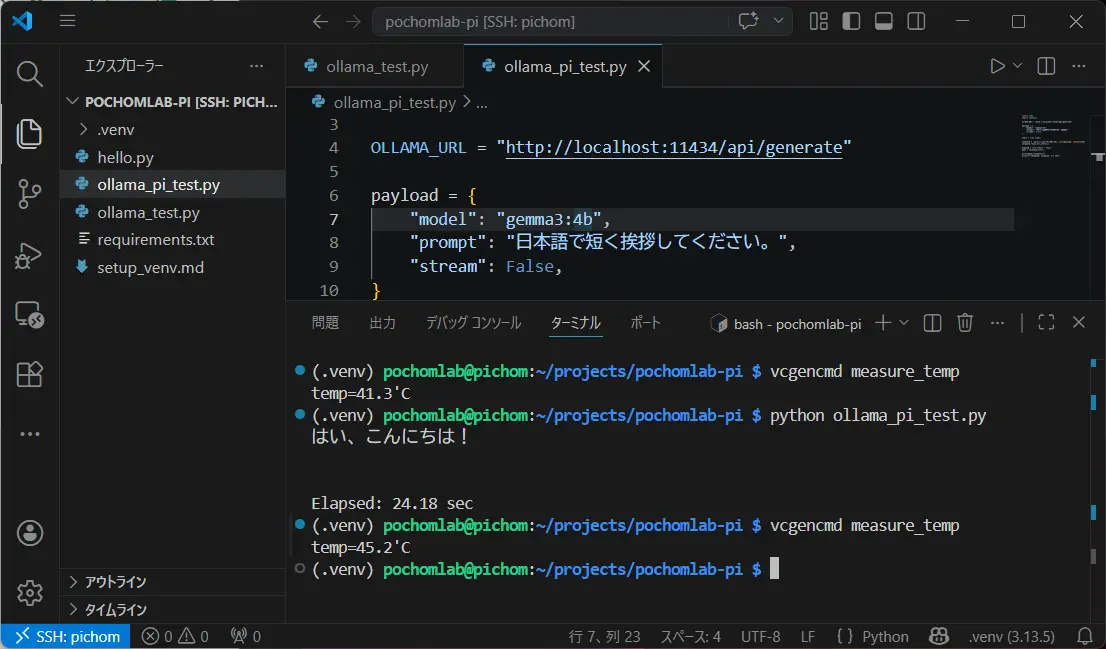
| gemma3:4b | 3.3GB | 24.18 sec | 6.46 sec | 45.2℃ | Feels heavy |
Within the scope of this test, models in the 0.5B to 1.5B range felt usable enough for basic operation checks on a Raspberry Pi 4 8GB.
On the other hand, once it reaches the 4B class, the waiting time before a response becomes quite long, so it feels a little difficult to use lightly.
Here are a few screenshots of the responses.
Response from tinyllama.
Response from gemma3:4b.
✍️ Summary of this step
This time, I installed Ollama on a Raspberry Pi 4 8GB and checked the operation of lightweight models by sending requests from a Python program.
Based on the execution speed, models in the 0.5B to 1.5B range seem to be realistic options.
The 4B model did run, but in terms of execution speed, it felt too heavy to handle comfortably on a Raspberry Pi 4.
Next time, based on these results, I will create a simple response program on the Raspberry Pi.