
🍓 Getting Started with Raspberry Pi [02] Installing Raspberry Pi OS
Getting Started with Raspberry Pi 4
- [01] Hardware Setup
- [02] Installing Raspberry Pi OS
- [03] Initial Setup and Basic Checks
- [04] Editing Raspberry Pi Files from VS Code on a Work PC via SSH
- [05] Setting Up a Python Environment
- [06] Connecting from Raspberry Pi to a Local LLM
- [07] Trying Ollama and Lightweight Models on Raspberry Pi
👀Table of Contents
- 💽 Preparing the Installation USB Drive
- ▶️ Booting from the USB Drive → Writing to the SSD
- ✍️ Notes from This Step
💽 Preparing the Installation USB Drive
On older Raspberry Pi 4 setups, the common approach was to write the OS to a microSD card and run the system from there. On the current Raspberry Pi 4, however, it is possible to boot from an installation USB drive and install the OS onto an SSD connected to the Raspberry Pi.
📟 Raspberry Pi Imager
First, download and launch Raspberry Pi Imager from the Software page on the official Raspberry Pi website.
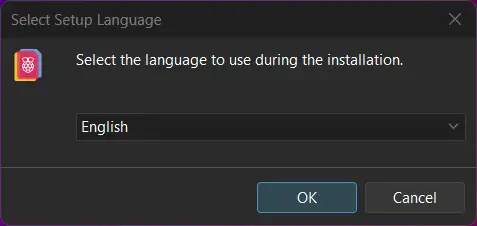
During installation, a language selection screen appears. Japanese was not available, so I selected English here.
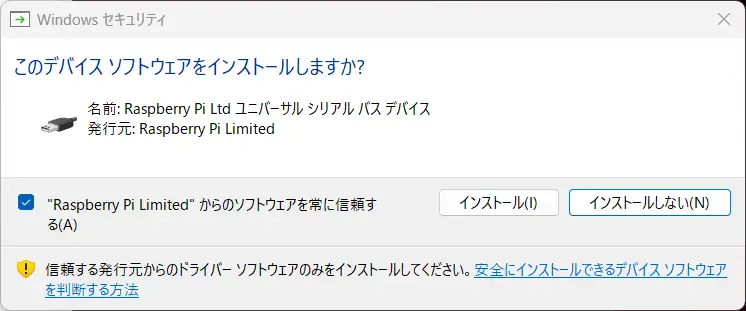
Next, a confirmation screen appears asking whether to install the USB driver from Raspberry Pi Ltd. I installed it and continued.
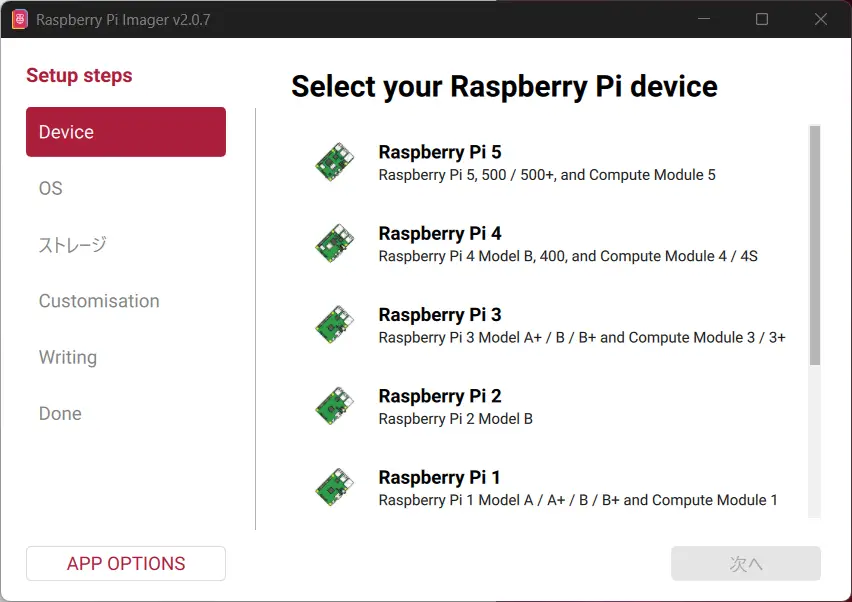
Once Raspberry Pi Imager starts, select the device, OS, and storage destination in order.
First, select Raspberry Pi 4.
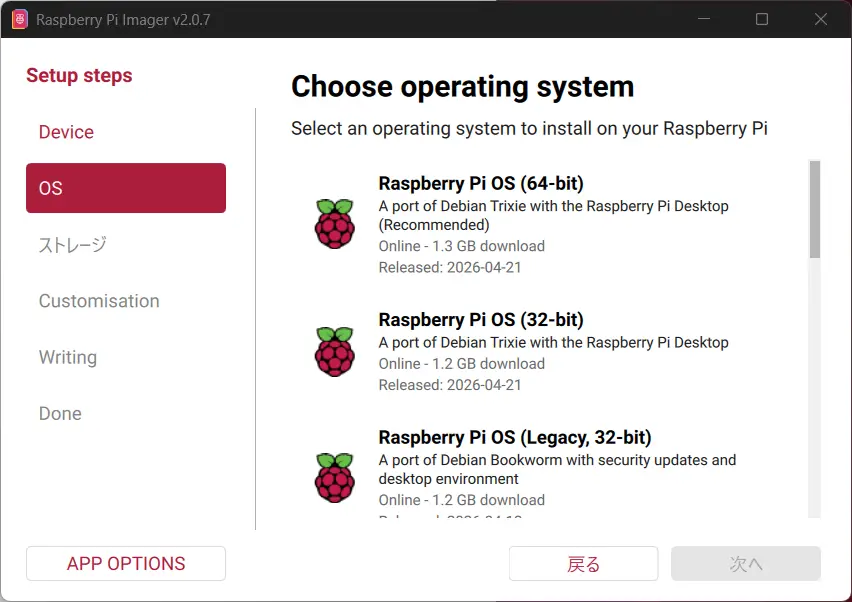
Since the Raspberry Pi 4 used here is the 8GB model, I chose Raspberry Pi OS (64-bit).
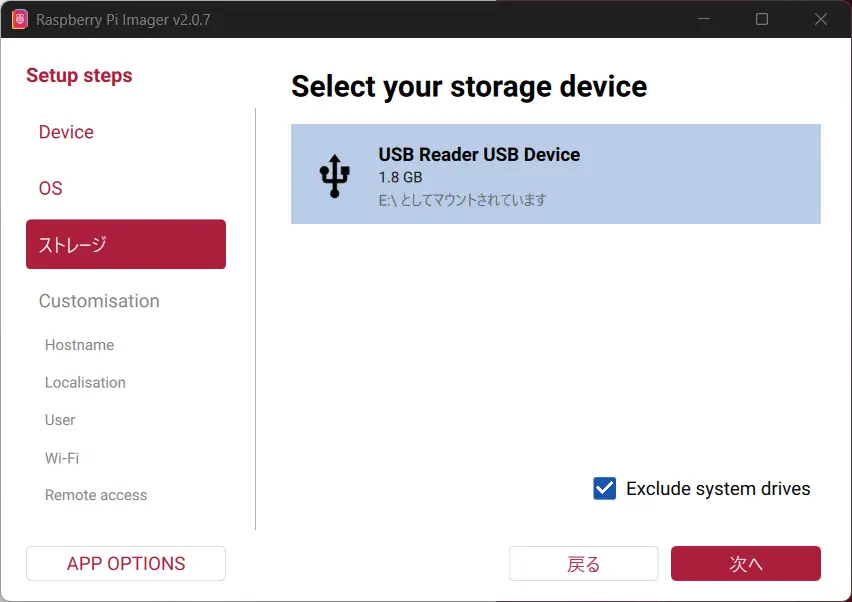
For the storage destination, select USB Reader USB Device.
In this case, writing Raspberry Pi OS (64-bit) required at least 6.1GB of free space.
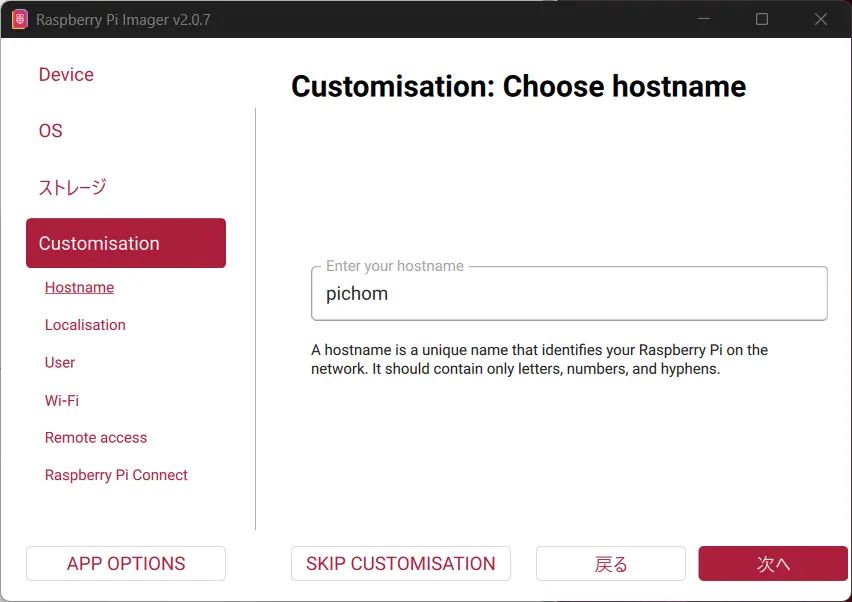
Next, enter the hostname.
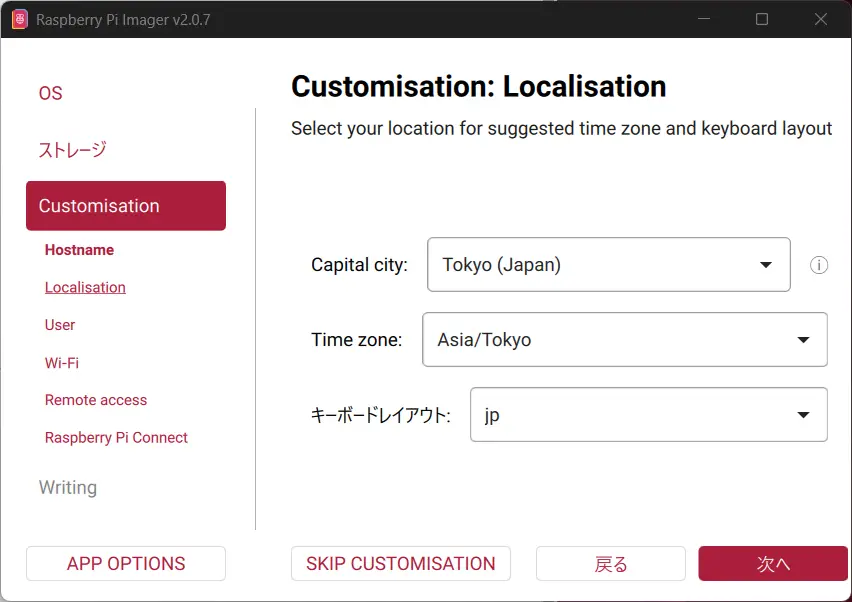
Then set the country, time zone, and keyboard layout.
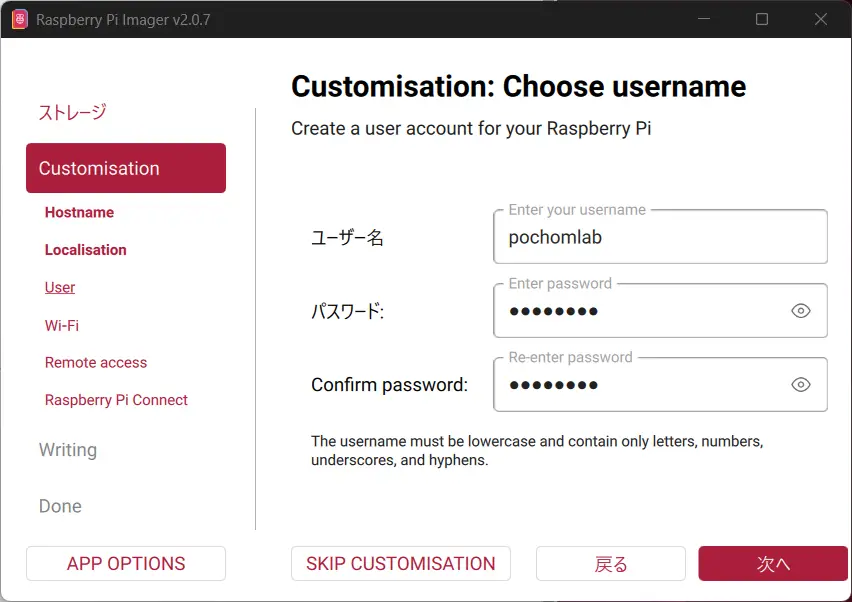
After that, enter the username and password.
Wi-Fi settings can also be entered here if needed.
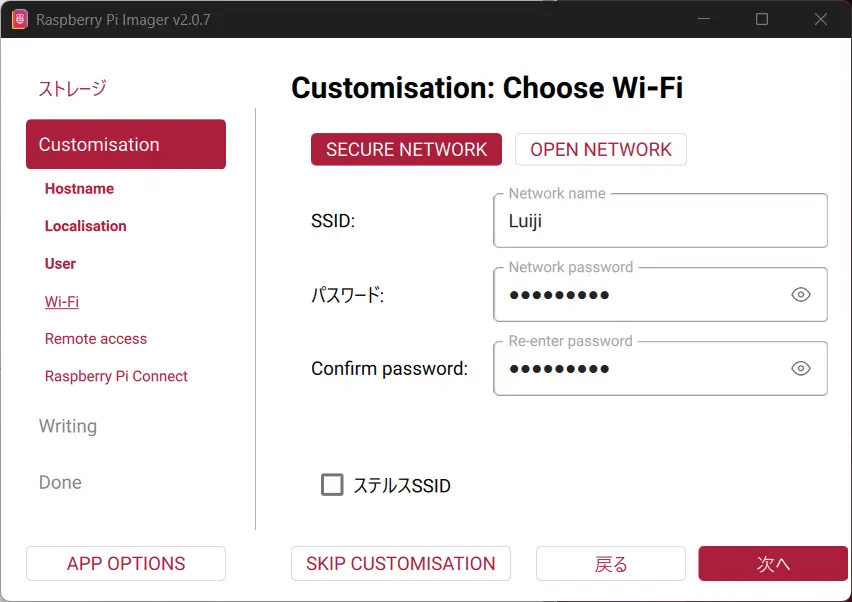
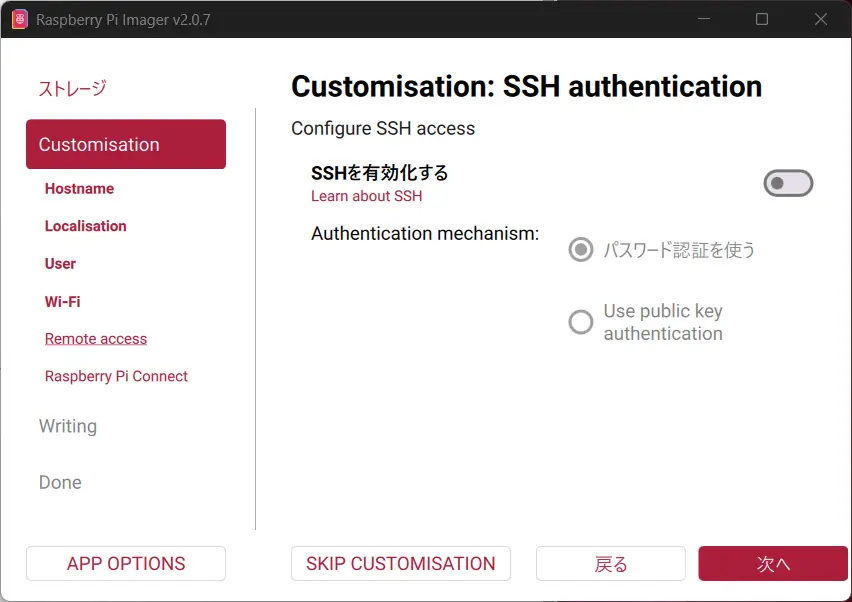
You can also choose whether to enable SSH at this stage.
This time, I left it disabled because I planned to use a monitor and keyboard. Considering the later workflow, though, enabling SSH from the start would also have been a good option.
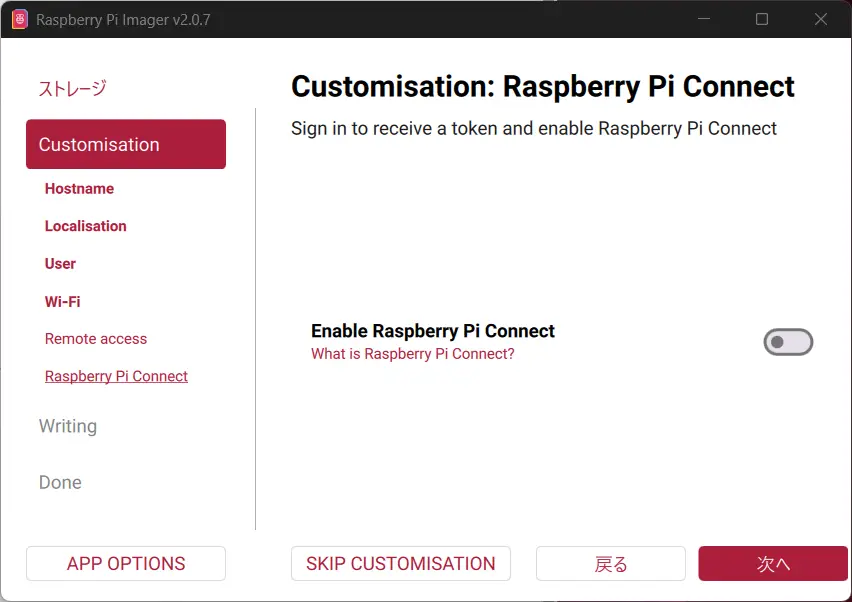
Raspberry Pi Connect is a free official remote access service provided by the Raspberry Pi Foundation.
I would like to try it in the future, but for this setup I skipped it for now.
Once the settings are complete, start writing the image to the USB drive.
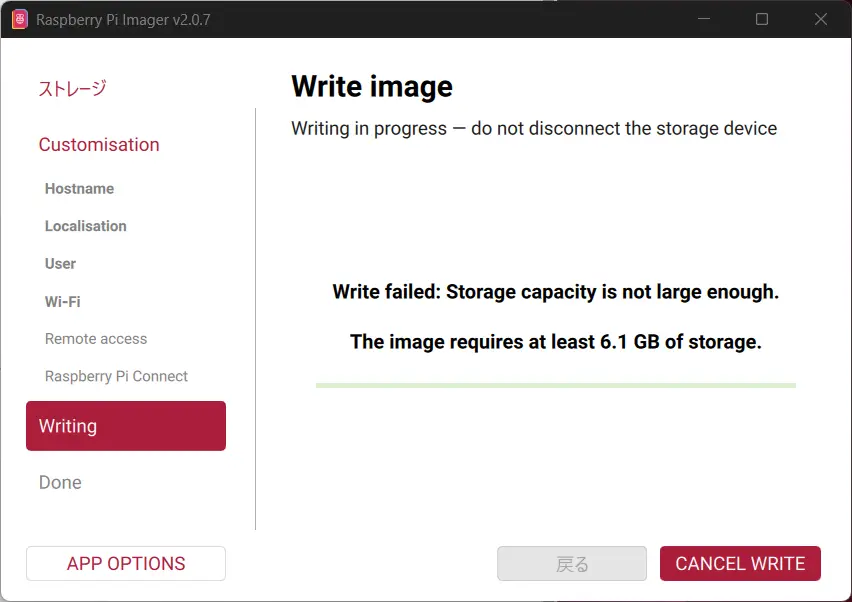
With this, the installation USB drive is ready.
▶️ Booting from the USB Drive → Writing to the SSD
Insert the USB drive you created, then boot the Raspberry Pi.
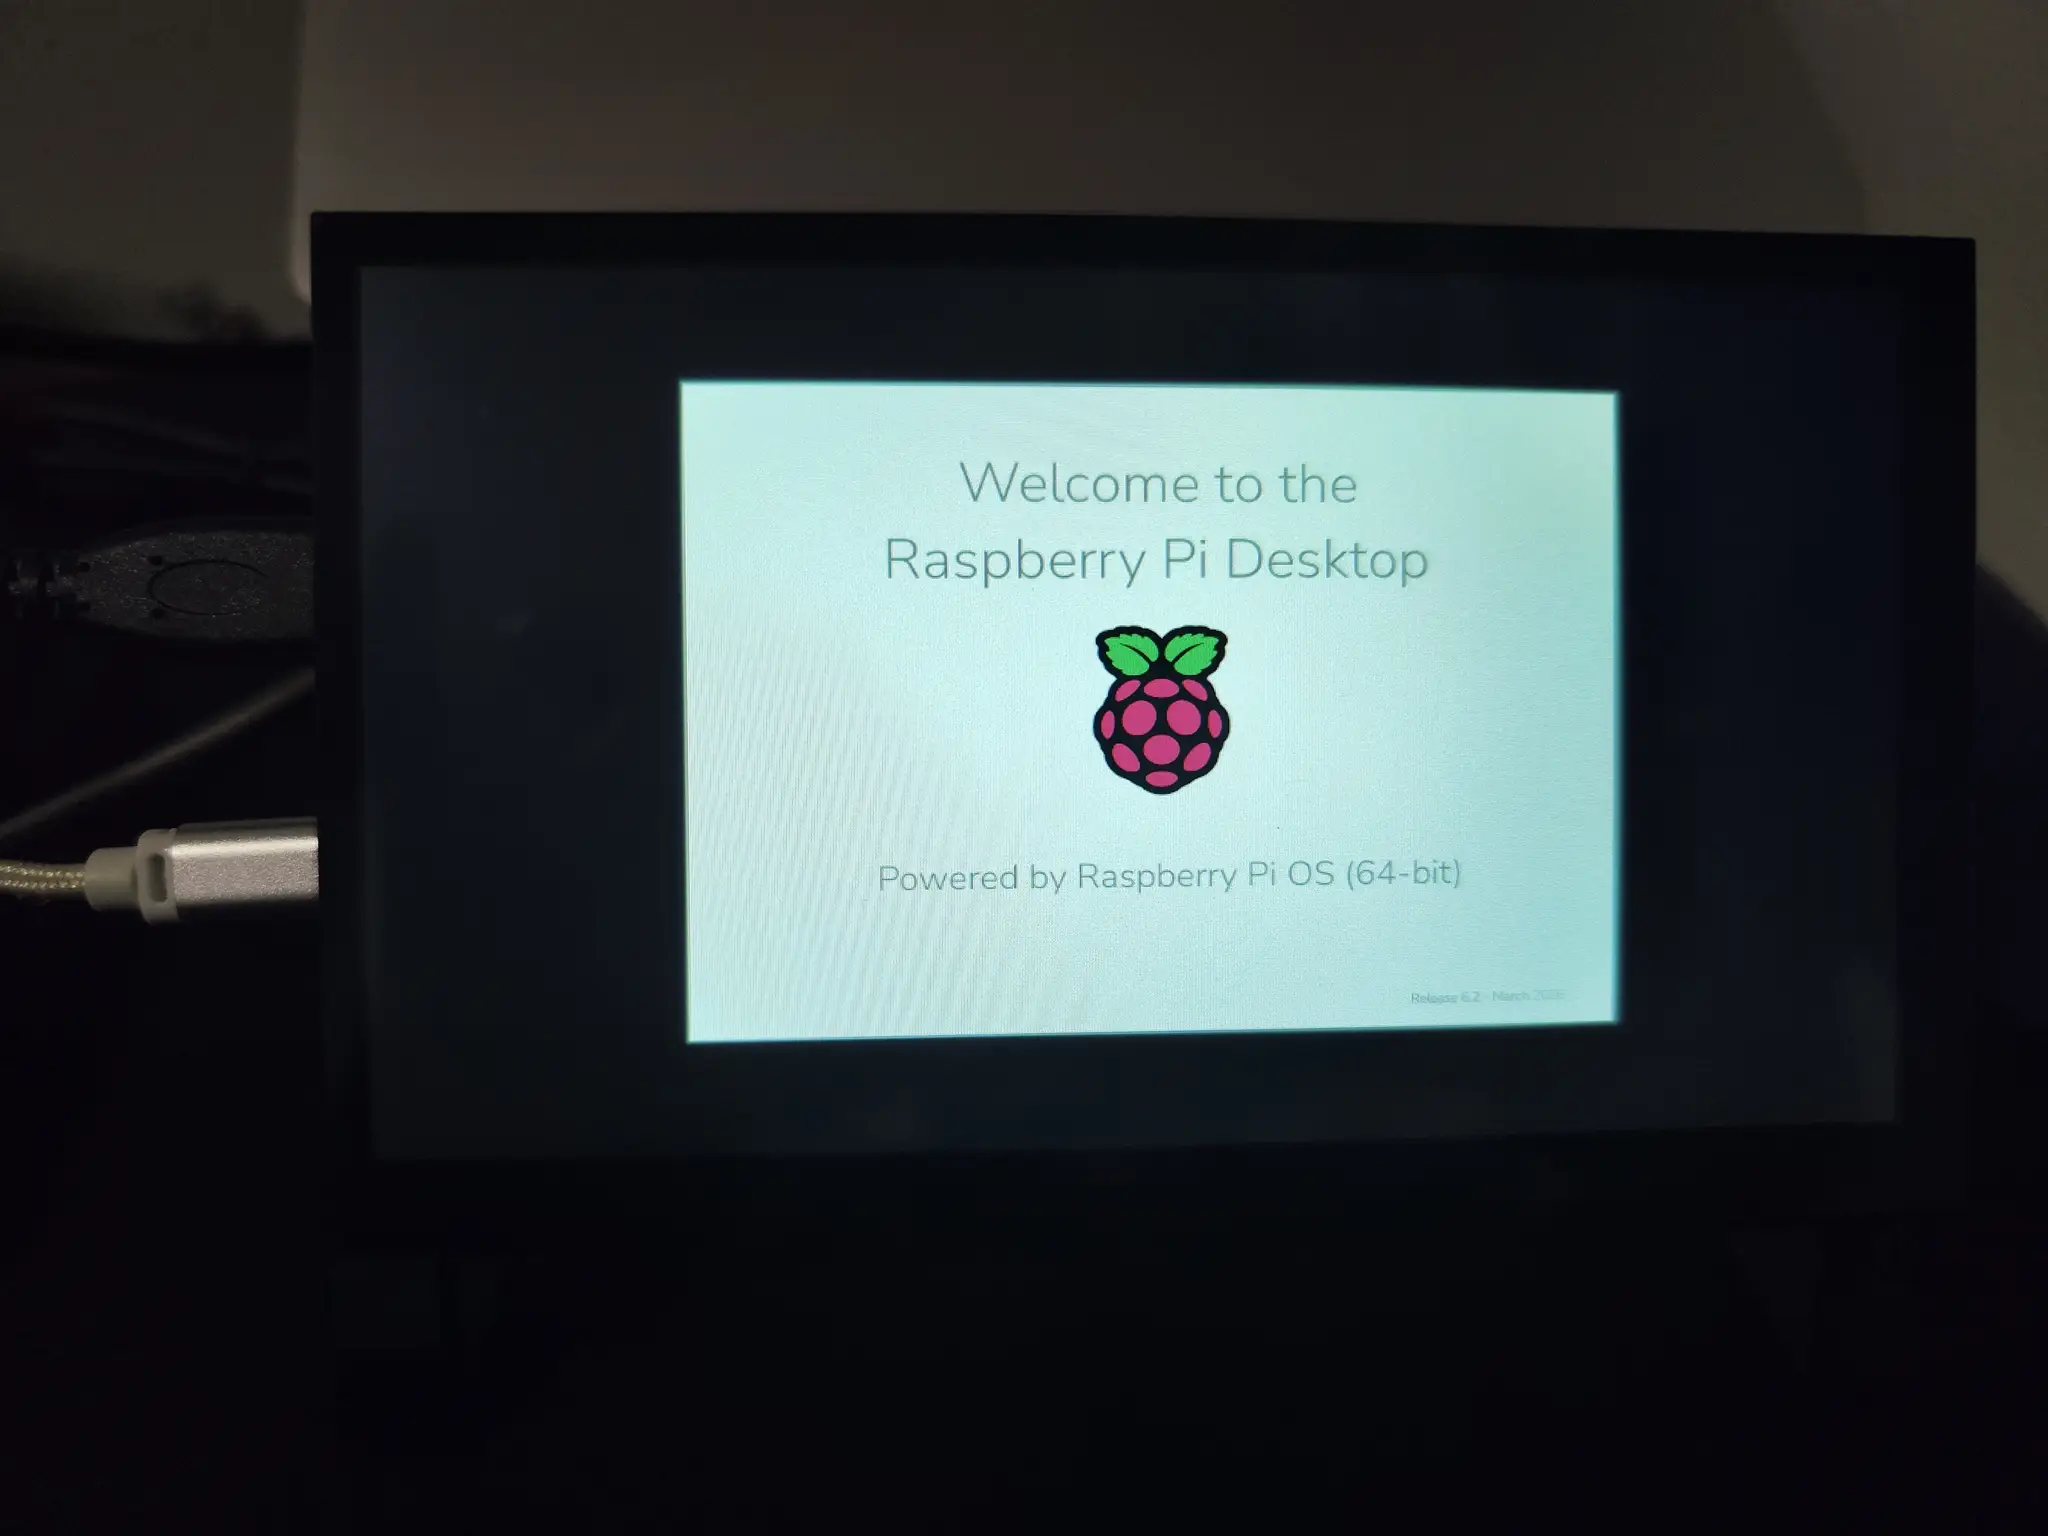
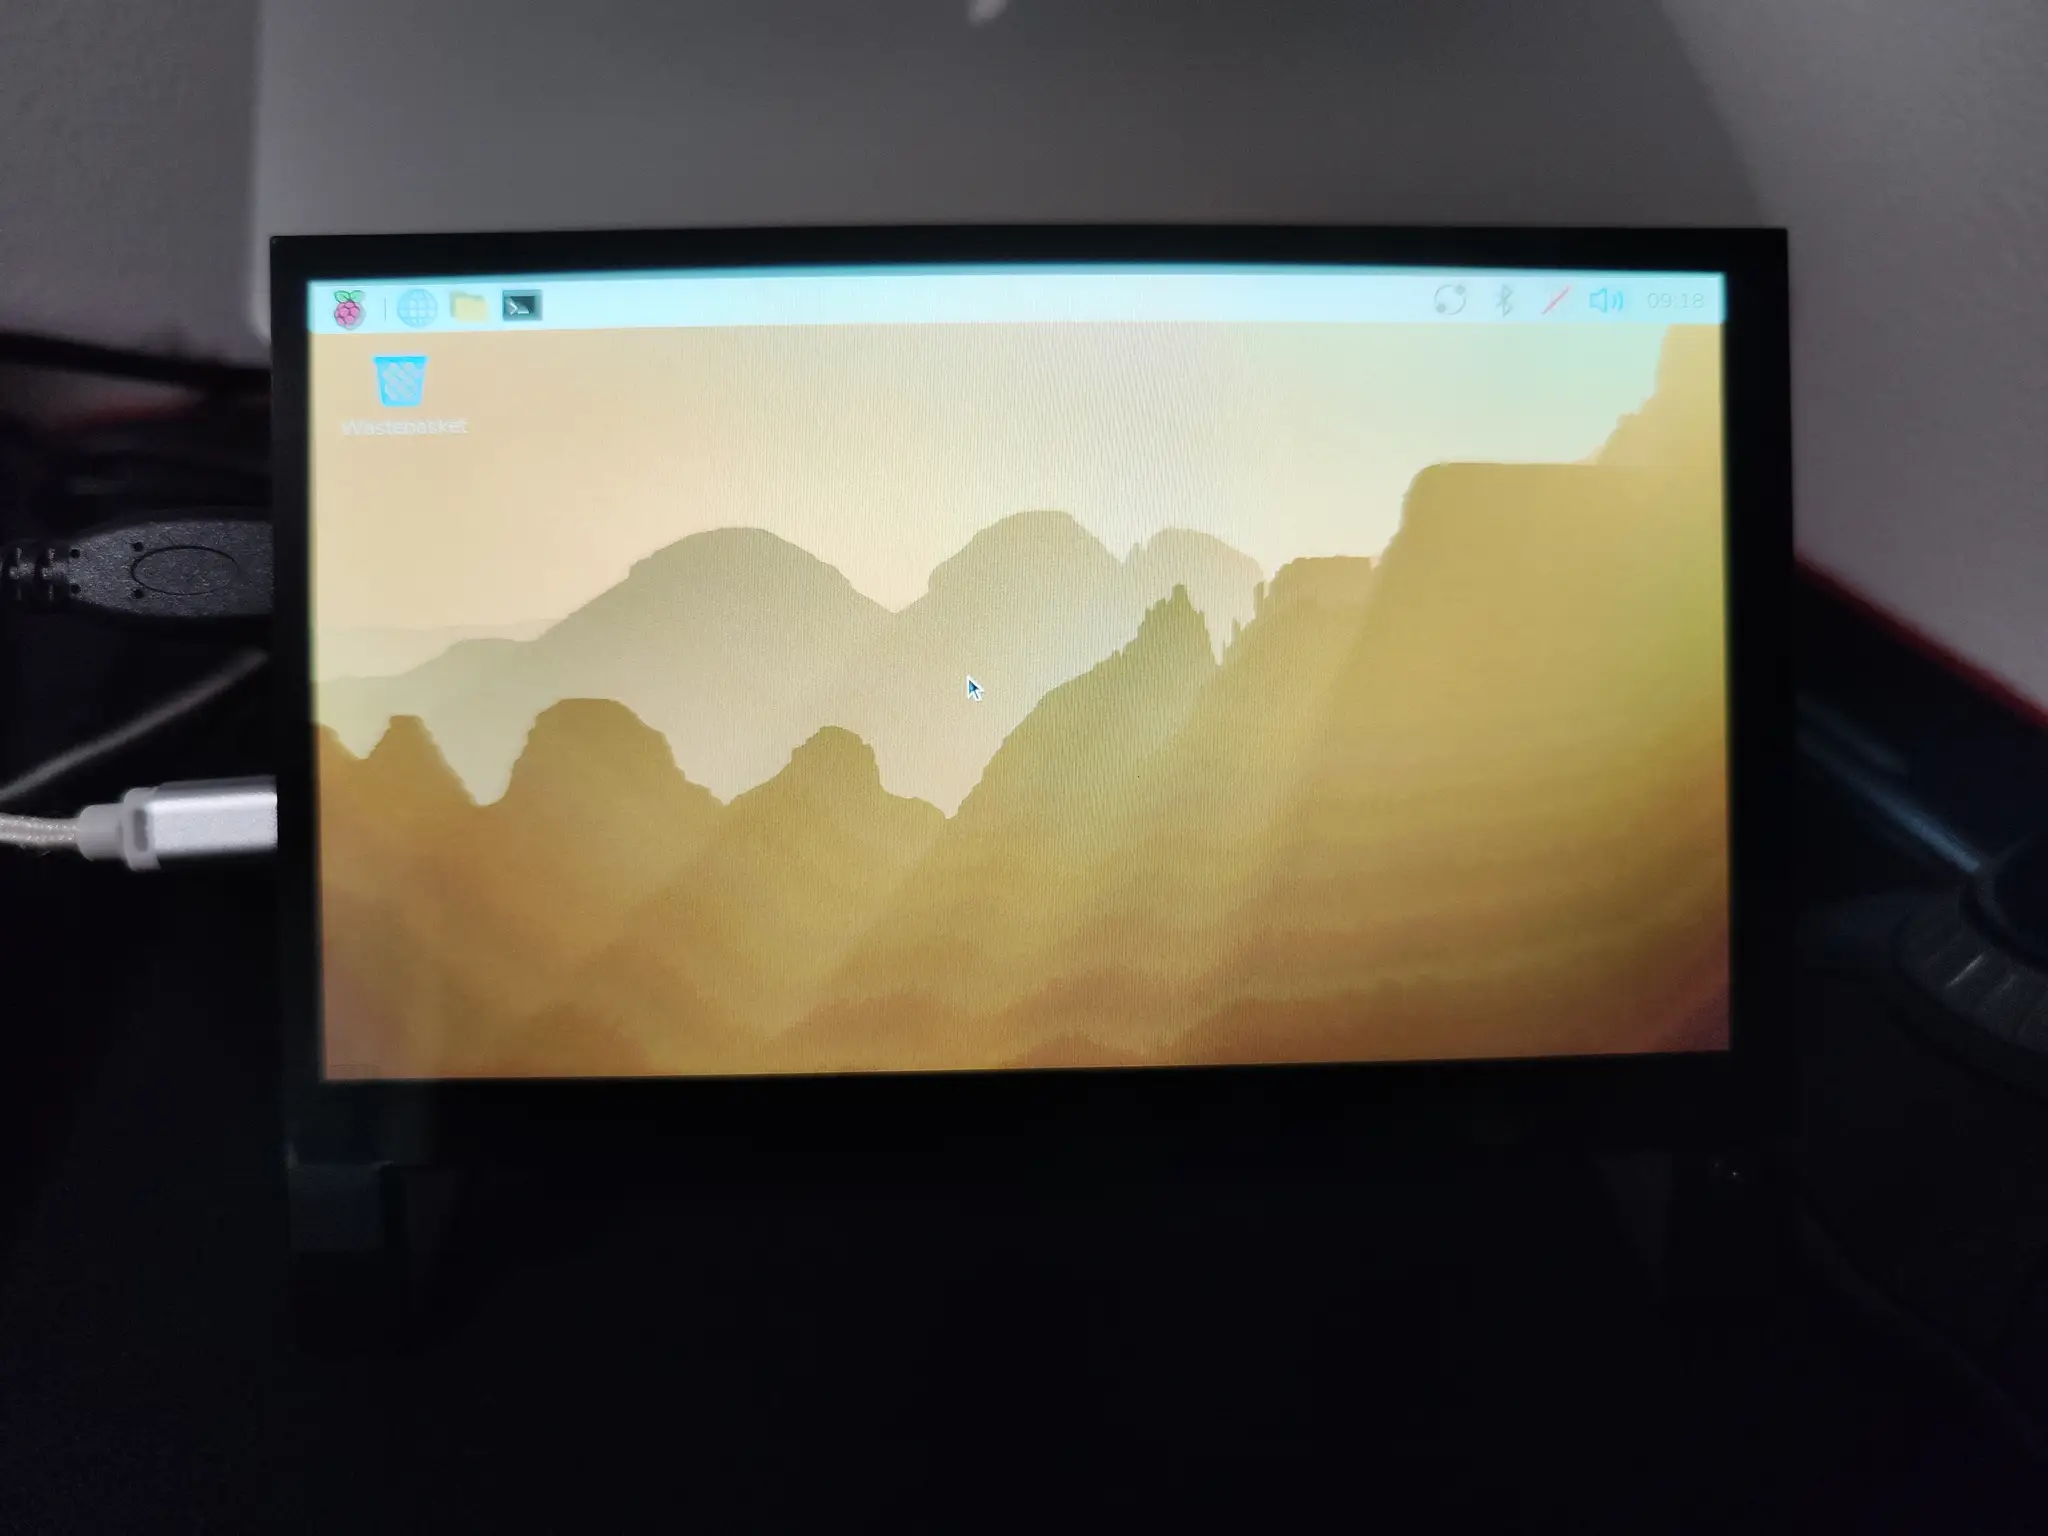
After a short while, Raspberry Pi OS starts up.
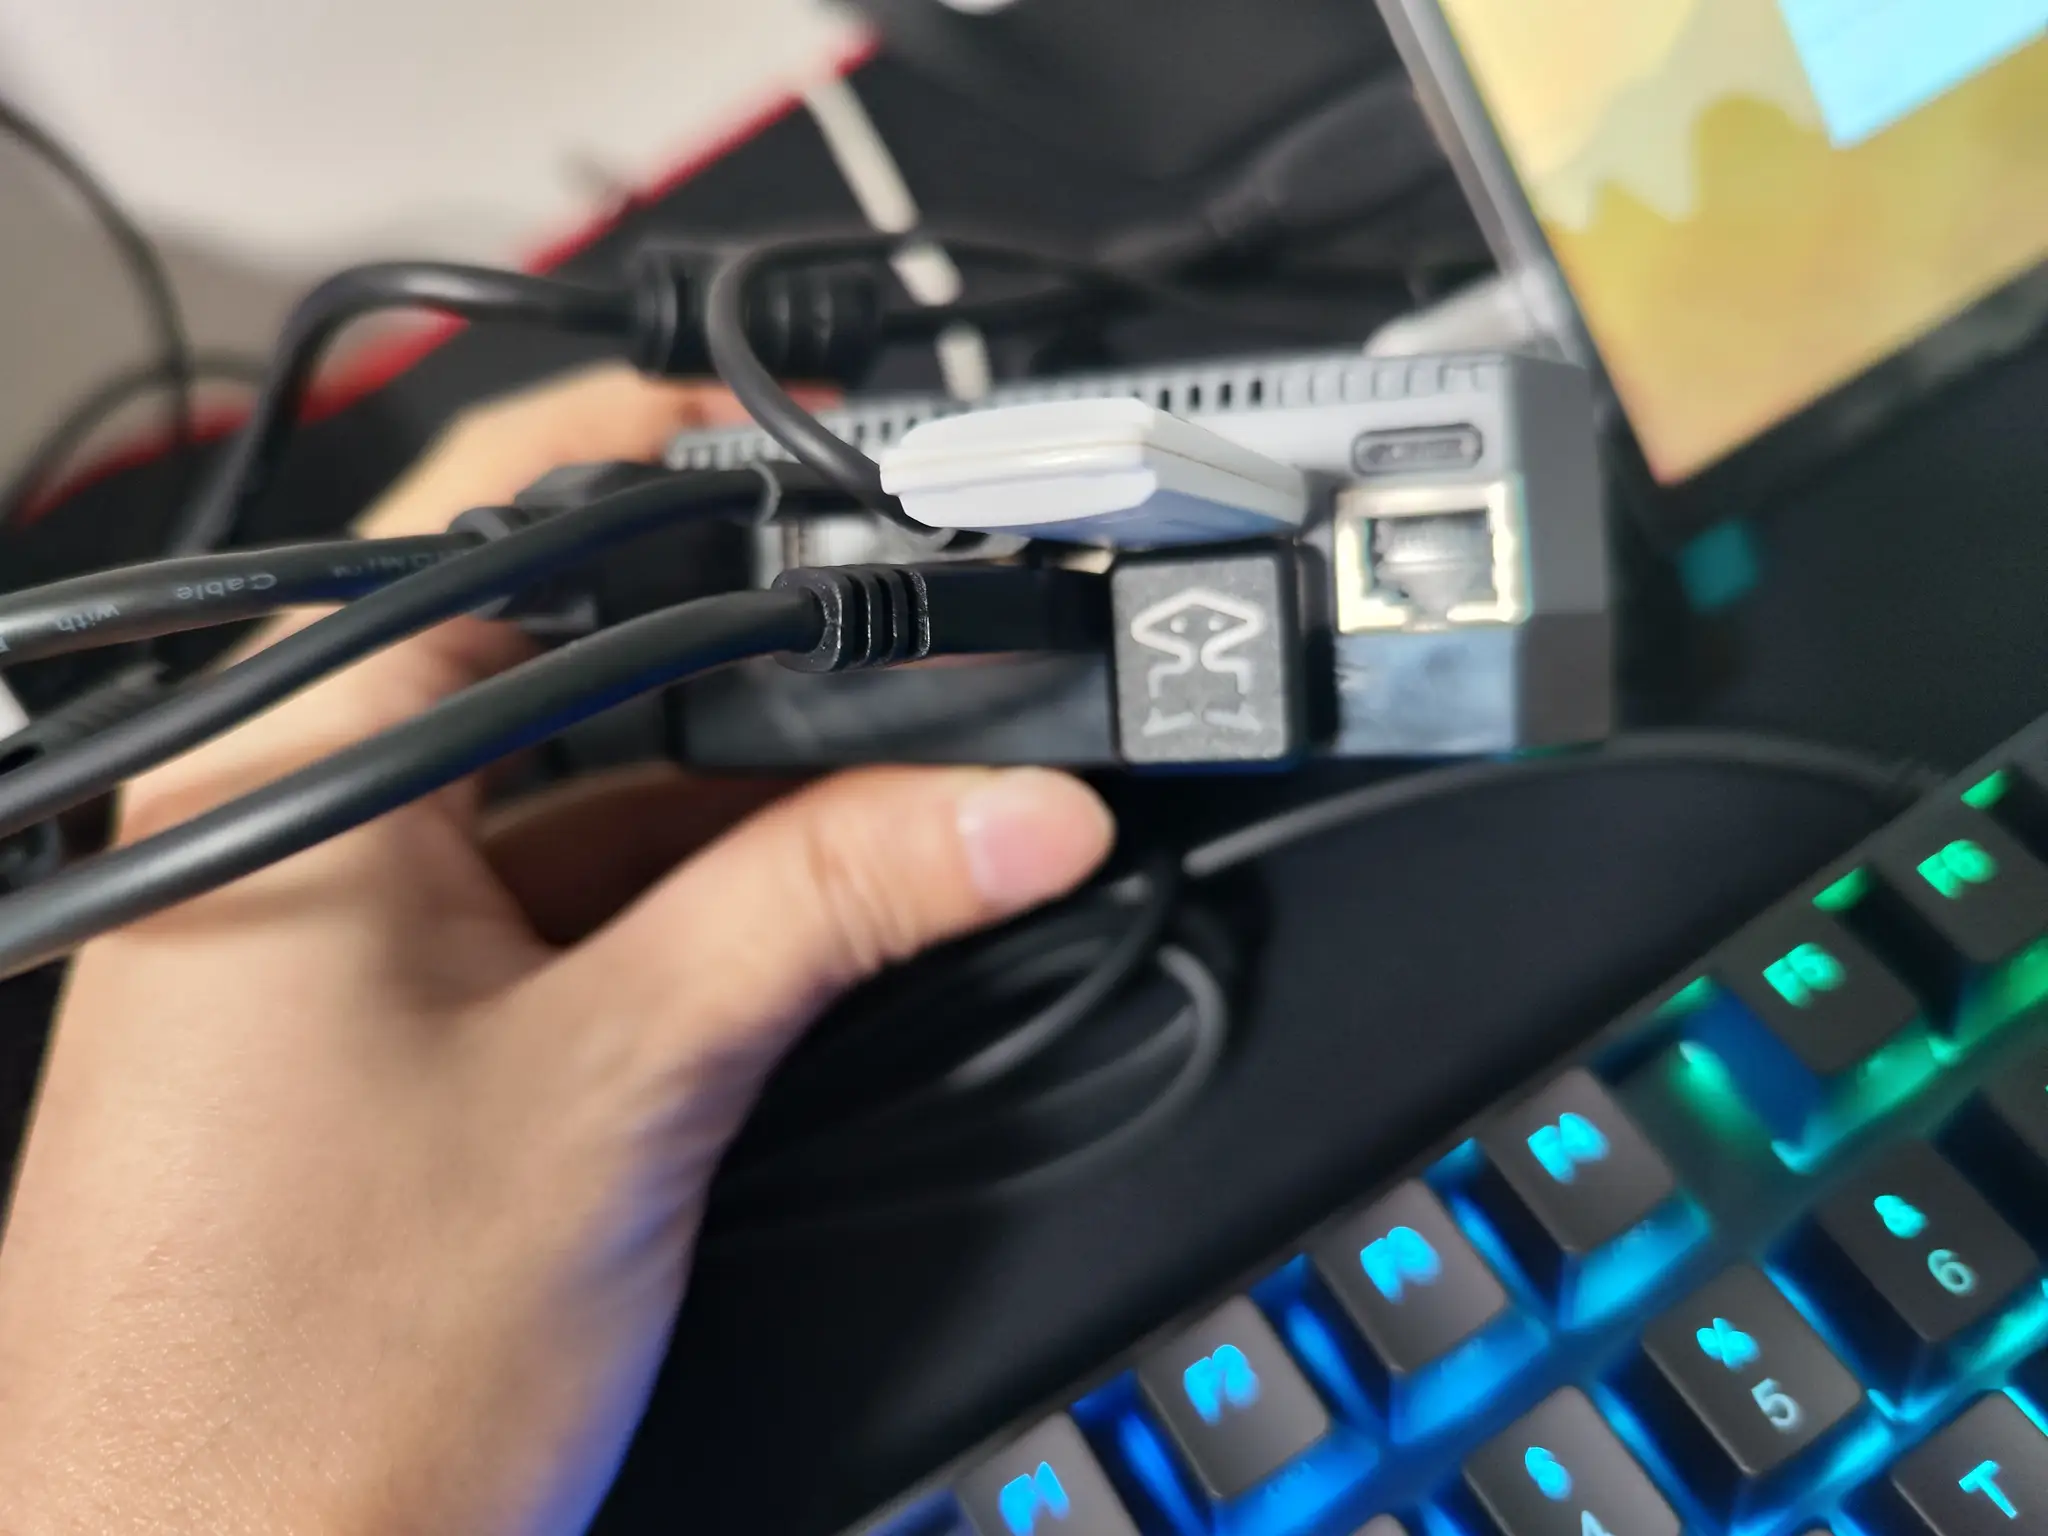
Next, attach the USB bridge that came with the case to the back of the unit.
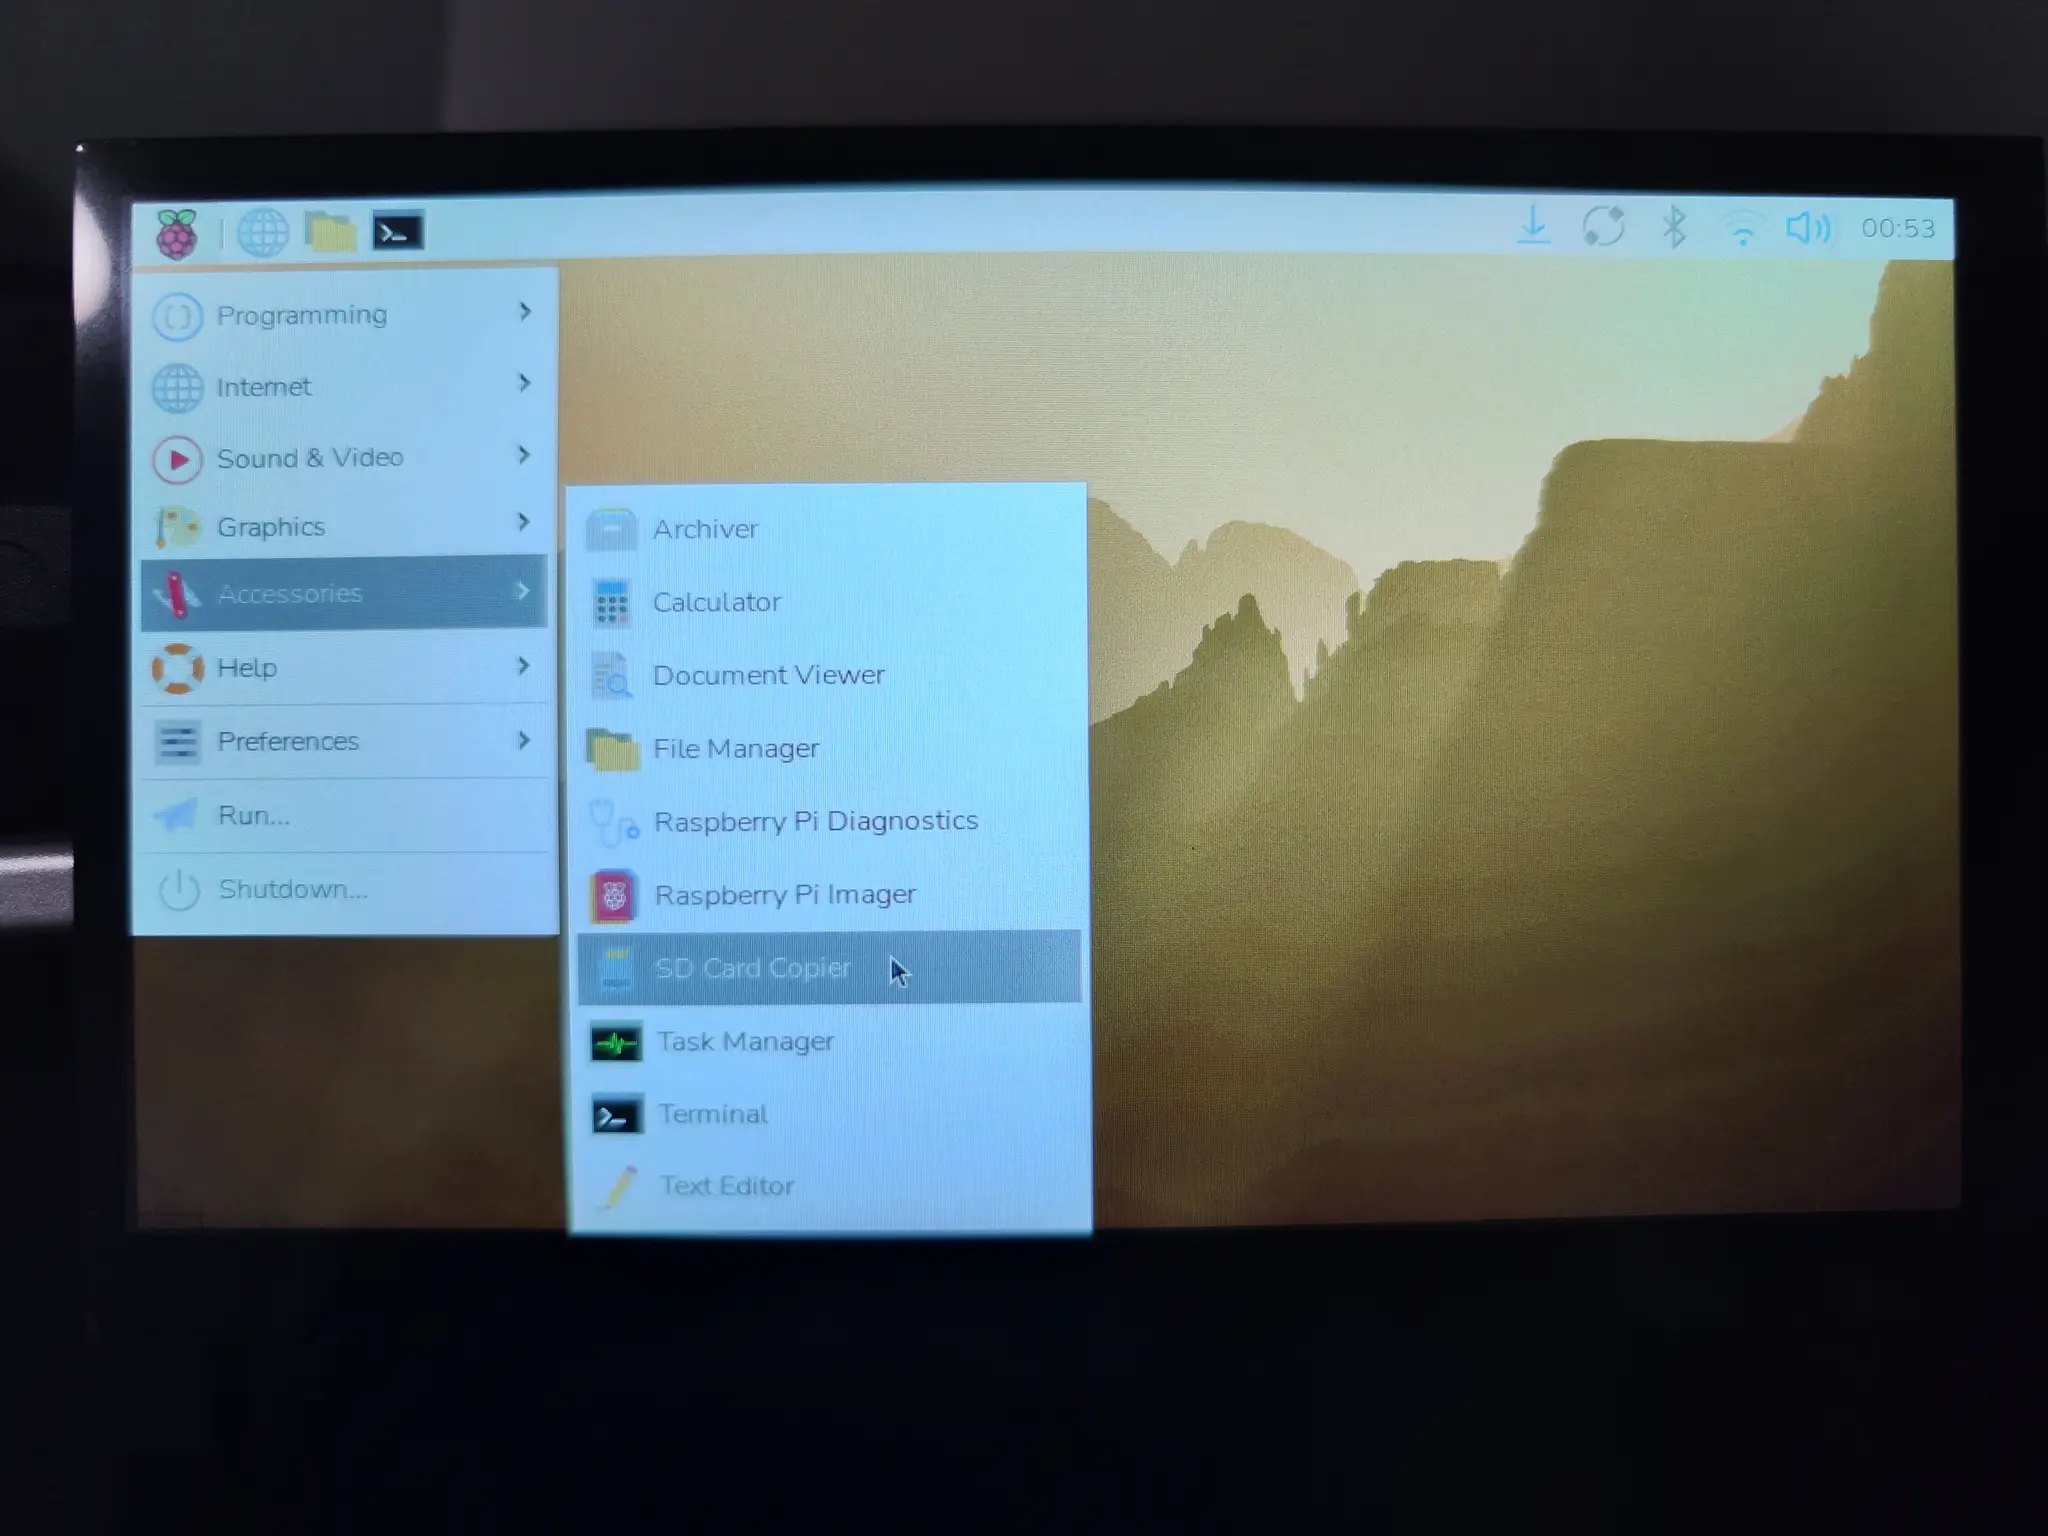
From the menu bar, select
Raspberry Pi → Accessories → SD Card Copier.
Confirm that the SSD is selected under Copy To Device. Also enable New partition UUIDs. This assigns new UUIDs to the destination SSD.
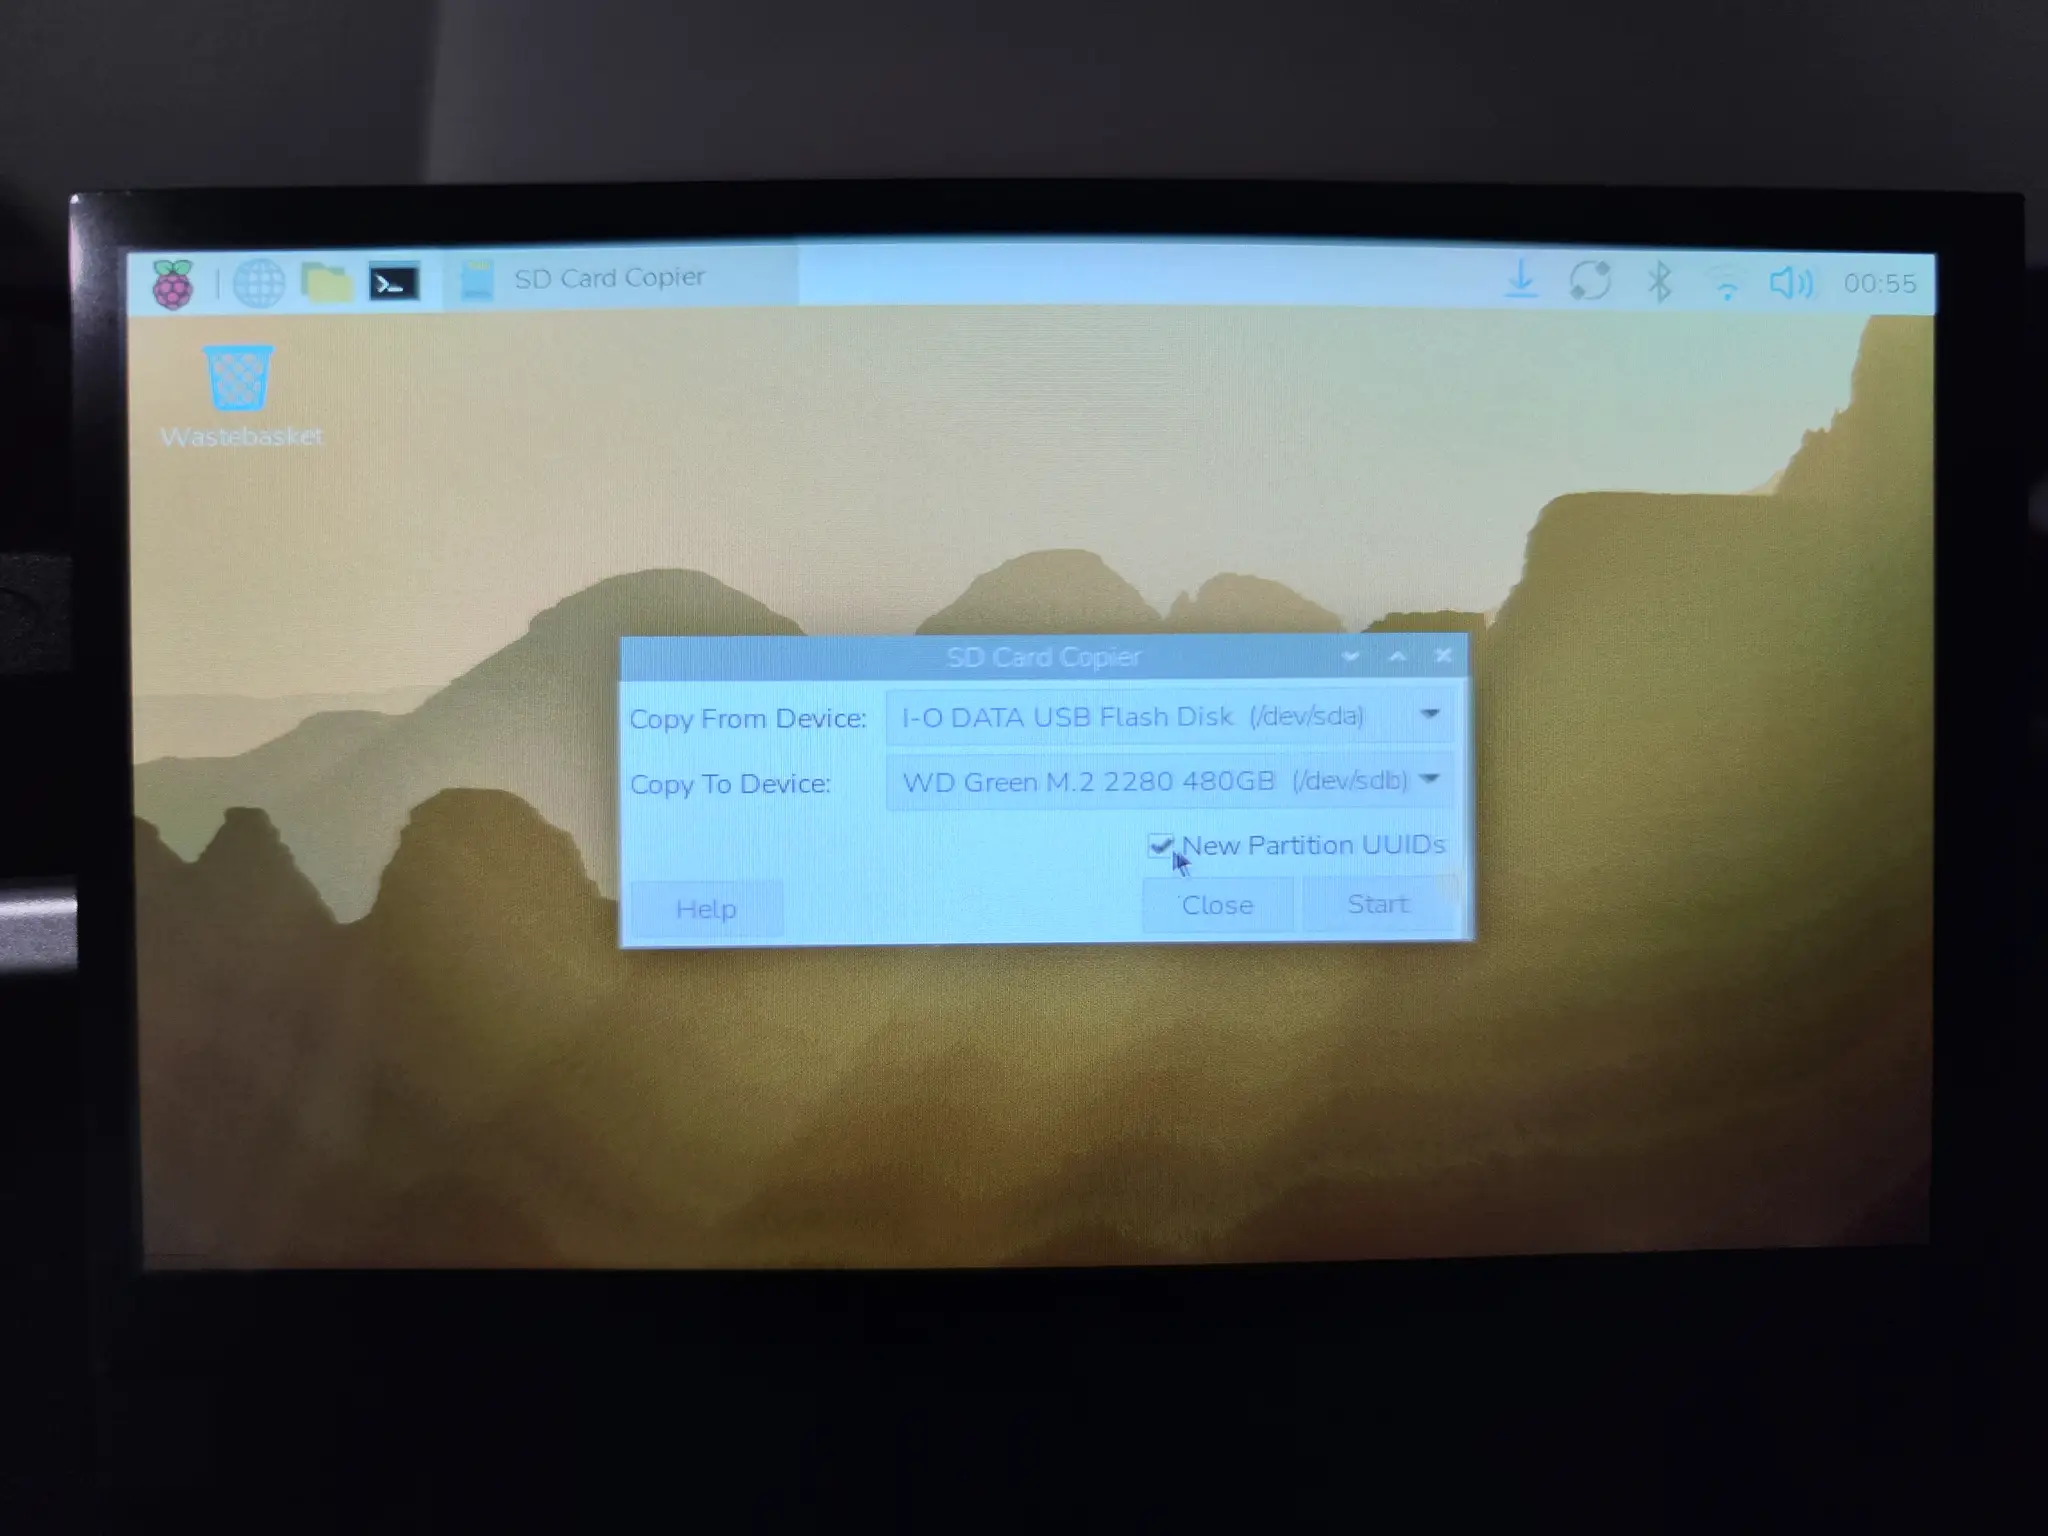
Once the write process is complete, shut down the Raspberry Pi, remove the USB drive, and restart it.
After that, I was able to confirm that Raspberry Pi OS was booting from the SSD.
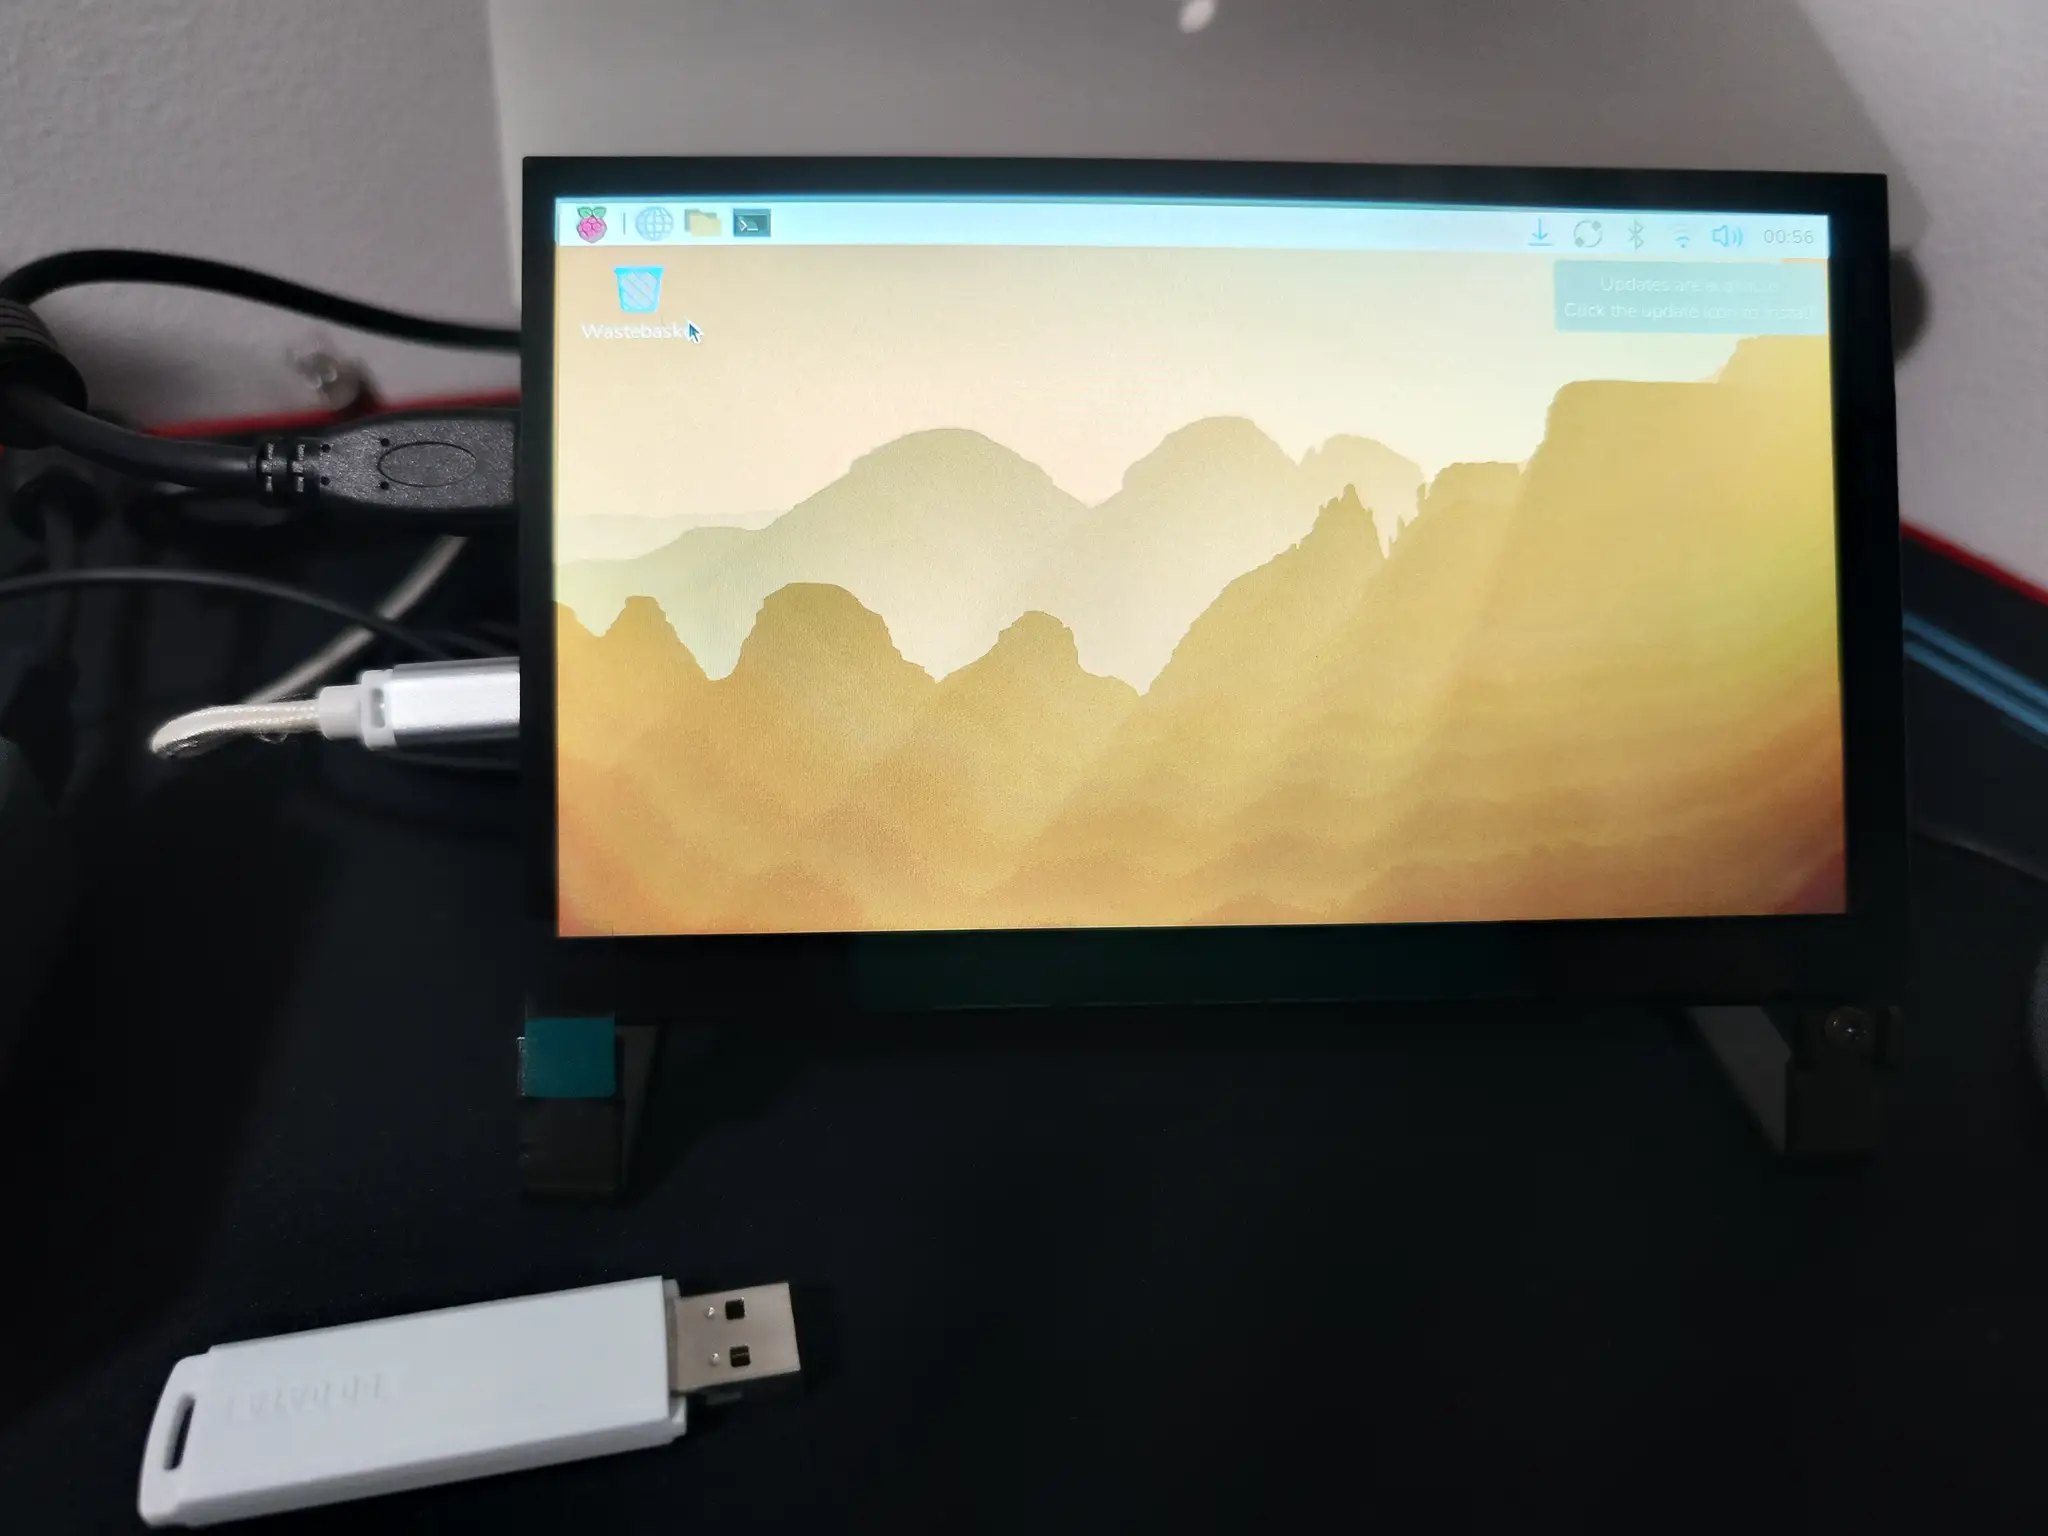
With this, the Raspberry Pi OS installation is complete.
✍️ Notes from This Step
For this step, I proceeded with the Raspberry Pi 4 setup while talking things through with generative AI. However, I found that there is still a lot of older information around USB boot. Some explanations assume a microSD card, while others describe writing the OS by connecting the SSD to another PC first, so the process was a little confusing at first.
In practice, this Raspberry Pi 4 supported USB boot as-is, and I was able to boot from the installation USB drive and install the OS onto the SSD from there. There was less special preparation than I had expected, and the process felt fairly close to a standard OS installation.
Next time, I will move on to the initial Raspberry Pi setup.