
🍓 Getting Started with Raspberry Pi [01] Hardware Setup
Raspberry Pi 4 Setup Series
- [01] Hardware Setup
- [02] Installing Raspberry Pi OS
- [03] Initial Setup and Basic Checks
- [04] Editing Raspberry Pi Files from VS Code on a Work PC via SSH
- [05] Setting Up a Python Environment
- [06] Connecting from Raspberry Pi to a Local LLM
- [07] Trying Ollama and Lightweight Models on Raspberry Pi
👀Table of Contents
- 🧰 Equipment Prepared
- 🛠️ Assembling the Raspberry Pi
- 📺 Preparing the Monitor
- ✅ Checking Raspberry Pi Operation
- ✍️ Summary
🧰 Equipment Prepared
The Raspberry Pi used here is one I bought at the beginning of July 2025 for 🐍Python learning.
After doing a single power-on check when I first bought it, I left it untouched for a while.
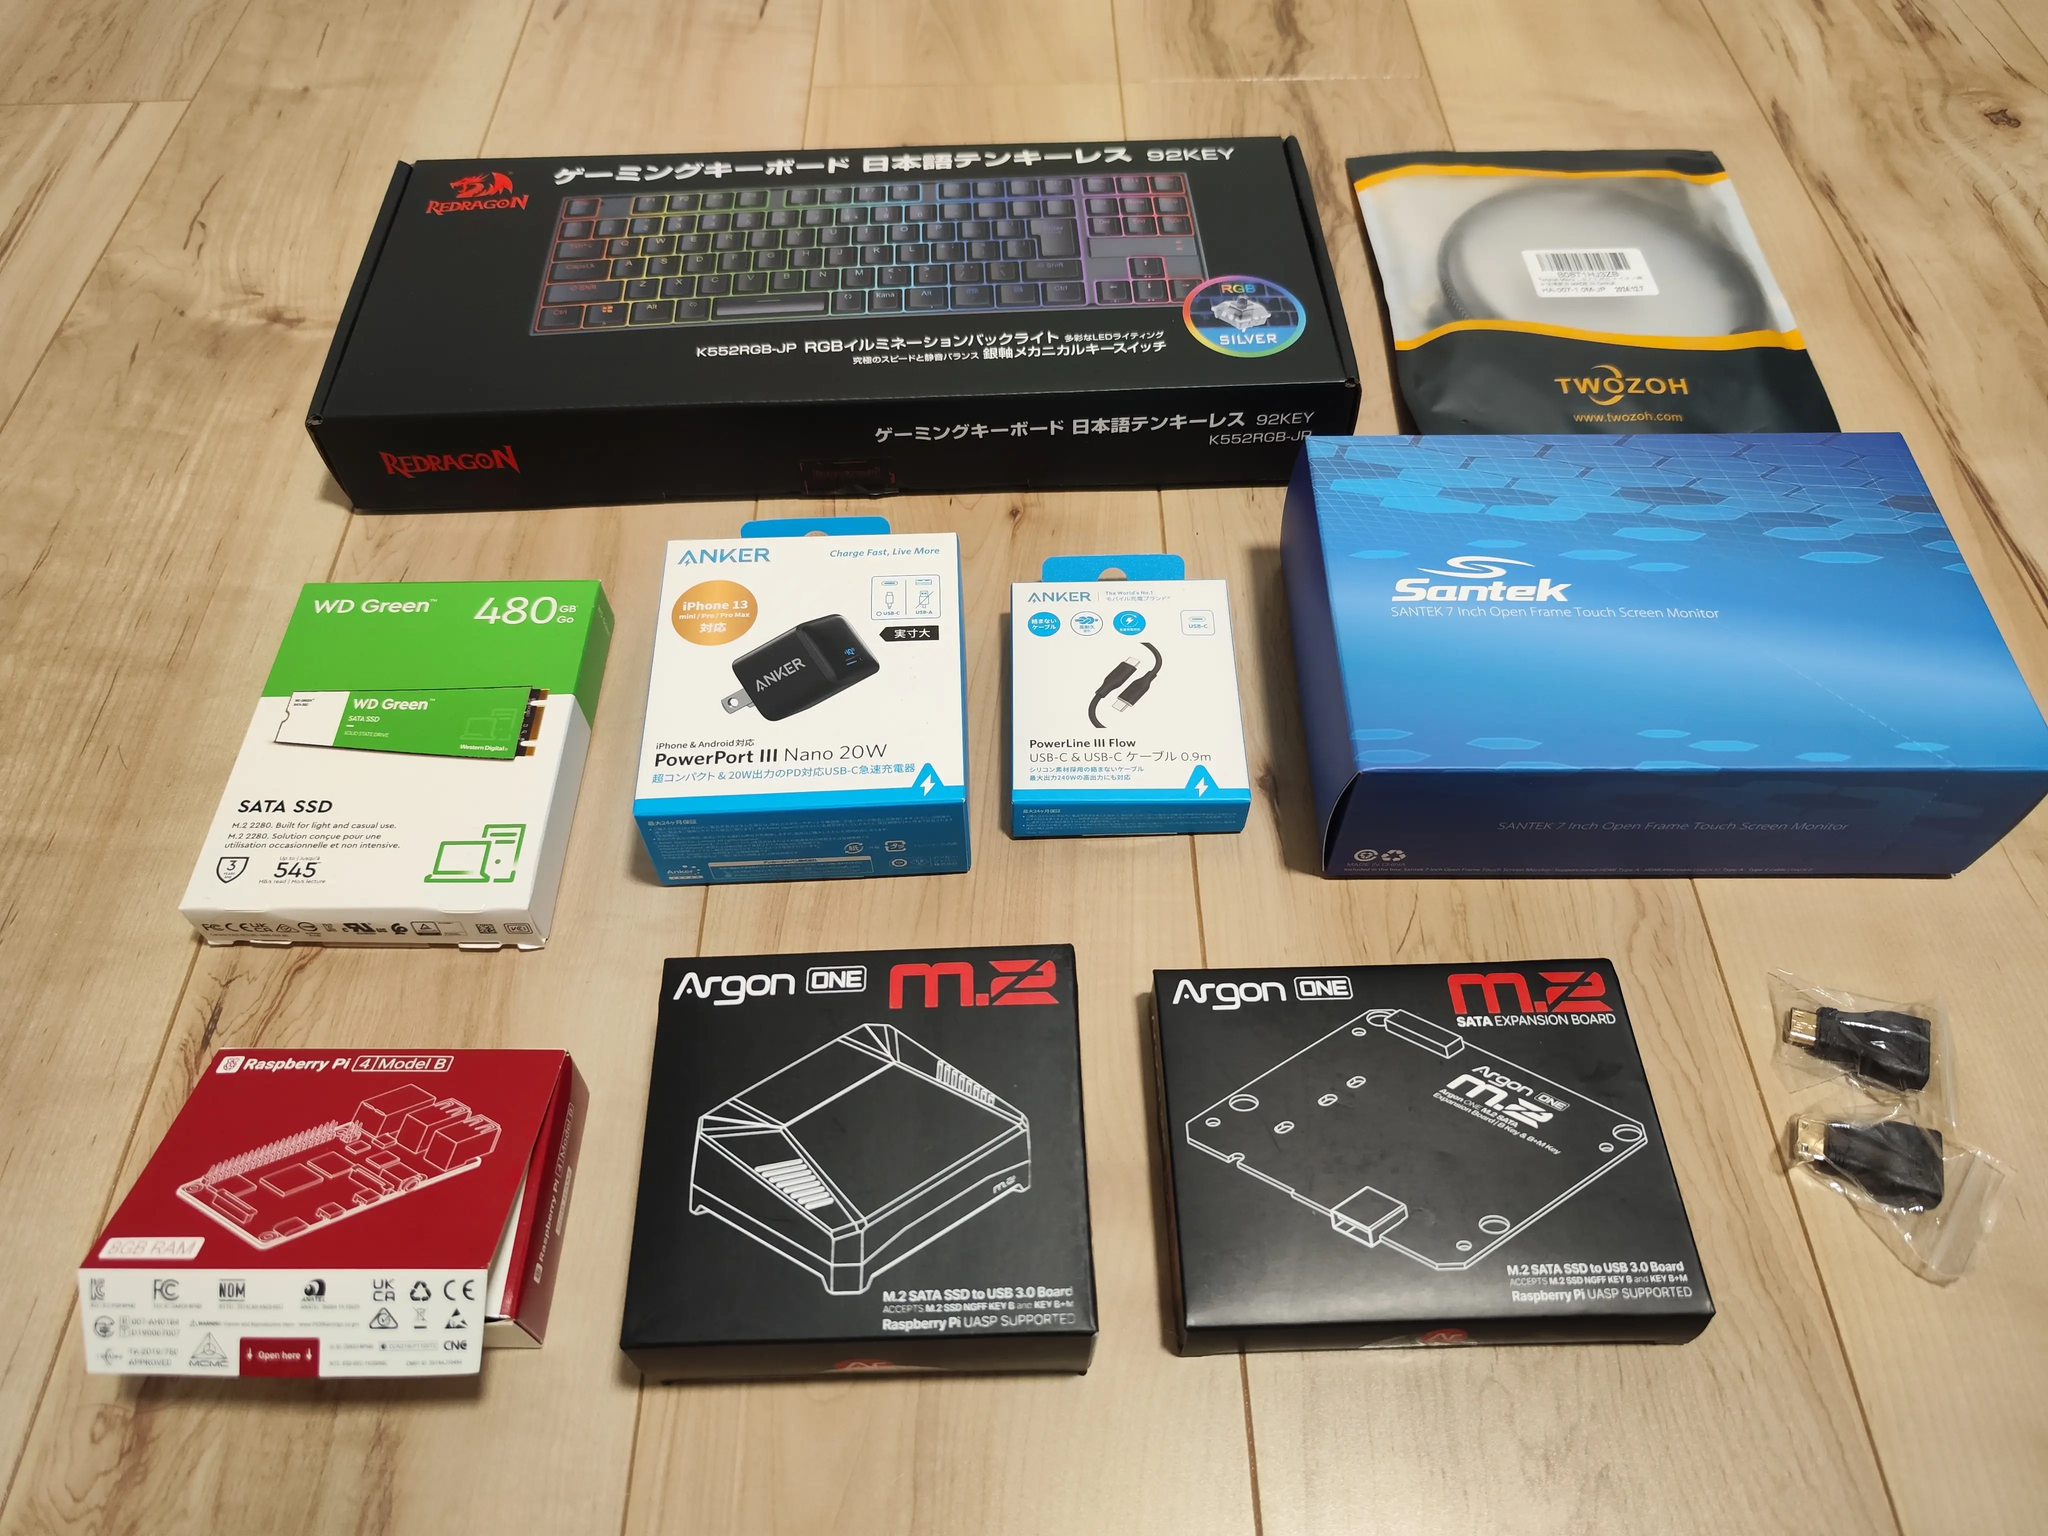
This time, in order to move forward with connection tests to a local LLM and several other experiments, I also prepared a few additional peripherals, including a monitor.
| Part | Product name | Price | Shop |
|---|---|---|---|
| Single-board computer | Raspberry Pi 4 8GB (Japan technical conformity certified) | ¥14,994 | Amazon |
| Case | Argon ONE M.2 Aluminum Case | ¥11,622 | Amazon |
| M.2 2280 SSD | Western Digital 480GB WD Green SATA | ¥6,697 | Amazon |
| Power adapter | Anker PowerPort III Nano 20W (PD Charger 20W USB-C) | ¥1,780 | Amazon |
| USB-C cable | Anker PowerLine III Flow USB-C & USB-C Cable | ¥1,790 | Amazon |
| HDMI cable | Twozoh Micro HDMI to HDMI Cable 1M | ¥973 | Yahoo! Shopping |
| Monitor | Santek Open Frame Touch Monitor 7-inch (main unit + dedicated cover) | ¥11,891 | Amazon |
| Keyboard | REDRAGON Gaming Keyboard, Silver Switches, 92 Keys | ¥5,480 | Rakuten Bic |
| Mini HDMI adapter | Mini HDMI Male to HDMI Female Adapter, 2-piece set | ¥319 | Rakuten |
| Total: ¥55,546 |
The HDMI cable and mini HDMI adapter are not required if the Raspberry Pi is only used after being installed in the case. However, they become necessary when checking the board directly before putting it into the case.
The monitor and keyboard are also not essential if the plan is to operate the Raspberry Pi remotely over SSH.
I did not have a suitable small touch monitor on hand, and my only spare keyboard was an old PS/2 model, so I bought a tenkeyless mechanical keyboard.
At minimum, what you need is roughly the Raspberry Pi itself, a power adapter, cables, and a microSD card, so it is possible to start more cheaply.
For the microSD card, an extra one from a smartphone or digital camera should be enough.
I had the impression that Raspberry Pi-related prices had been gradually rising since I first bought mine. As of April 2026, when I am writing this article, the prices I was able to confirm had increased quite a lot.
- Raspberry Pi 4 8GB: ¥14,994 → ¥27,800
- SSD: ¥6,697 → ¥23,980
I bought the case as a set with a SATA board, but the case itself also included a SATA board. As a result, I ended up with one extra board. At the time, I casually thought, “I can just buy a second Raspberry Pi and a standard case without the M.2 board,” but looking at the current price increases, I will probably wait and see for a while.
🛠️ Assembling the Raspberry Pi
First, I installed the Raspberry Pi itself into the case.
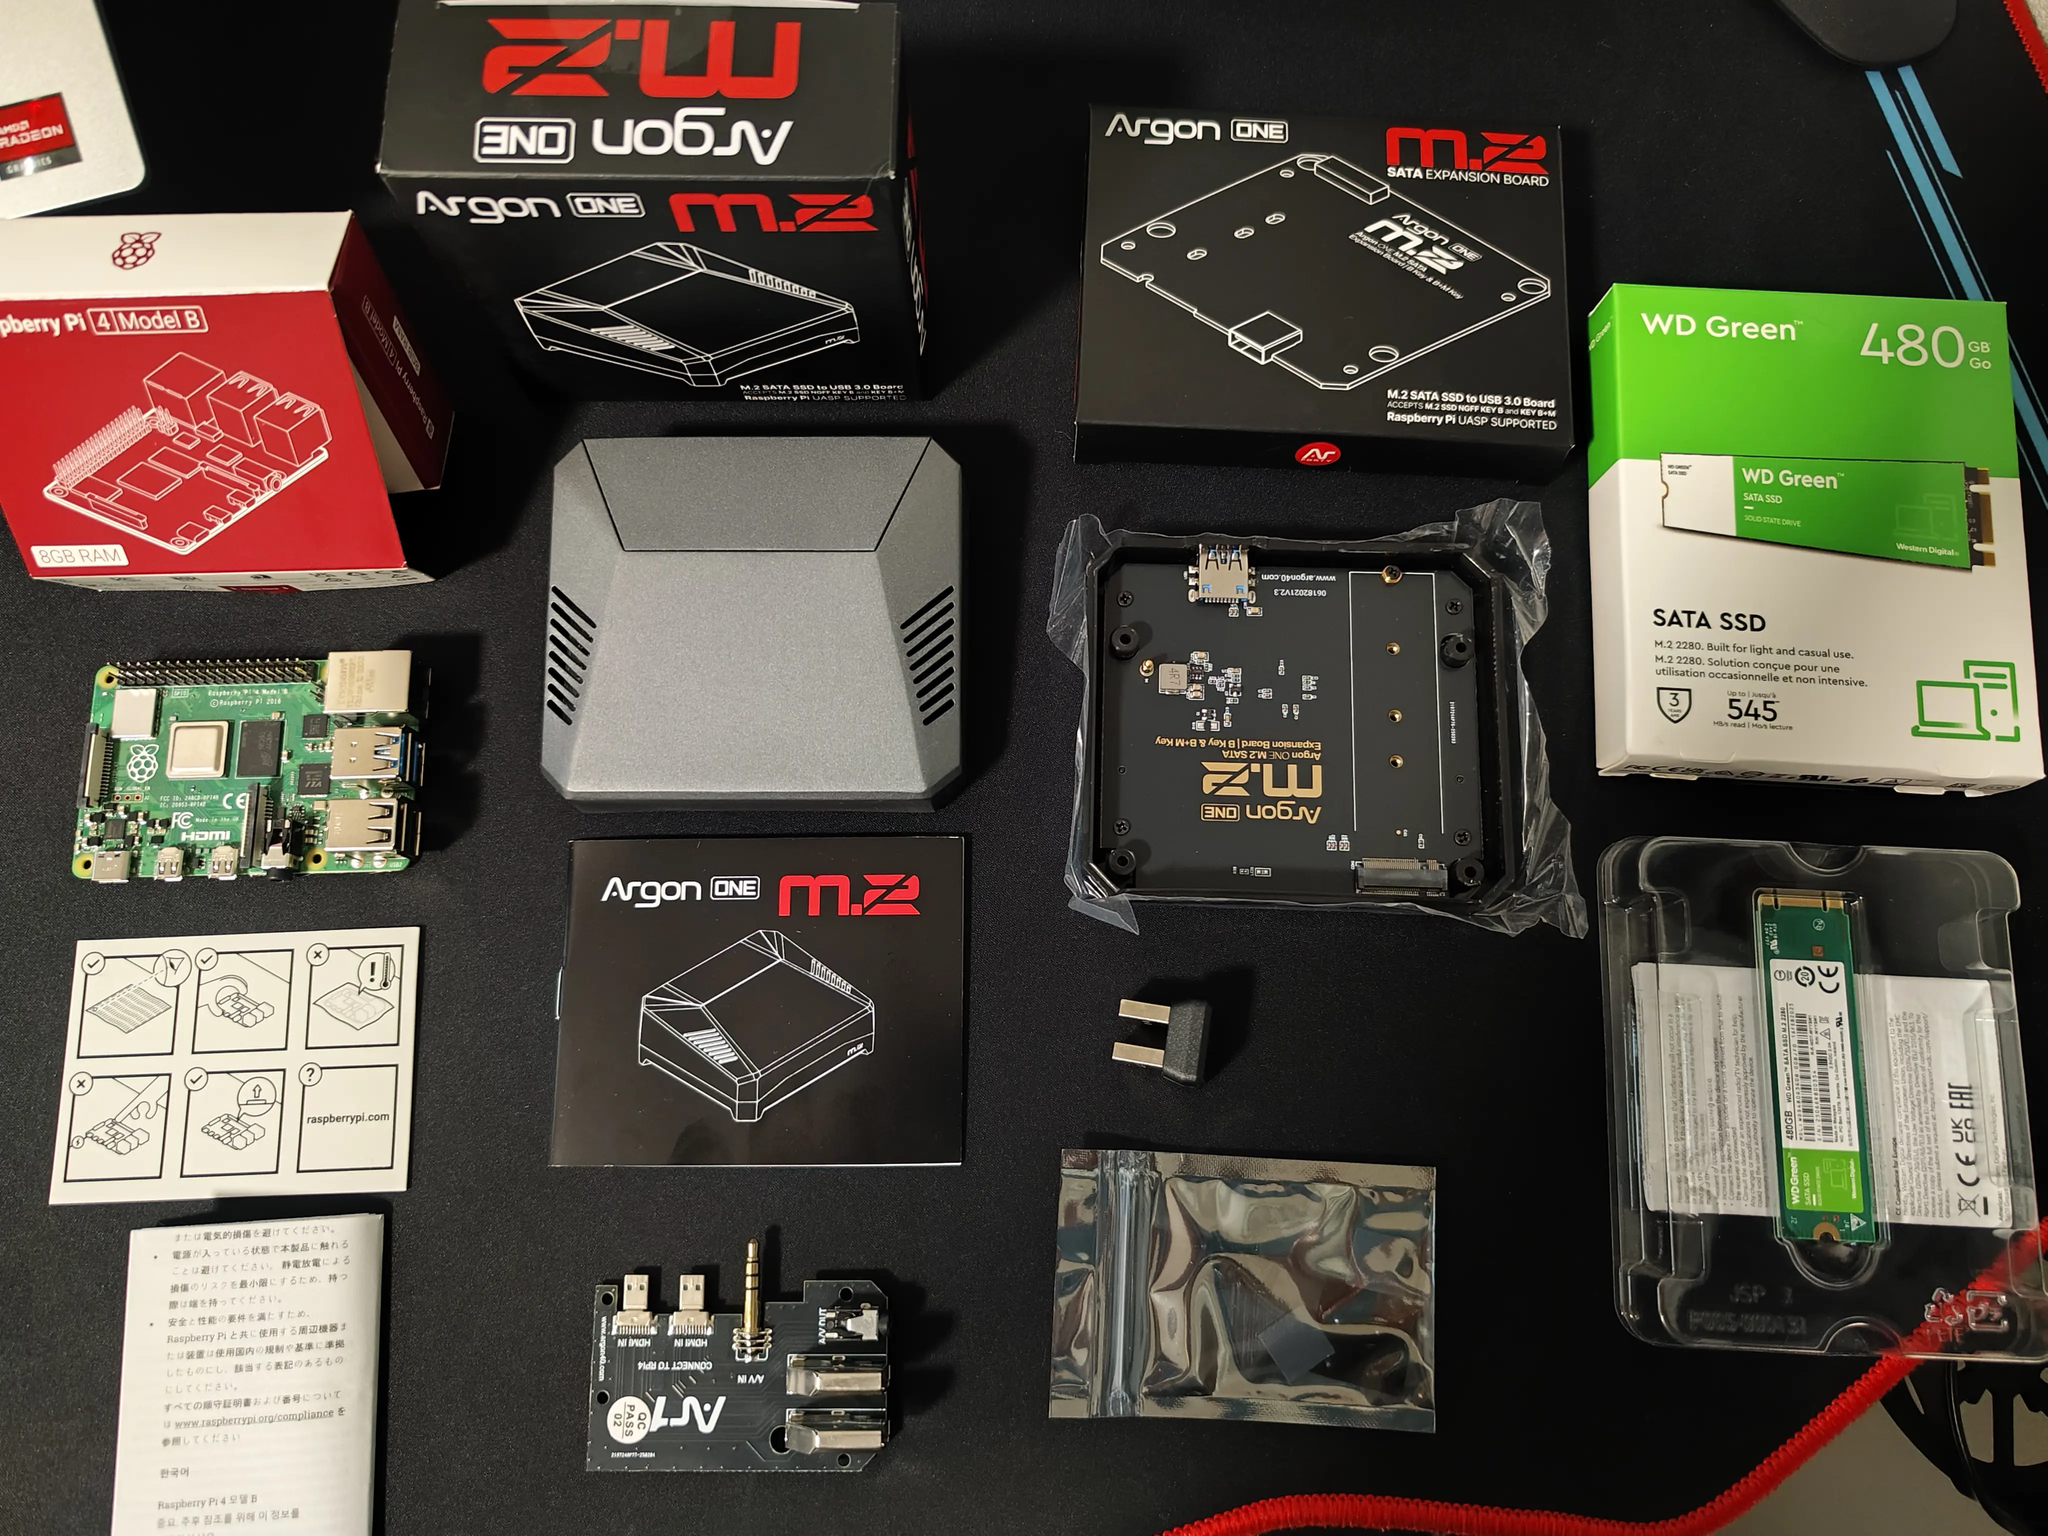
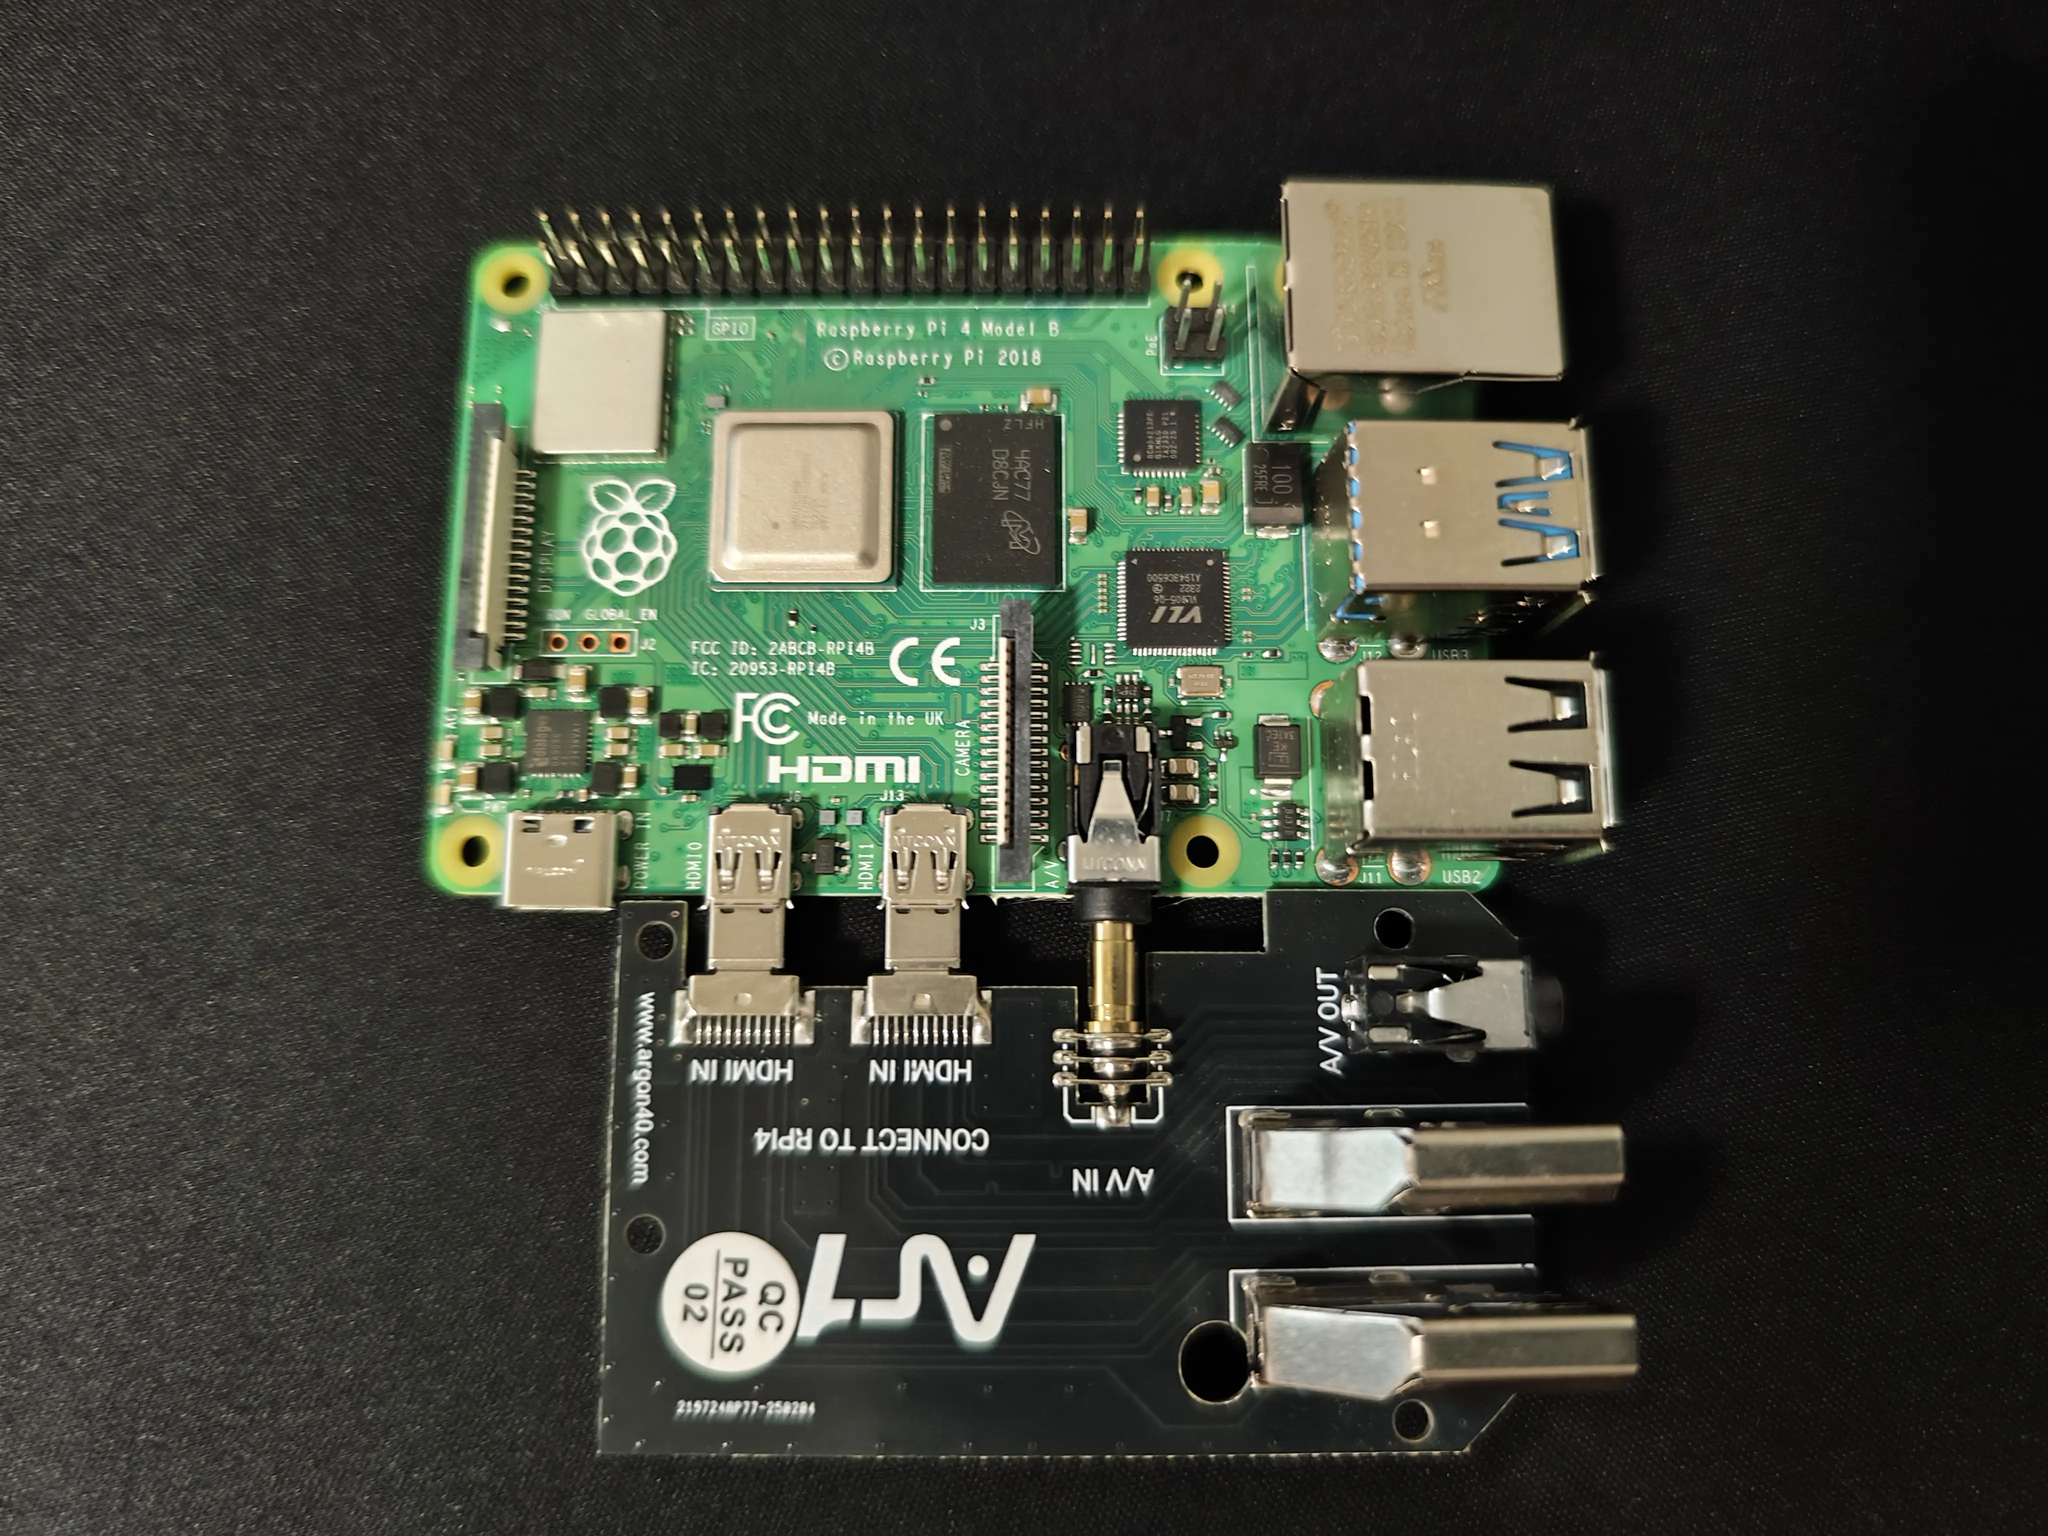
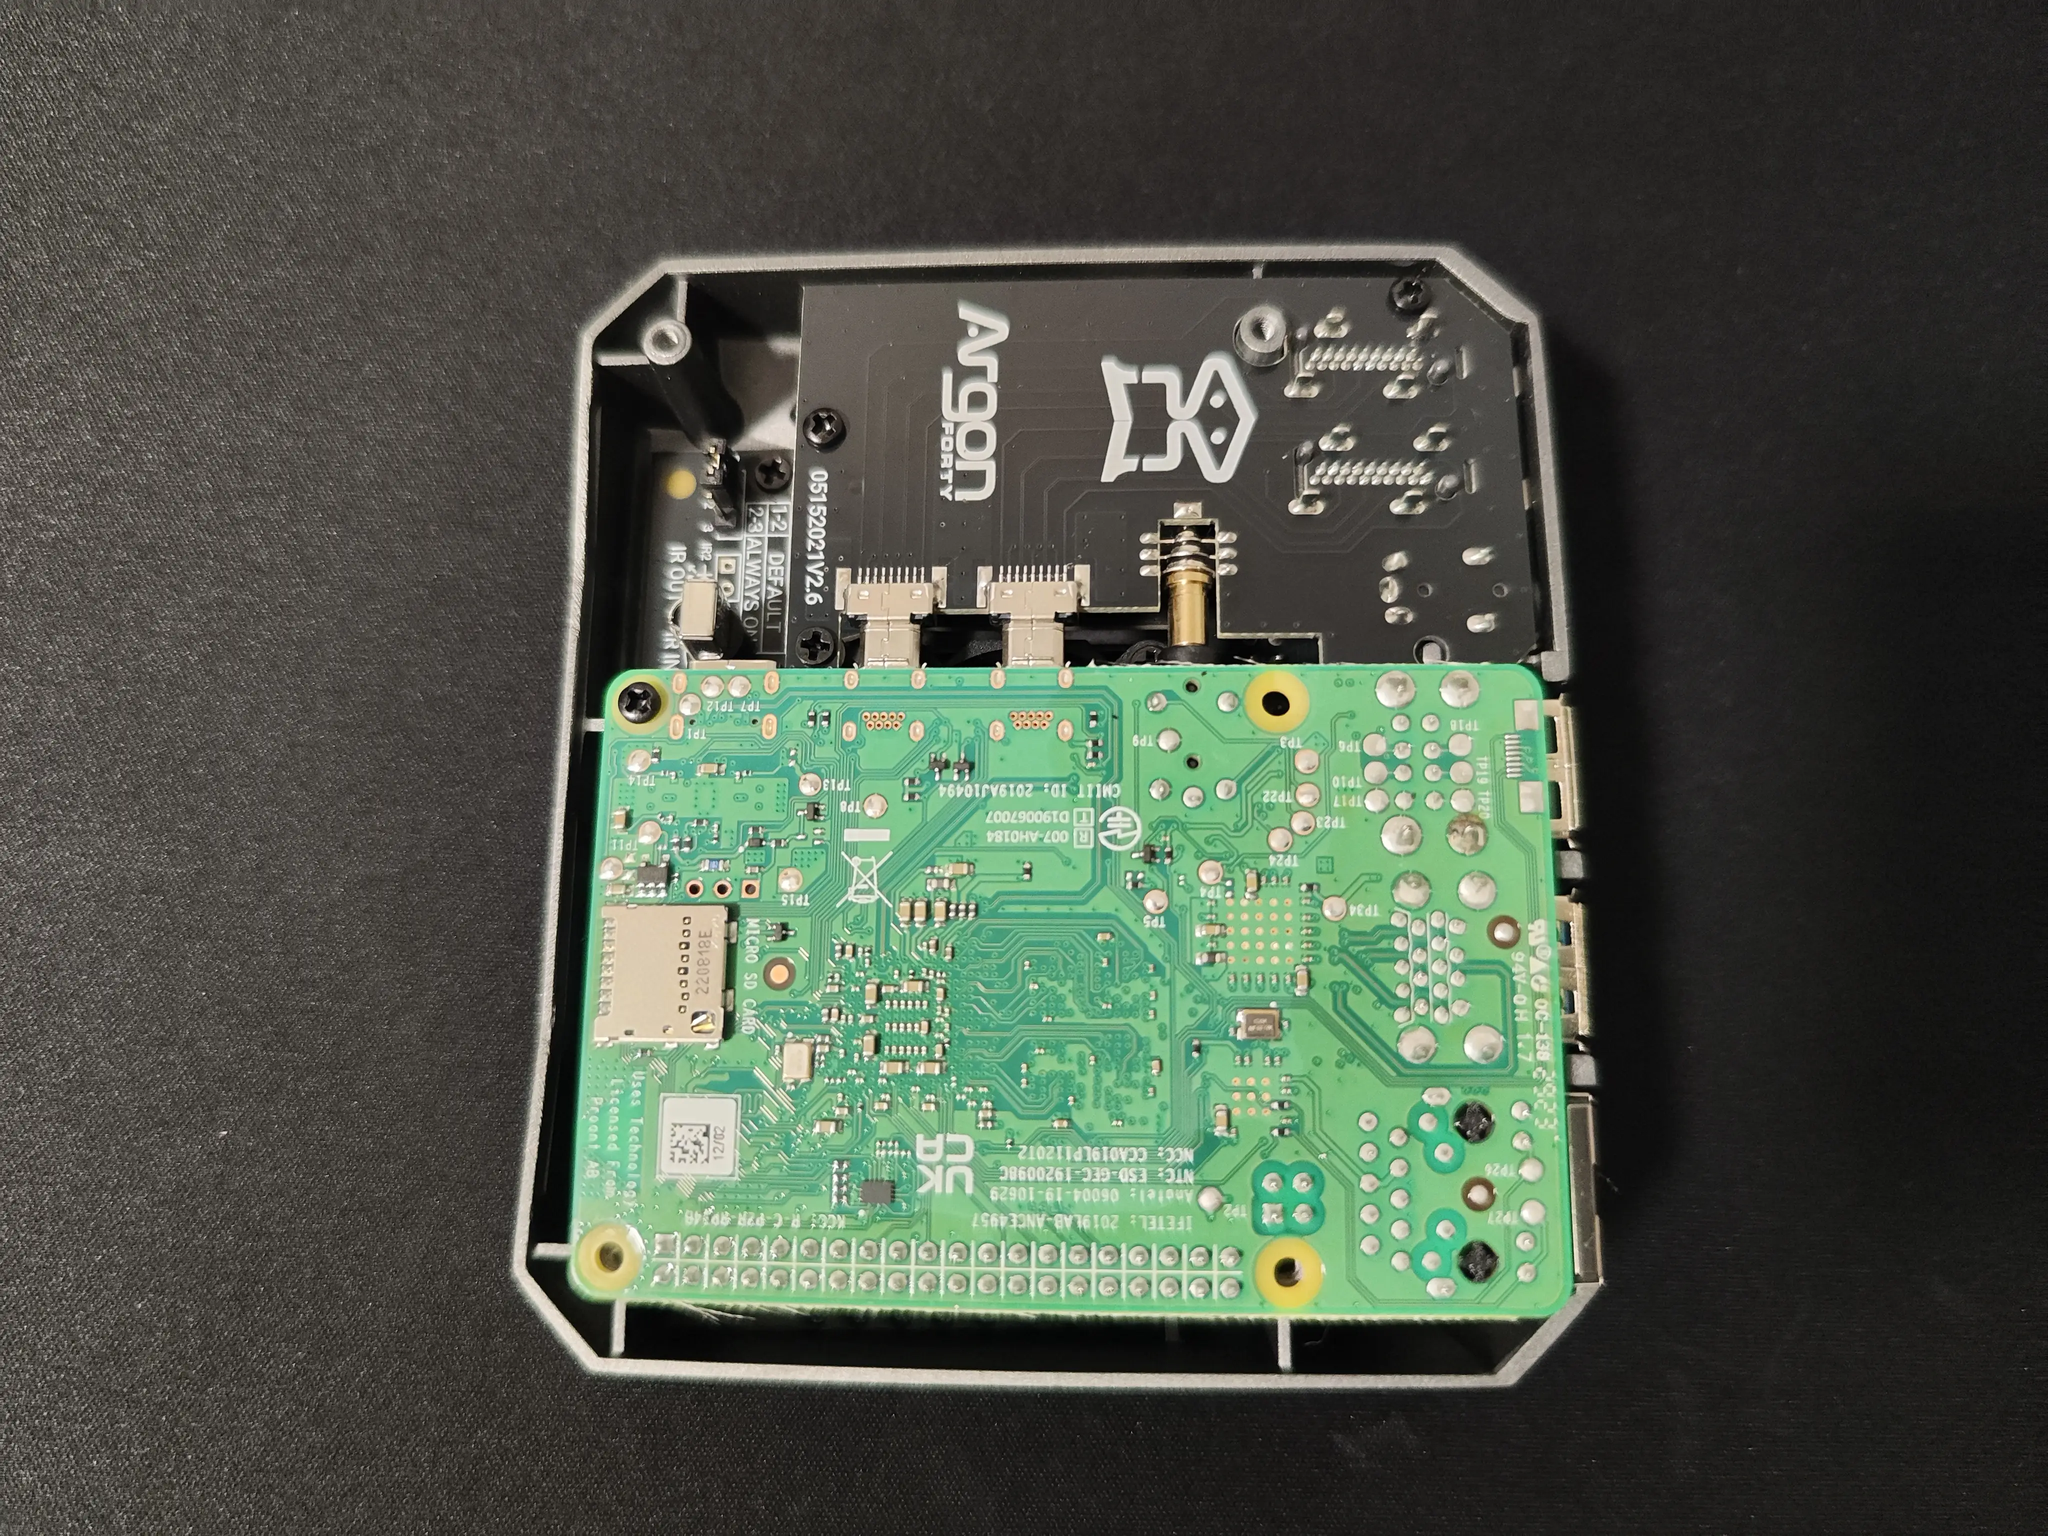
First, connect the Raspberry Pi single board to the Argon ONE expansion board.
Next, attach the thermal pads to the top side of the case.
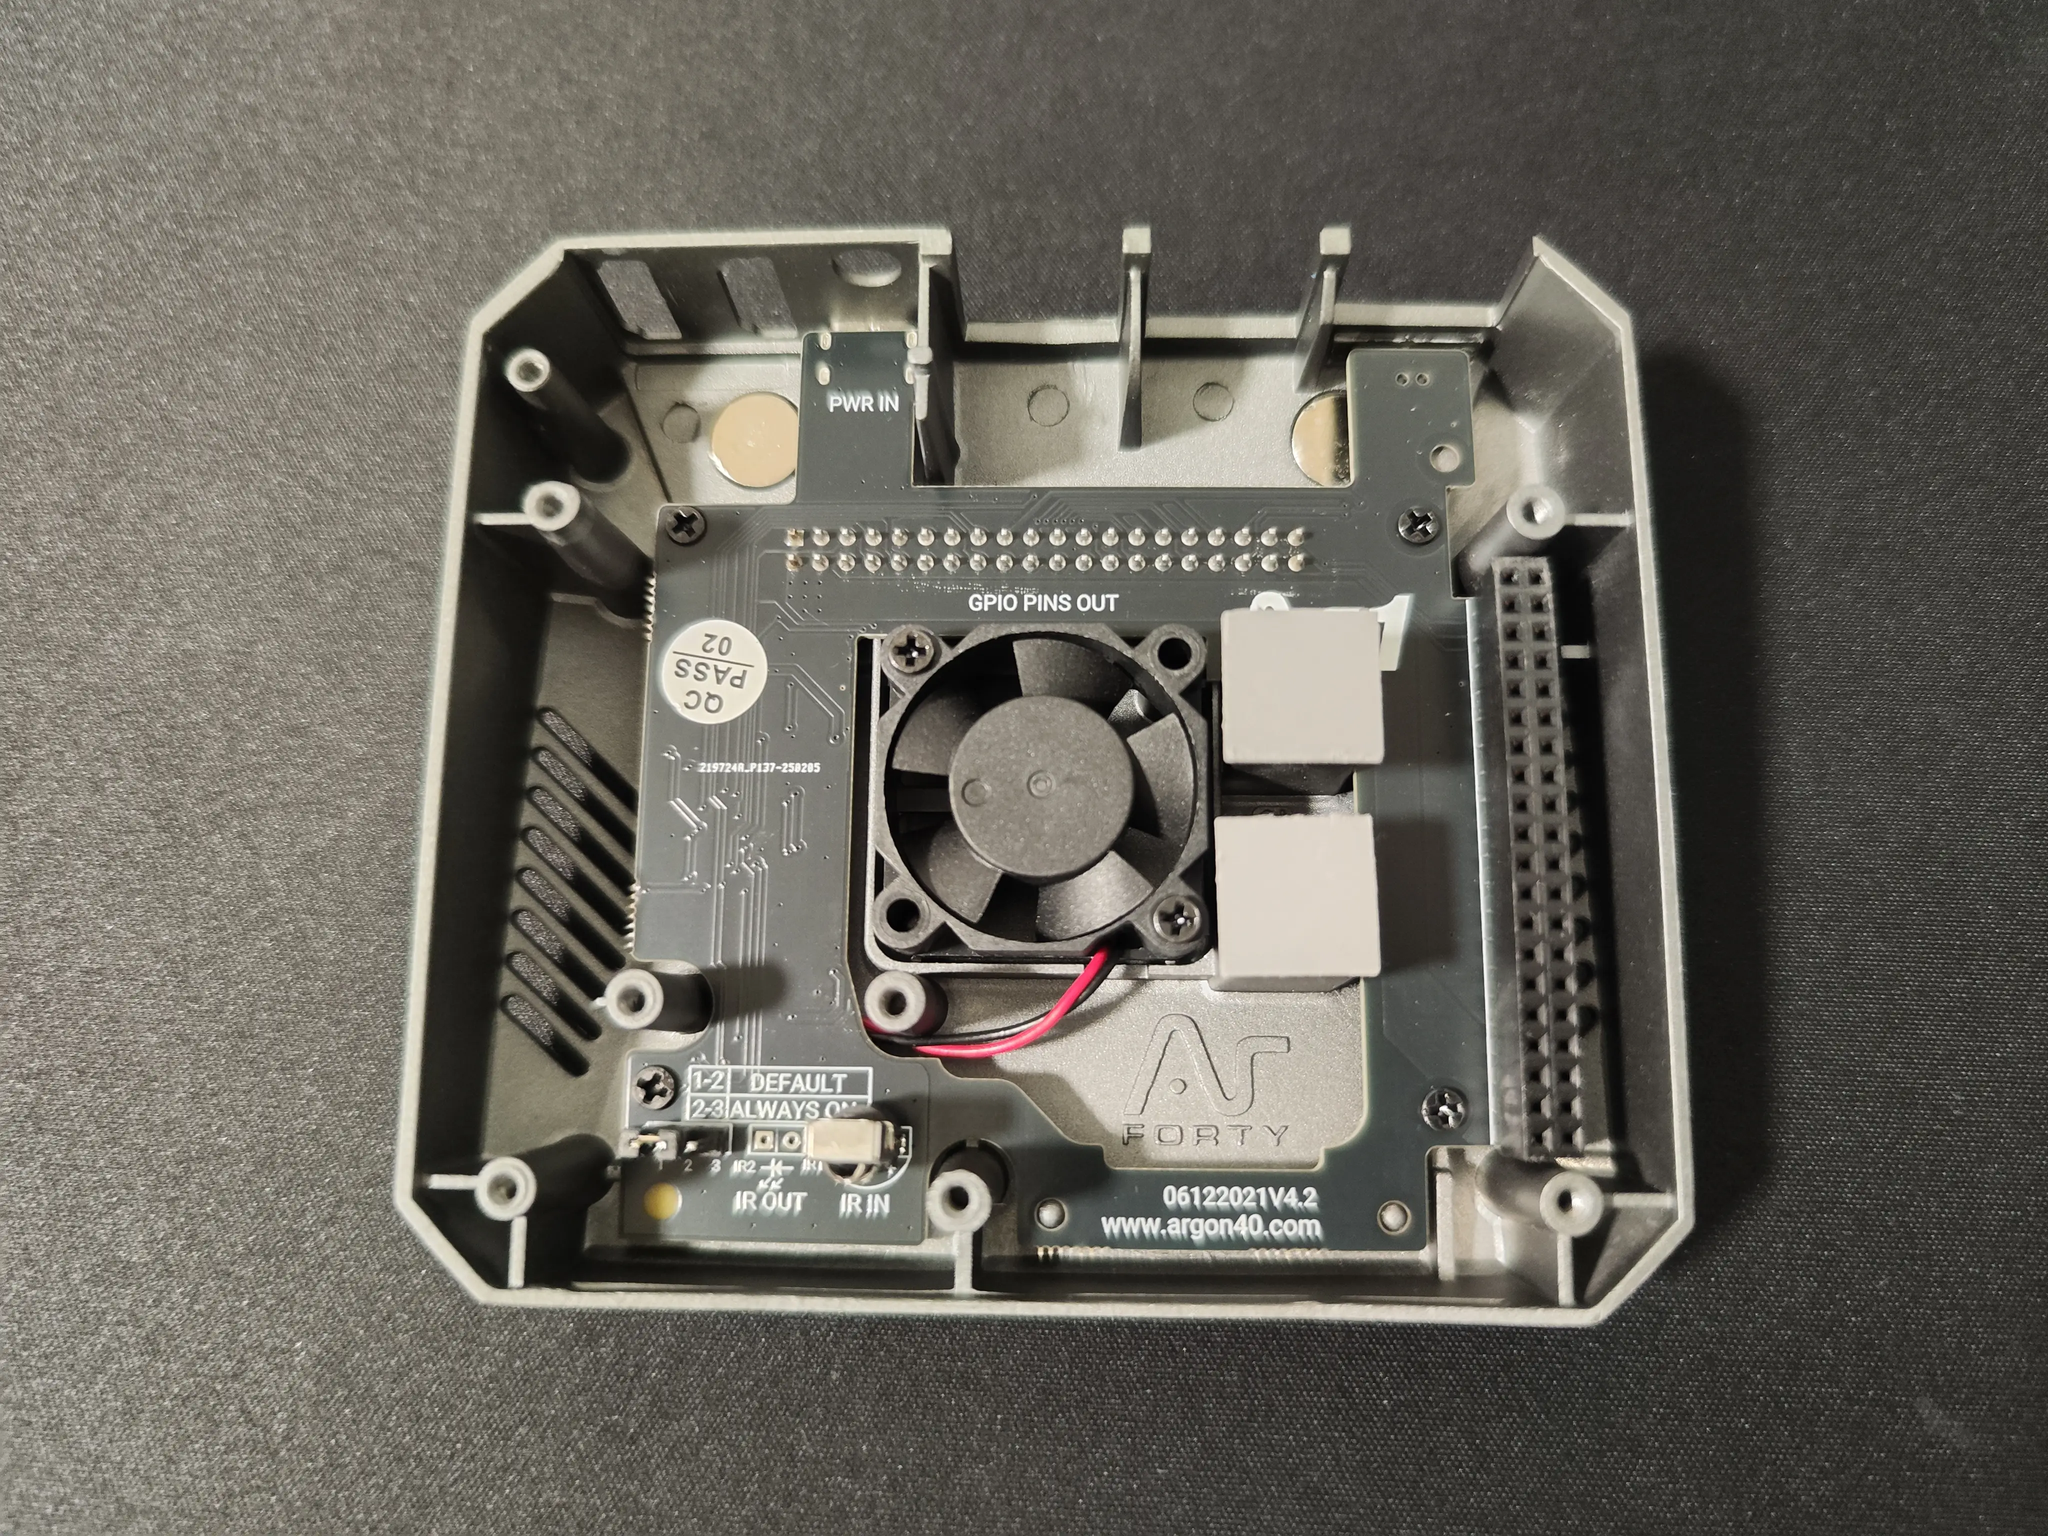
After that, place the Raspberry Pi, now connected to the expansion board, onto the top side of the case.
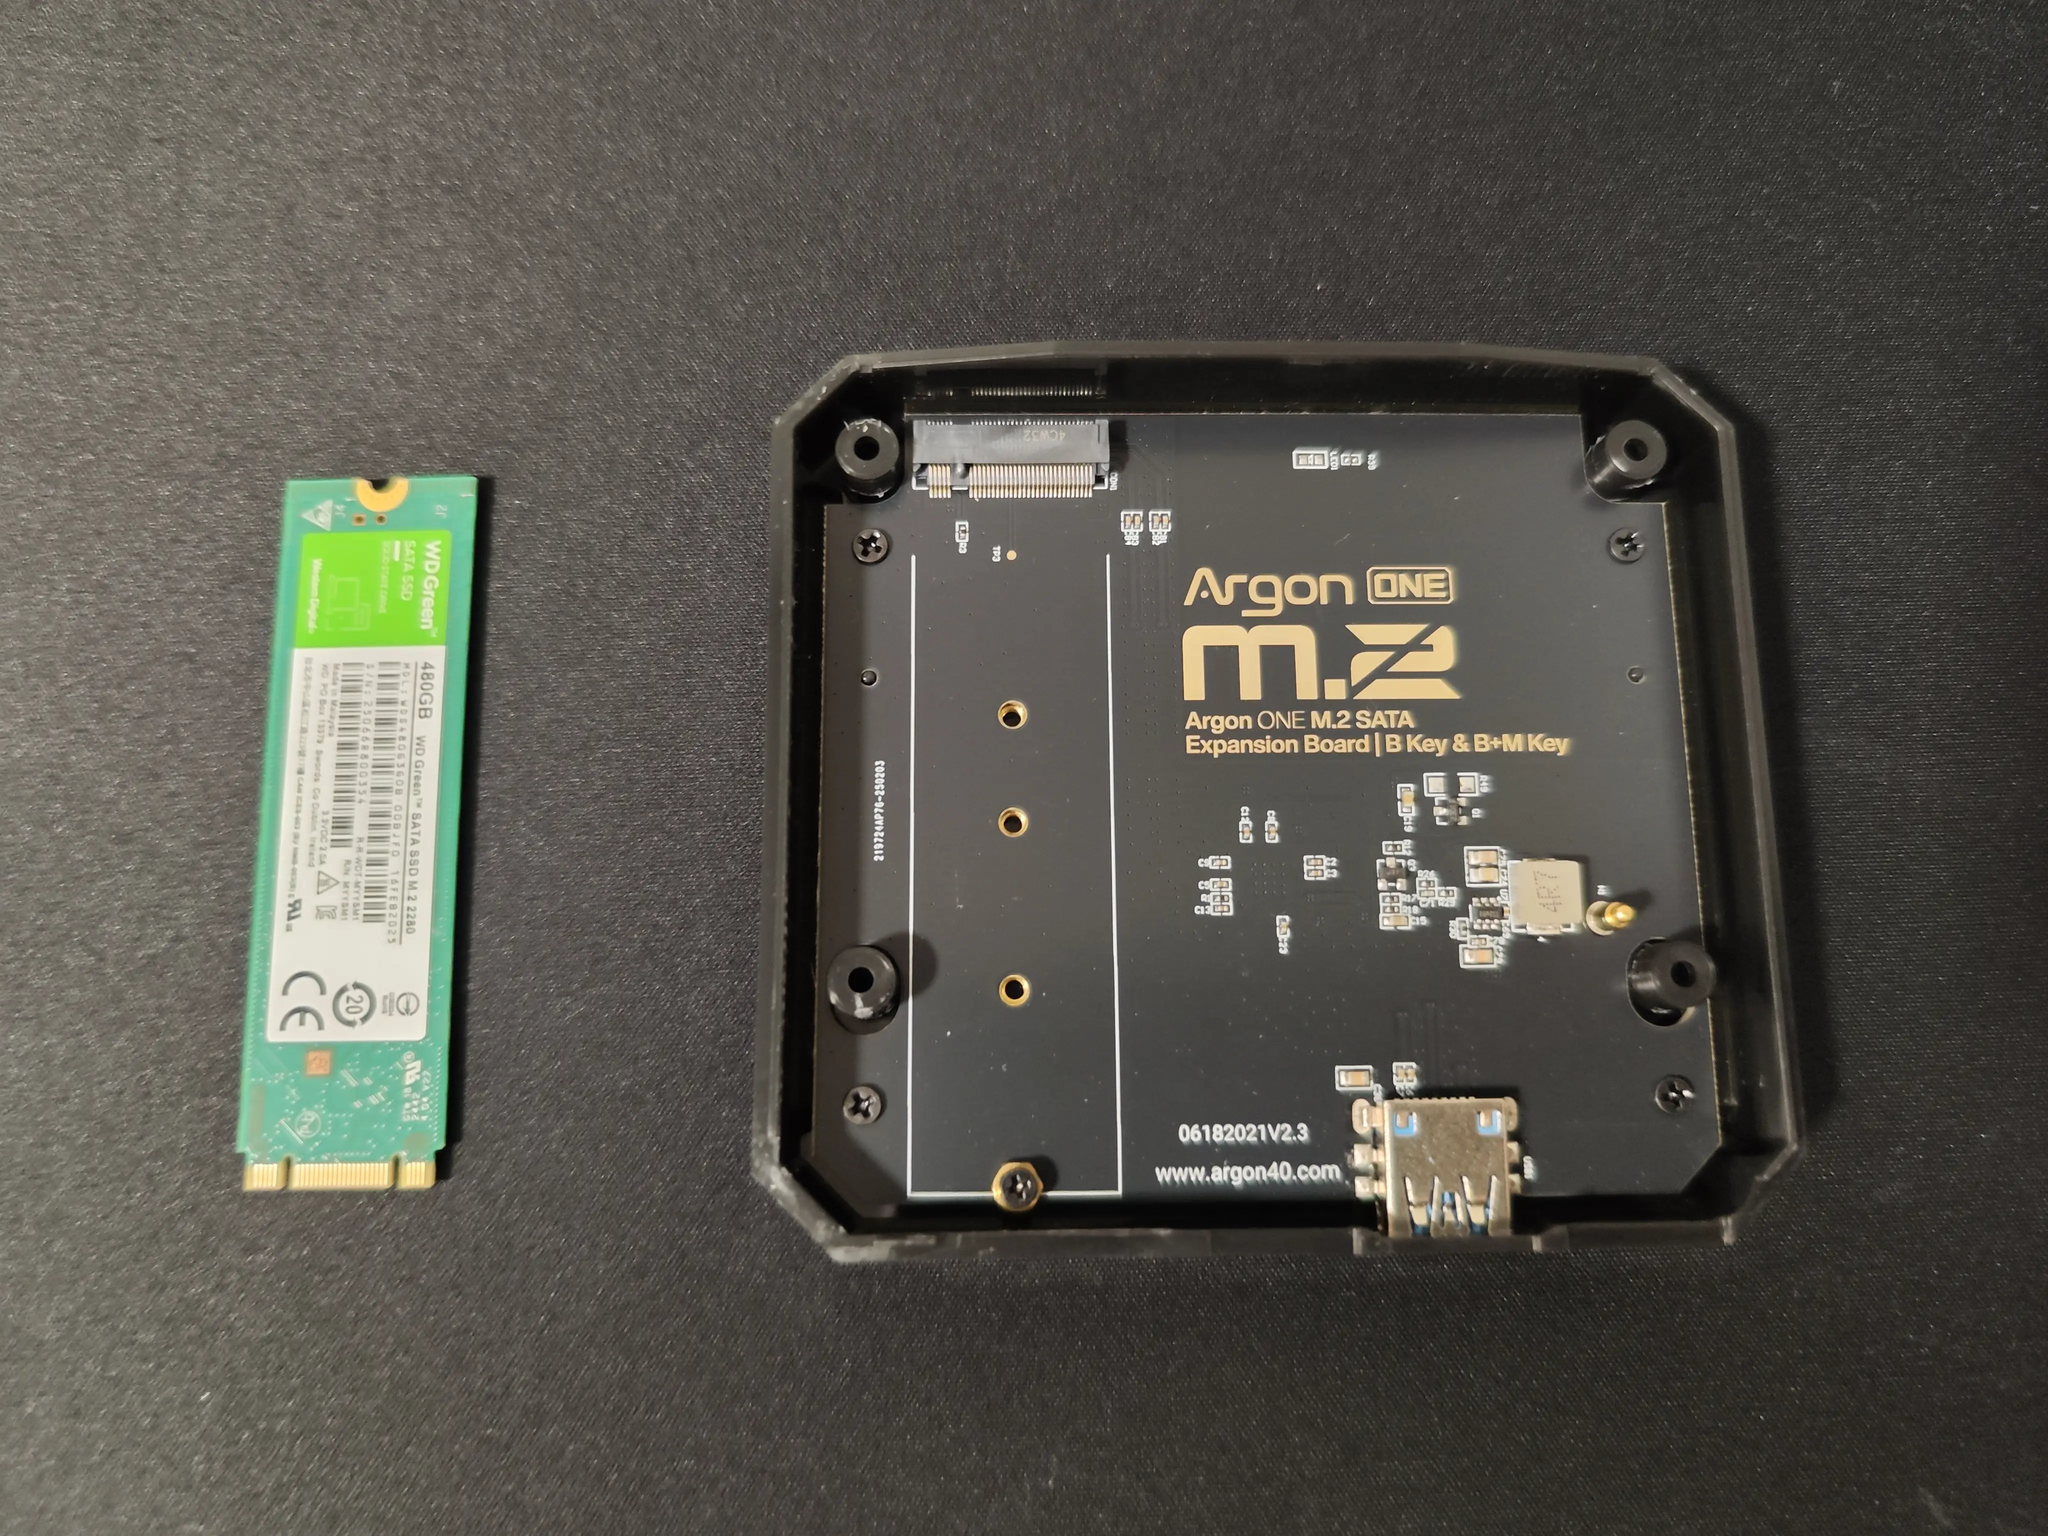
Next, install the SSD onto the M.2 board that forms the bottom side of the case.
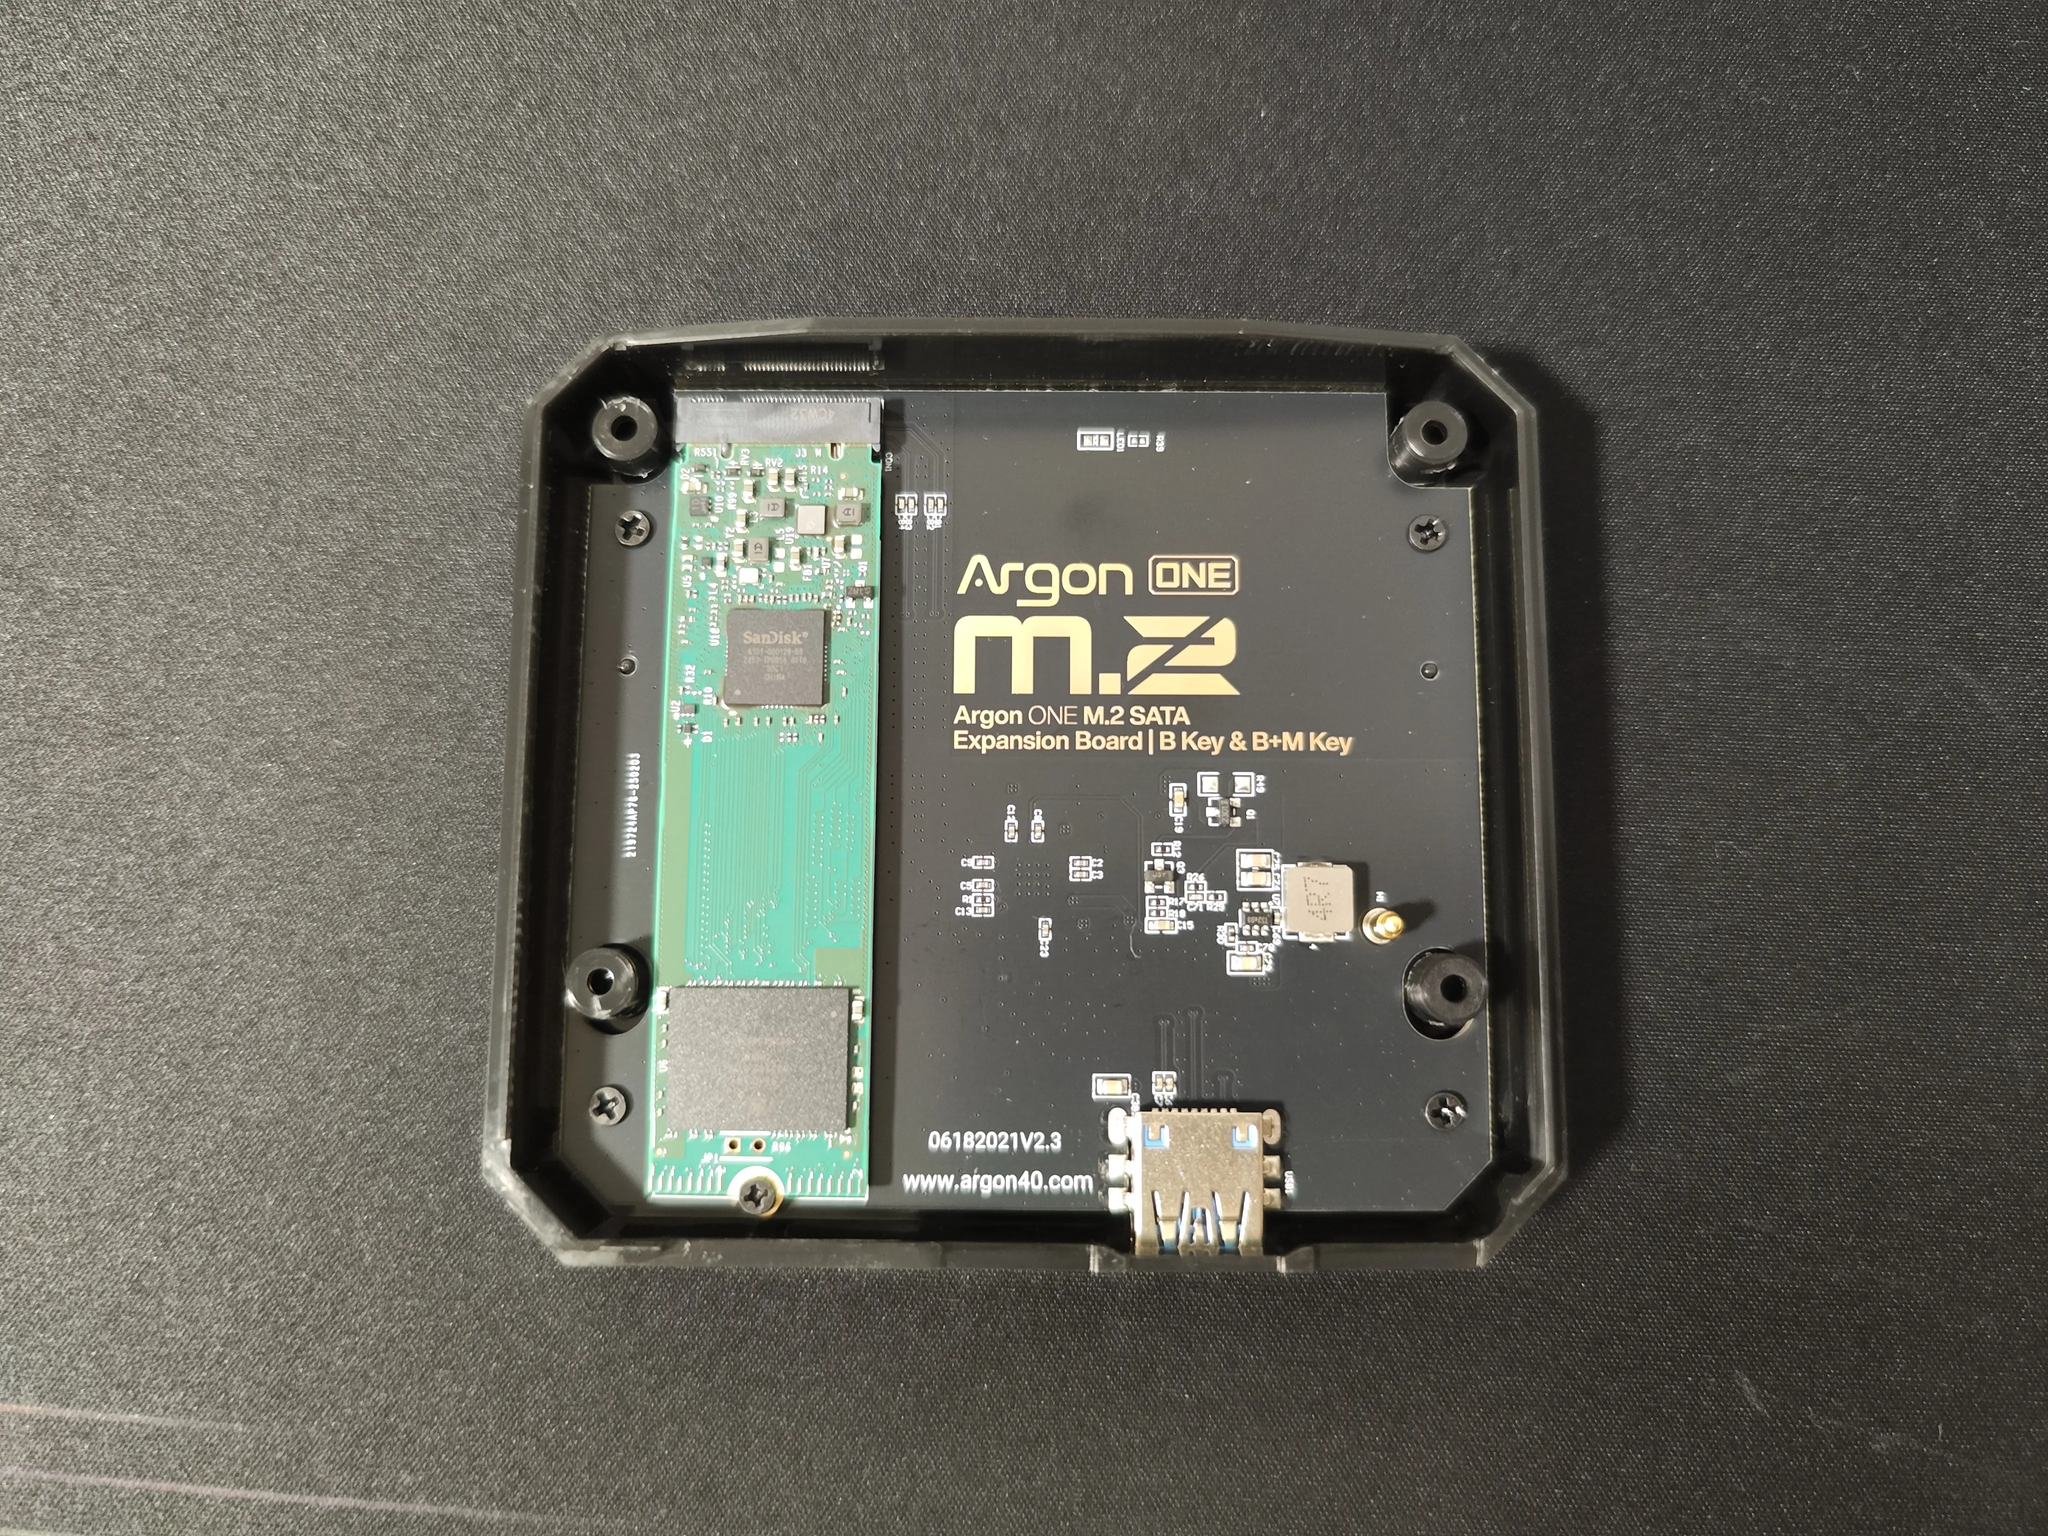
Finally, fasten the top and bottom plates together with screws, and the assembly is complete.
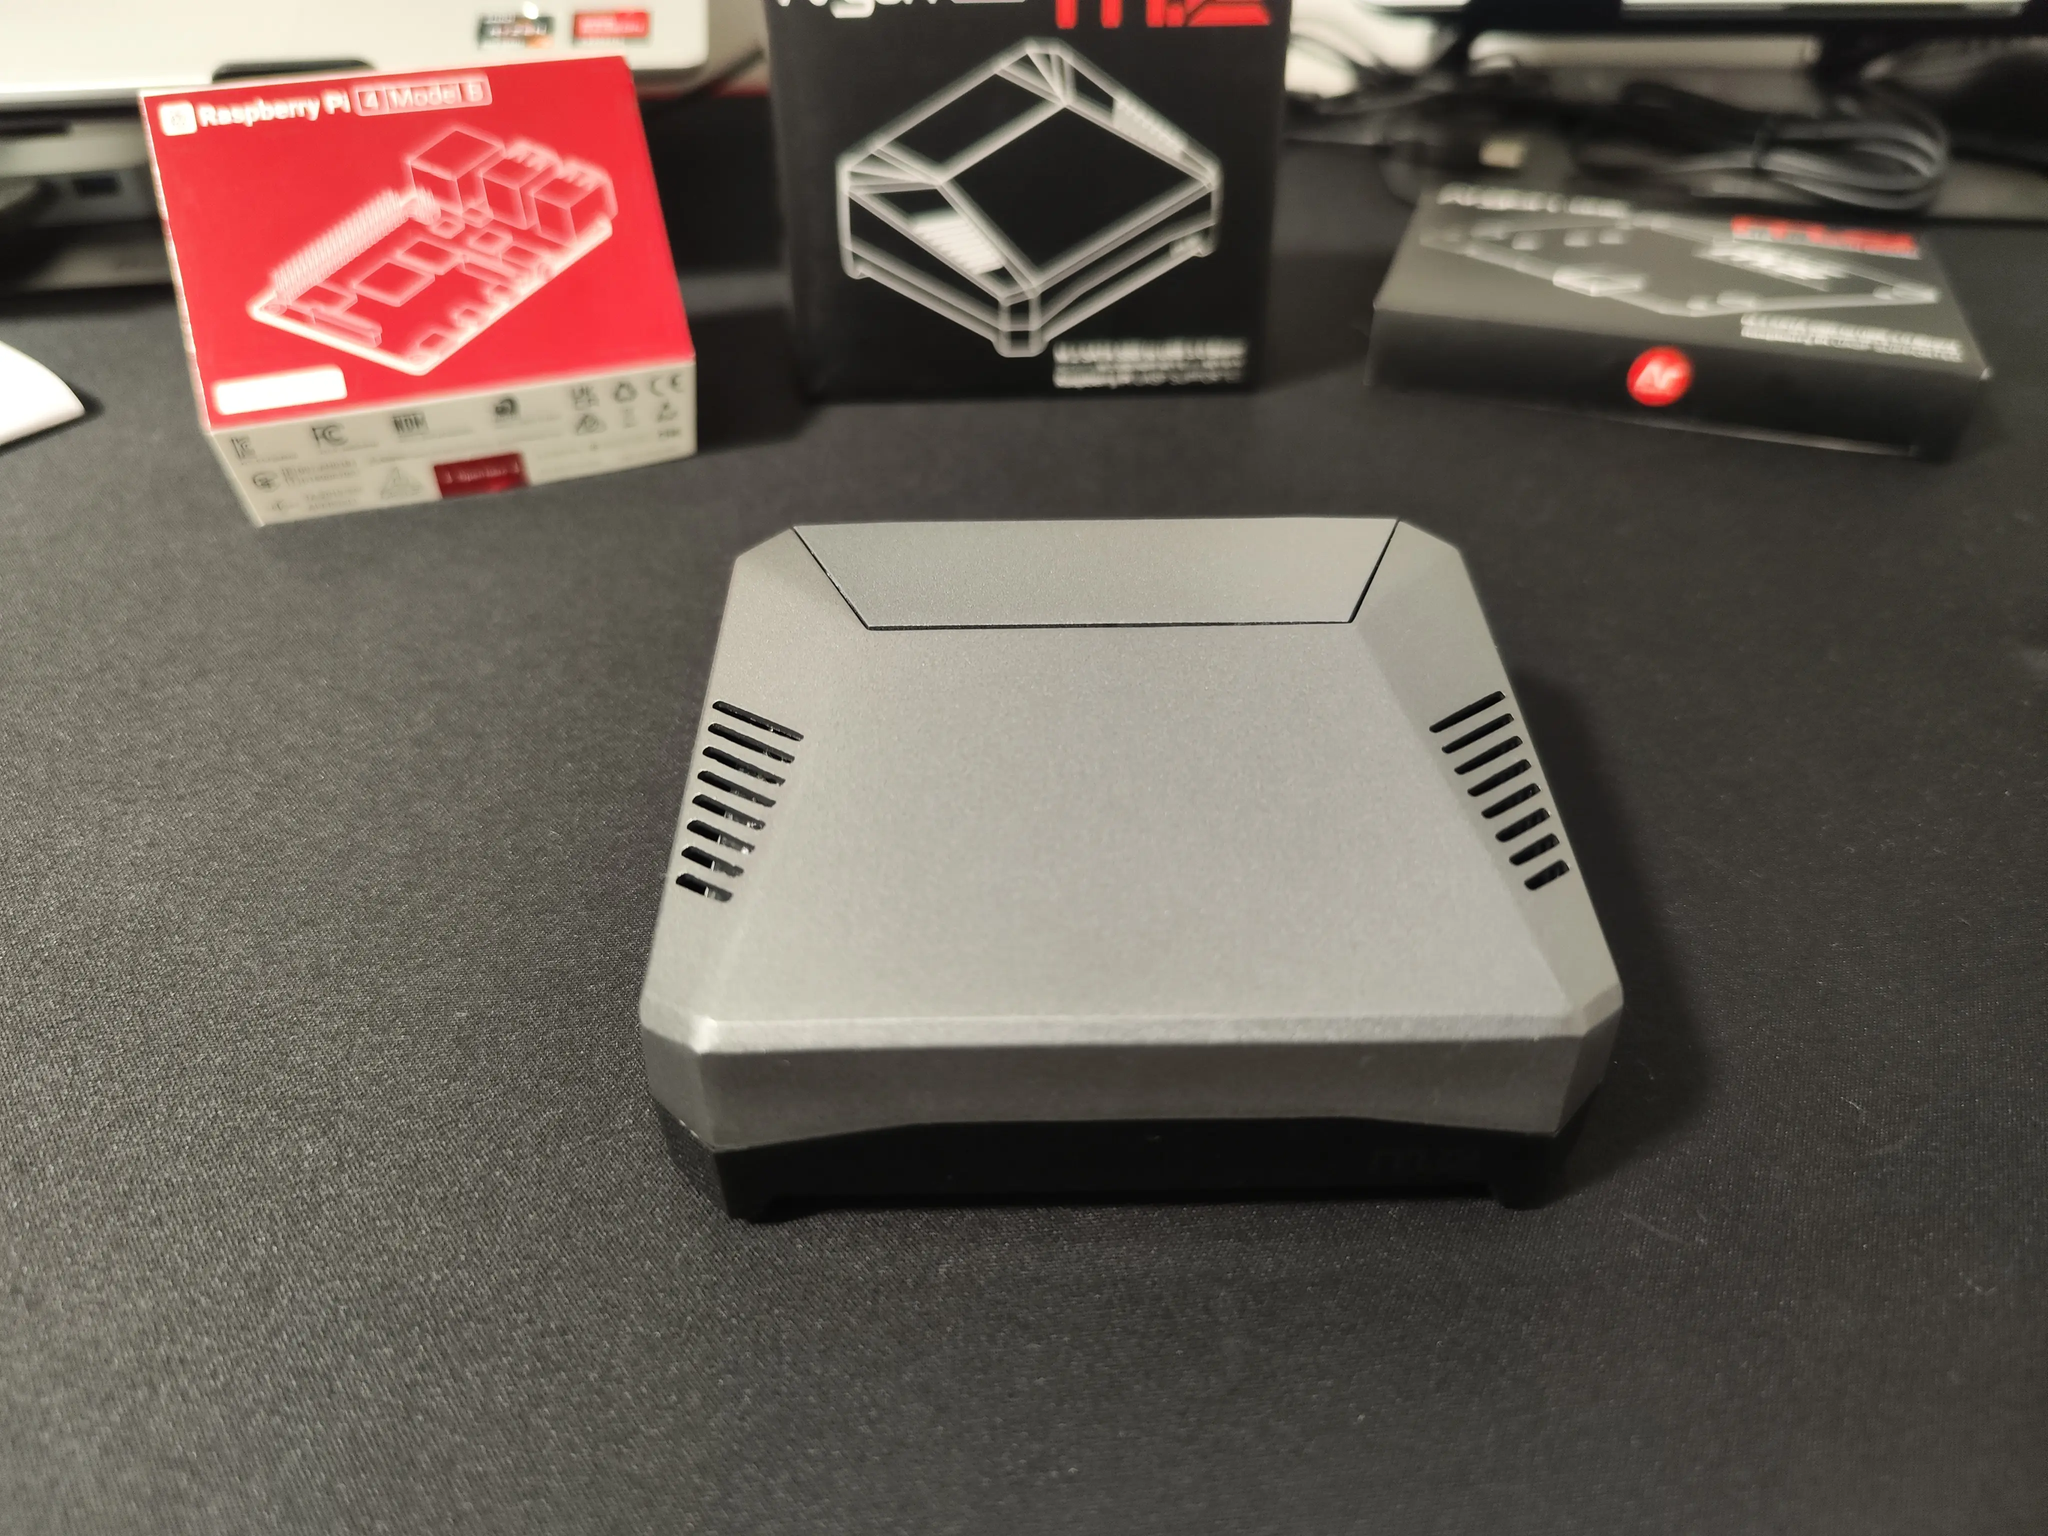
From the back, the connectors are arranged like this.
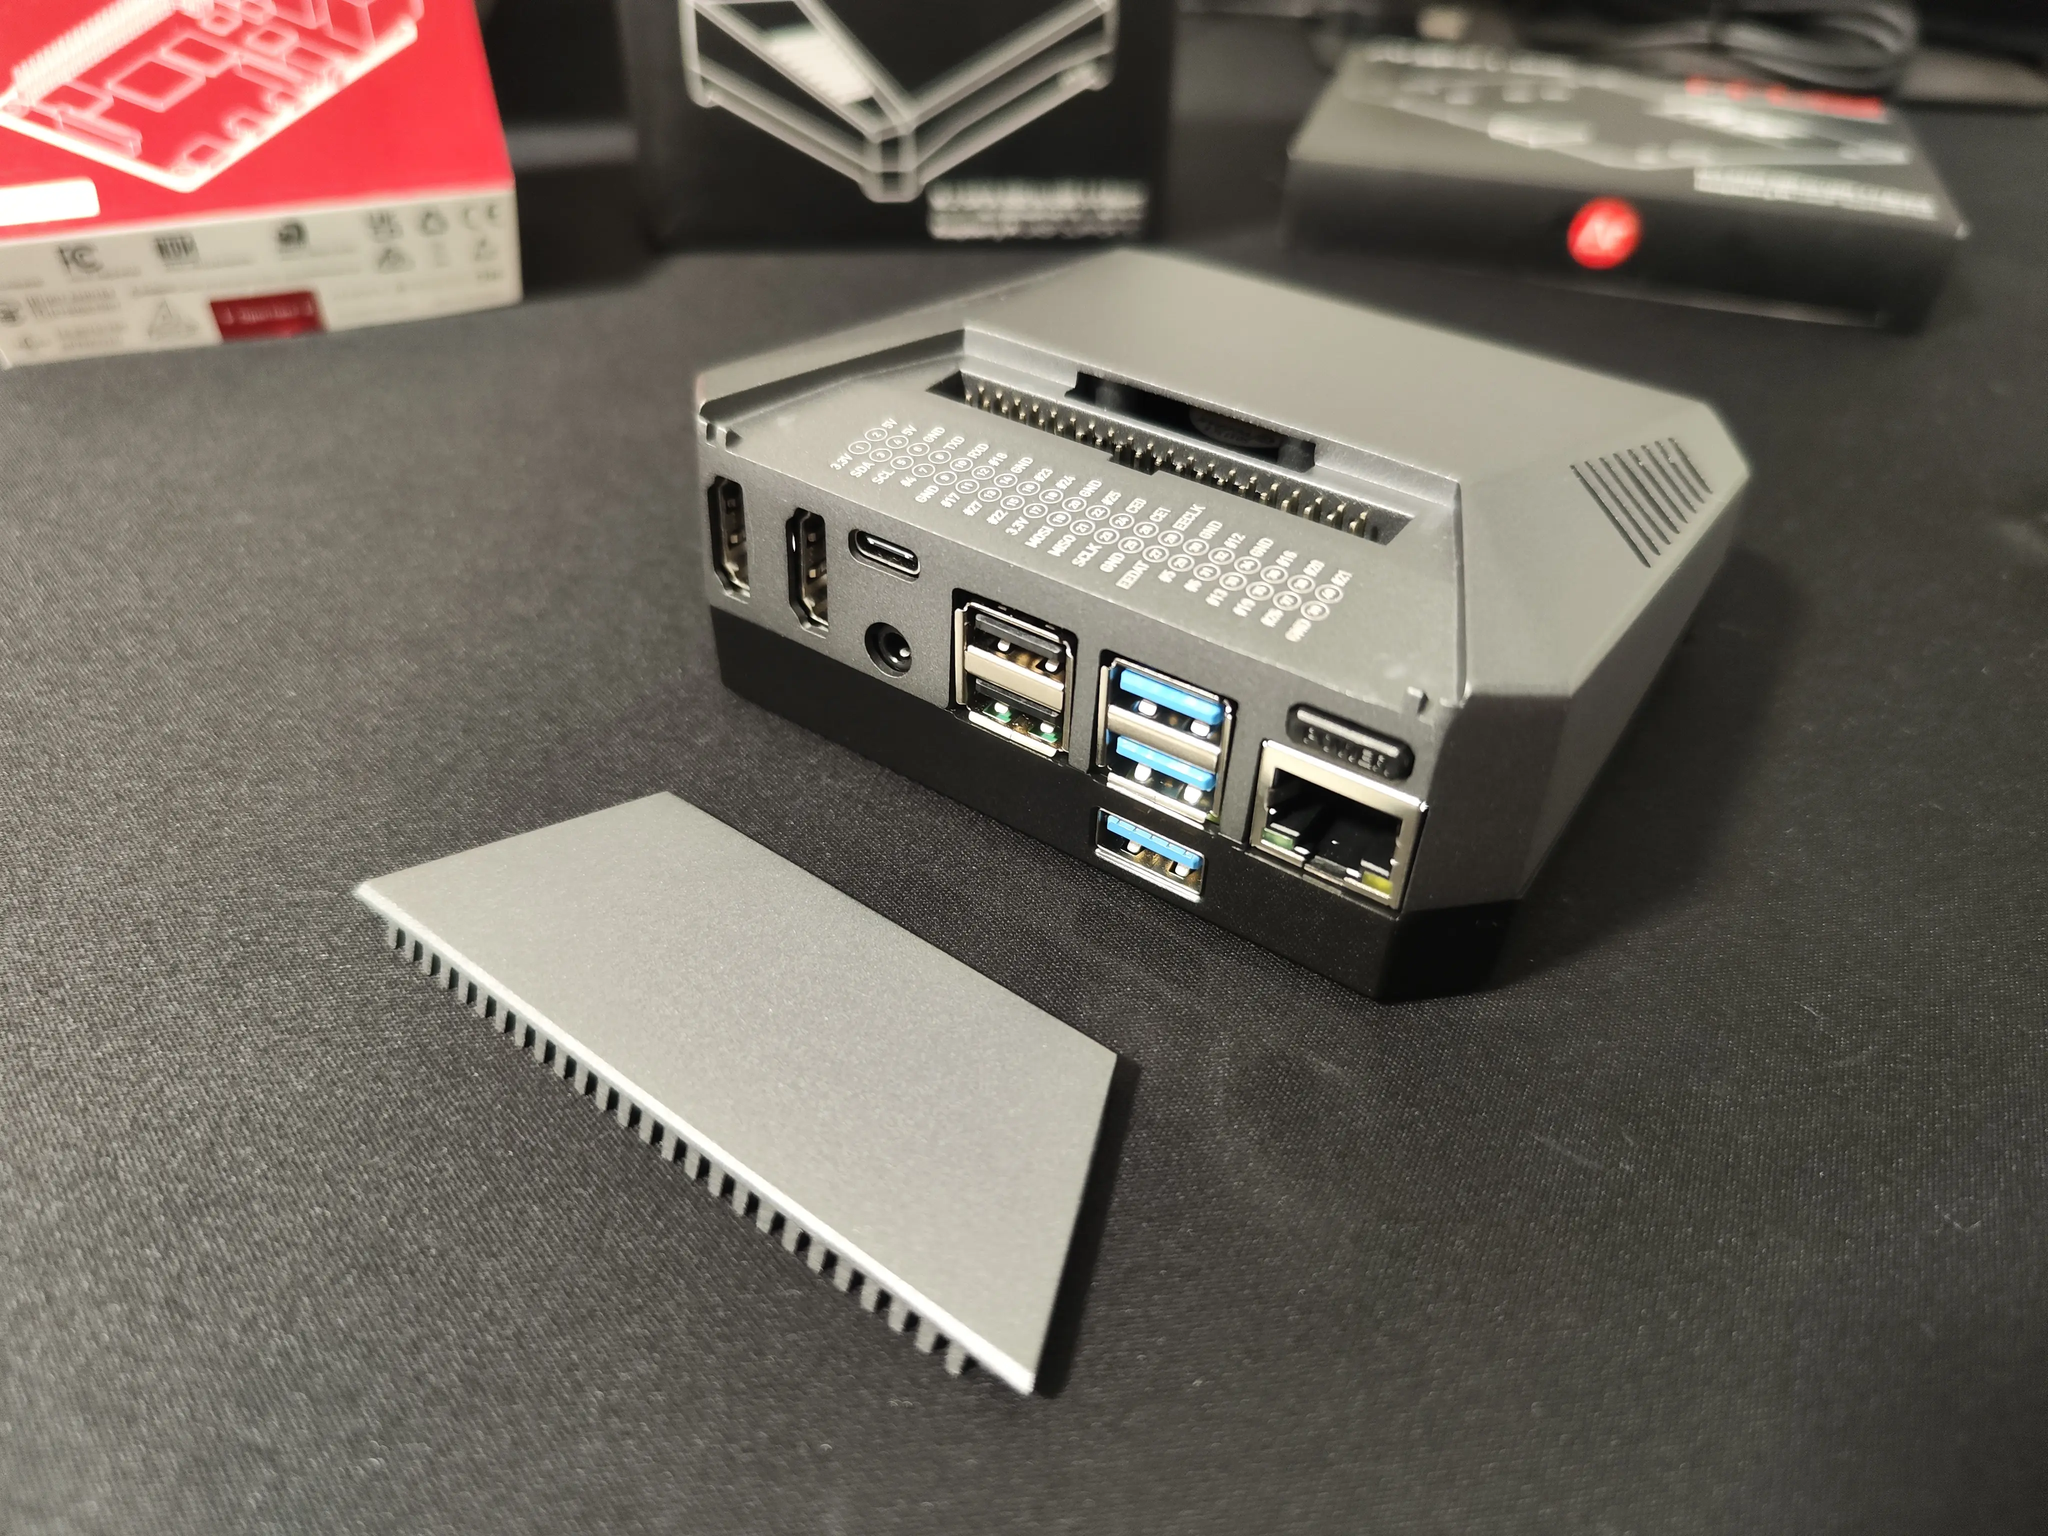
📺Preparing the Monitor
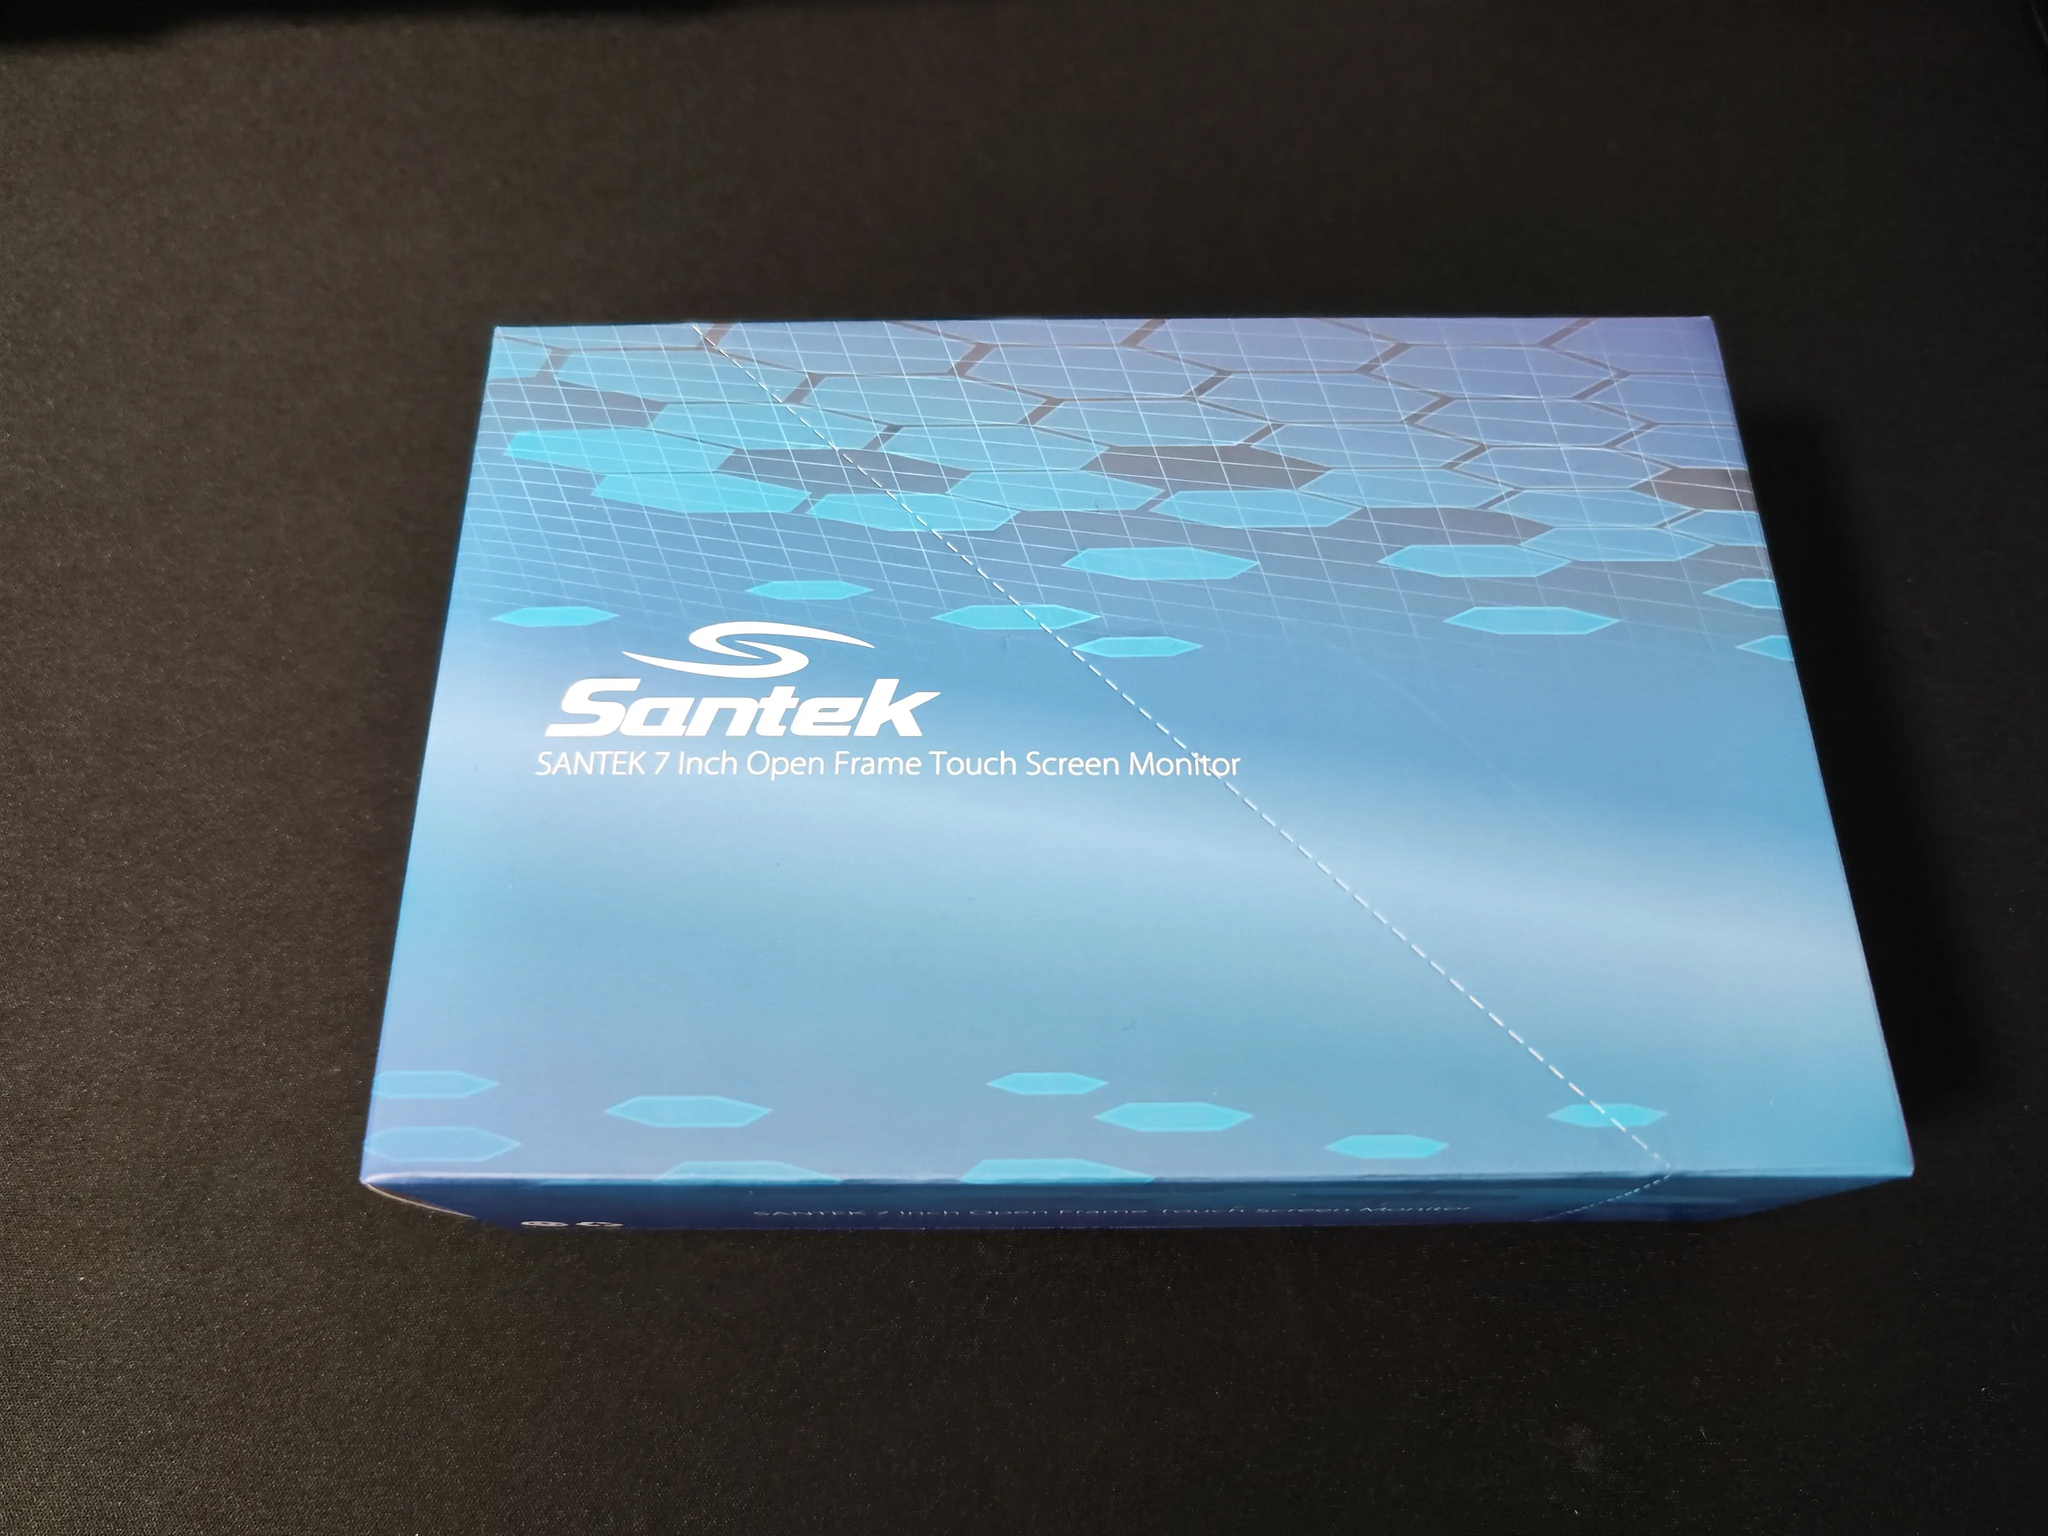
Next, I checked the monitor I bought for this setup.
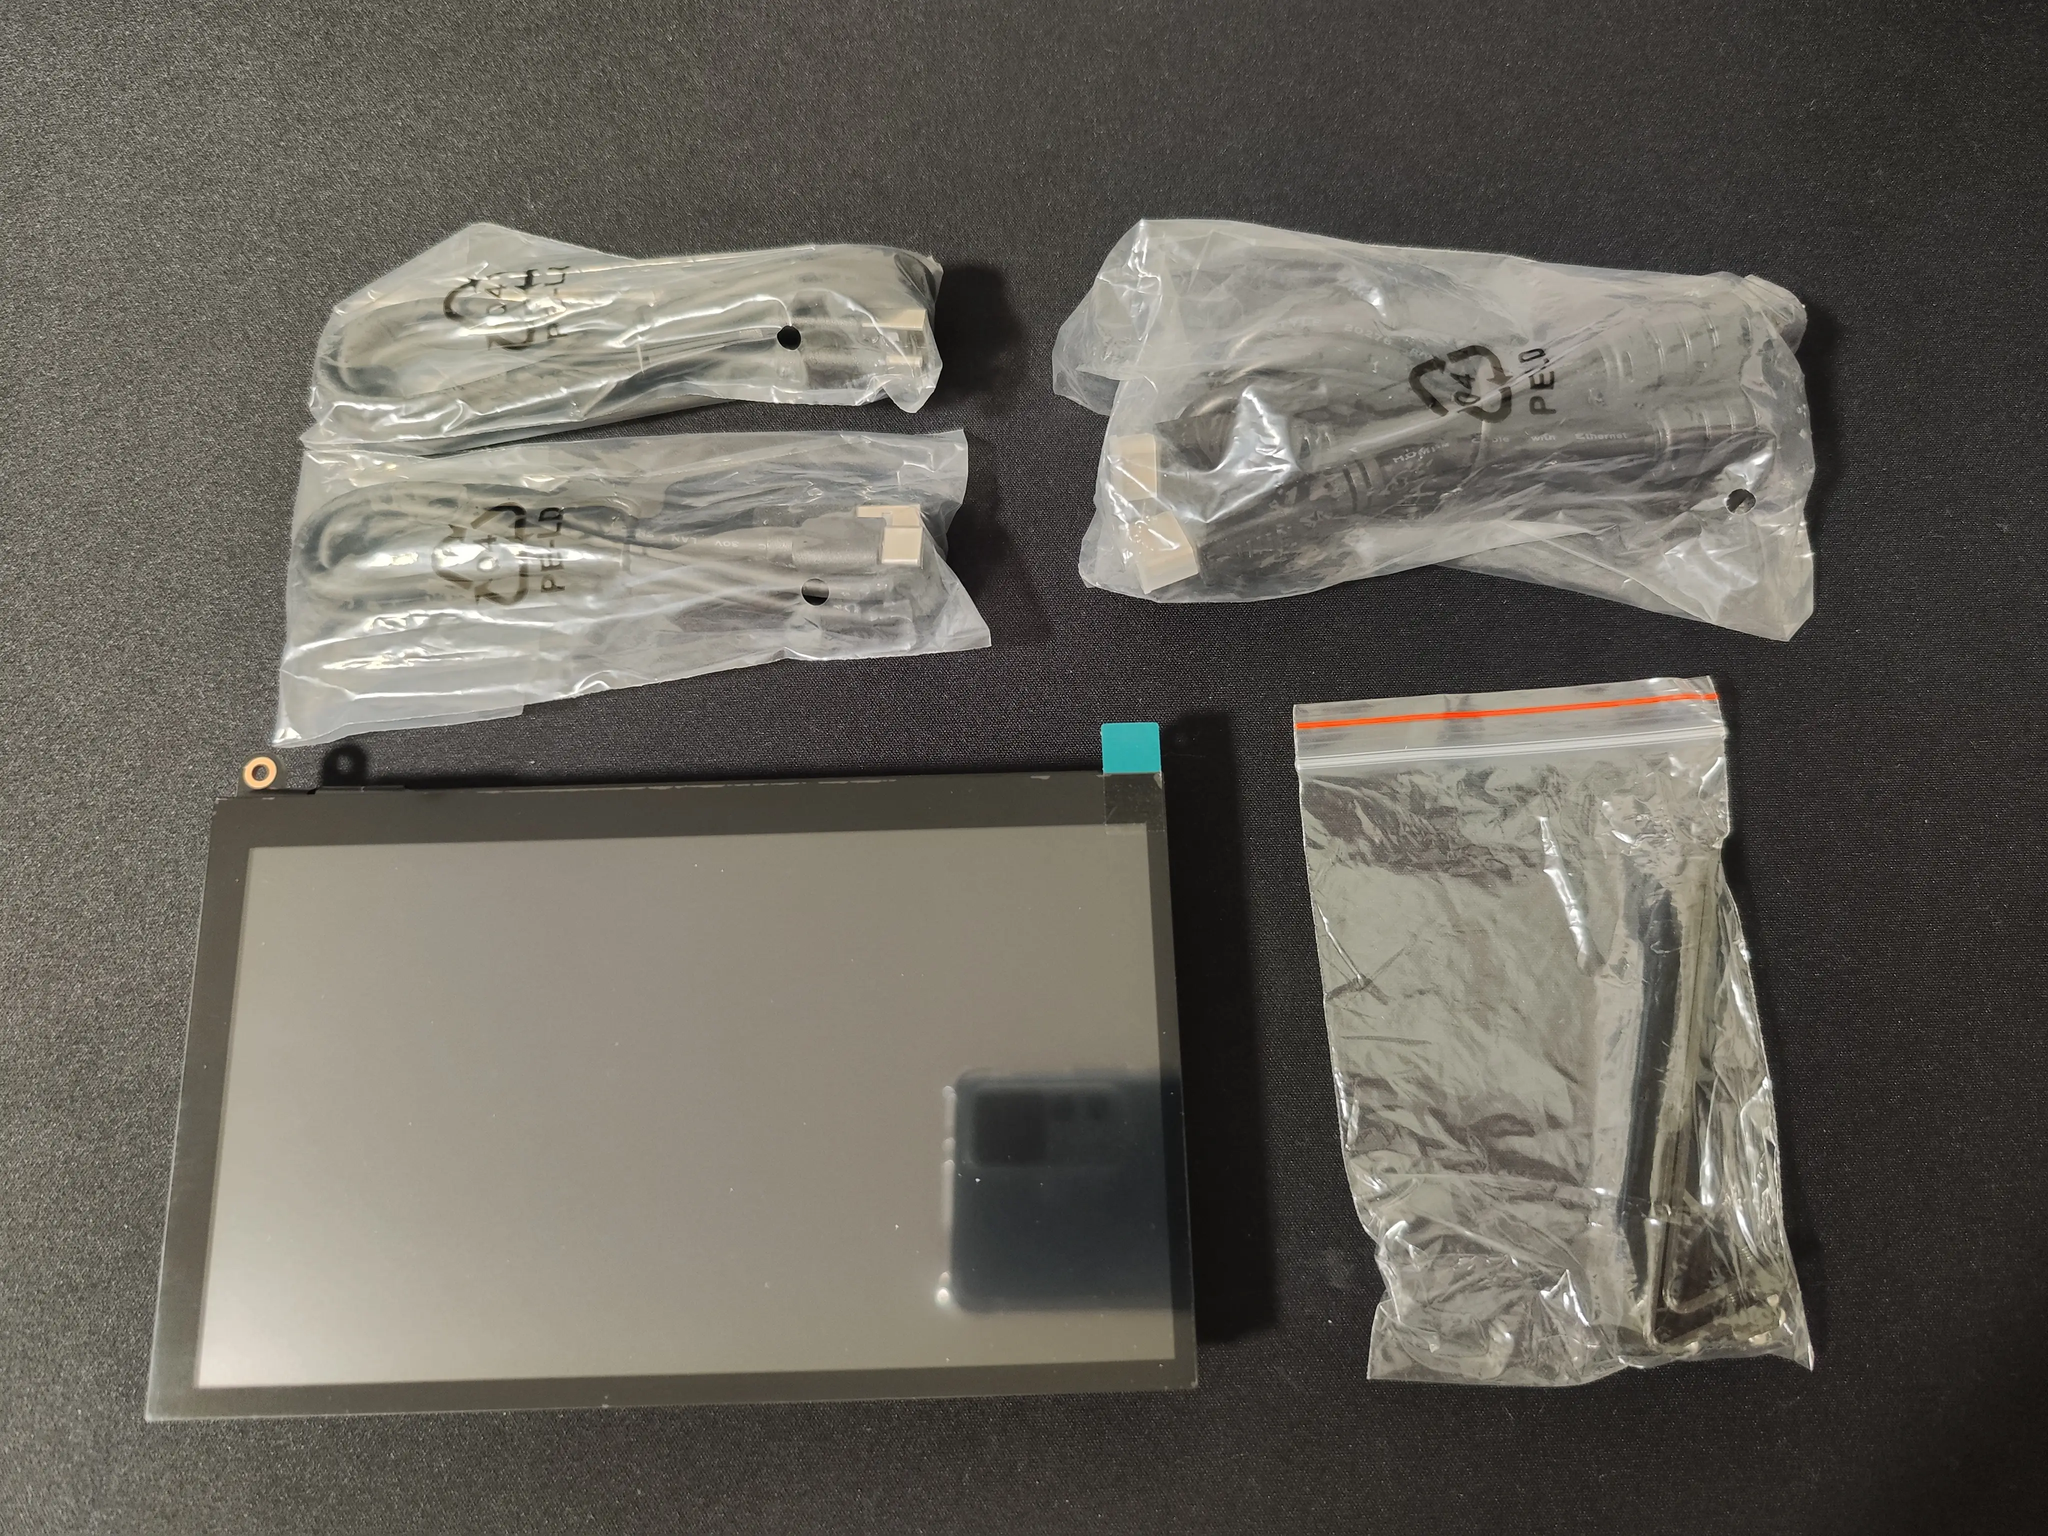
The included accessories were as follows.
- USB-A to USB-C cable × 2
- HDMI to mini HDMI cable
- Monitor stand
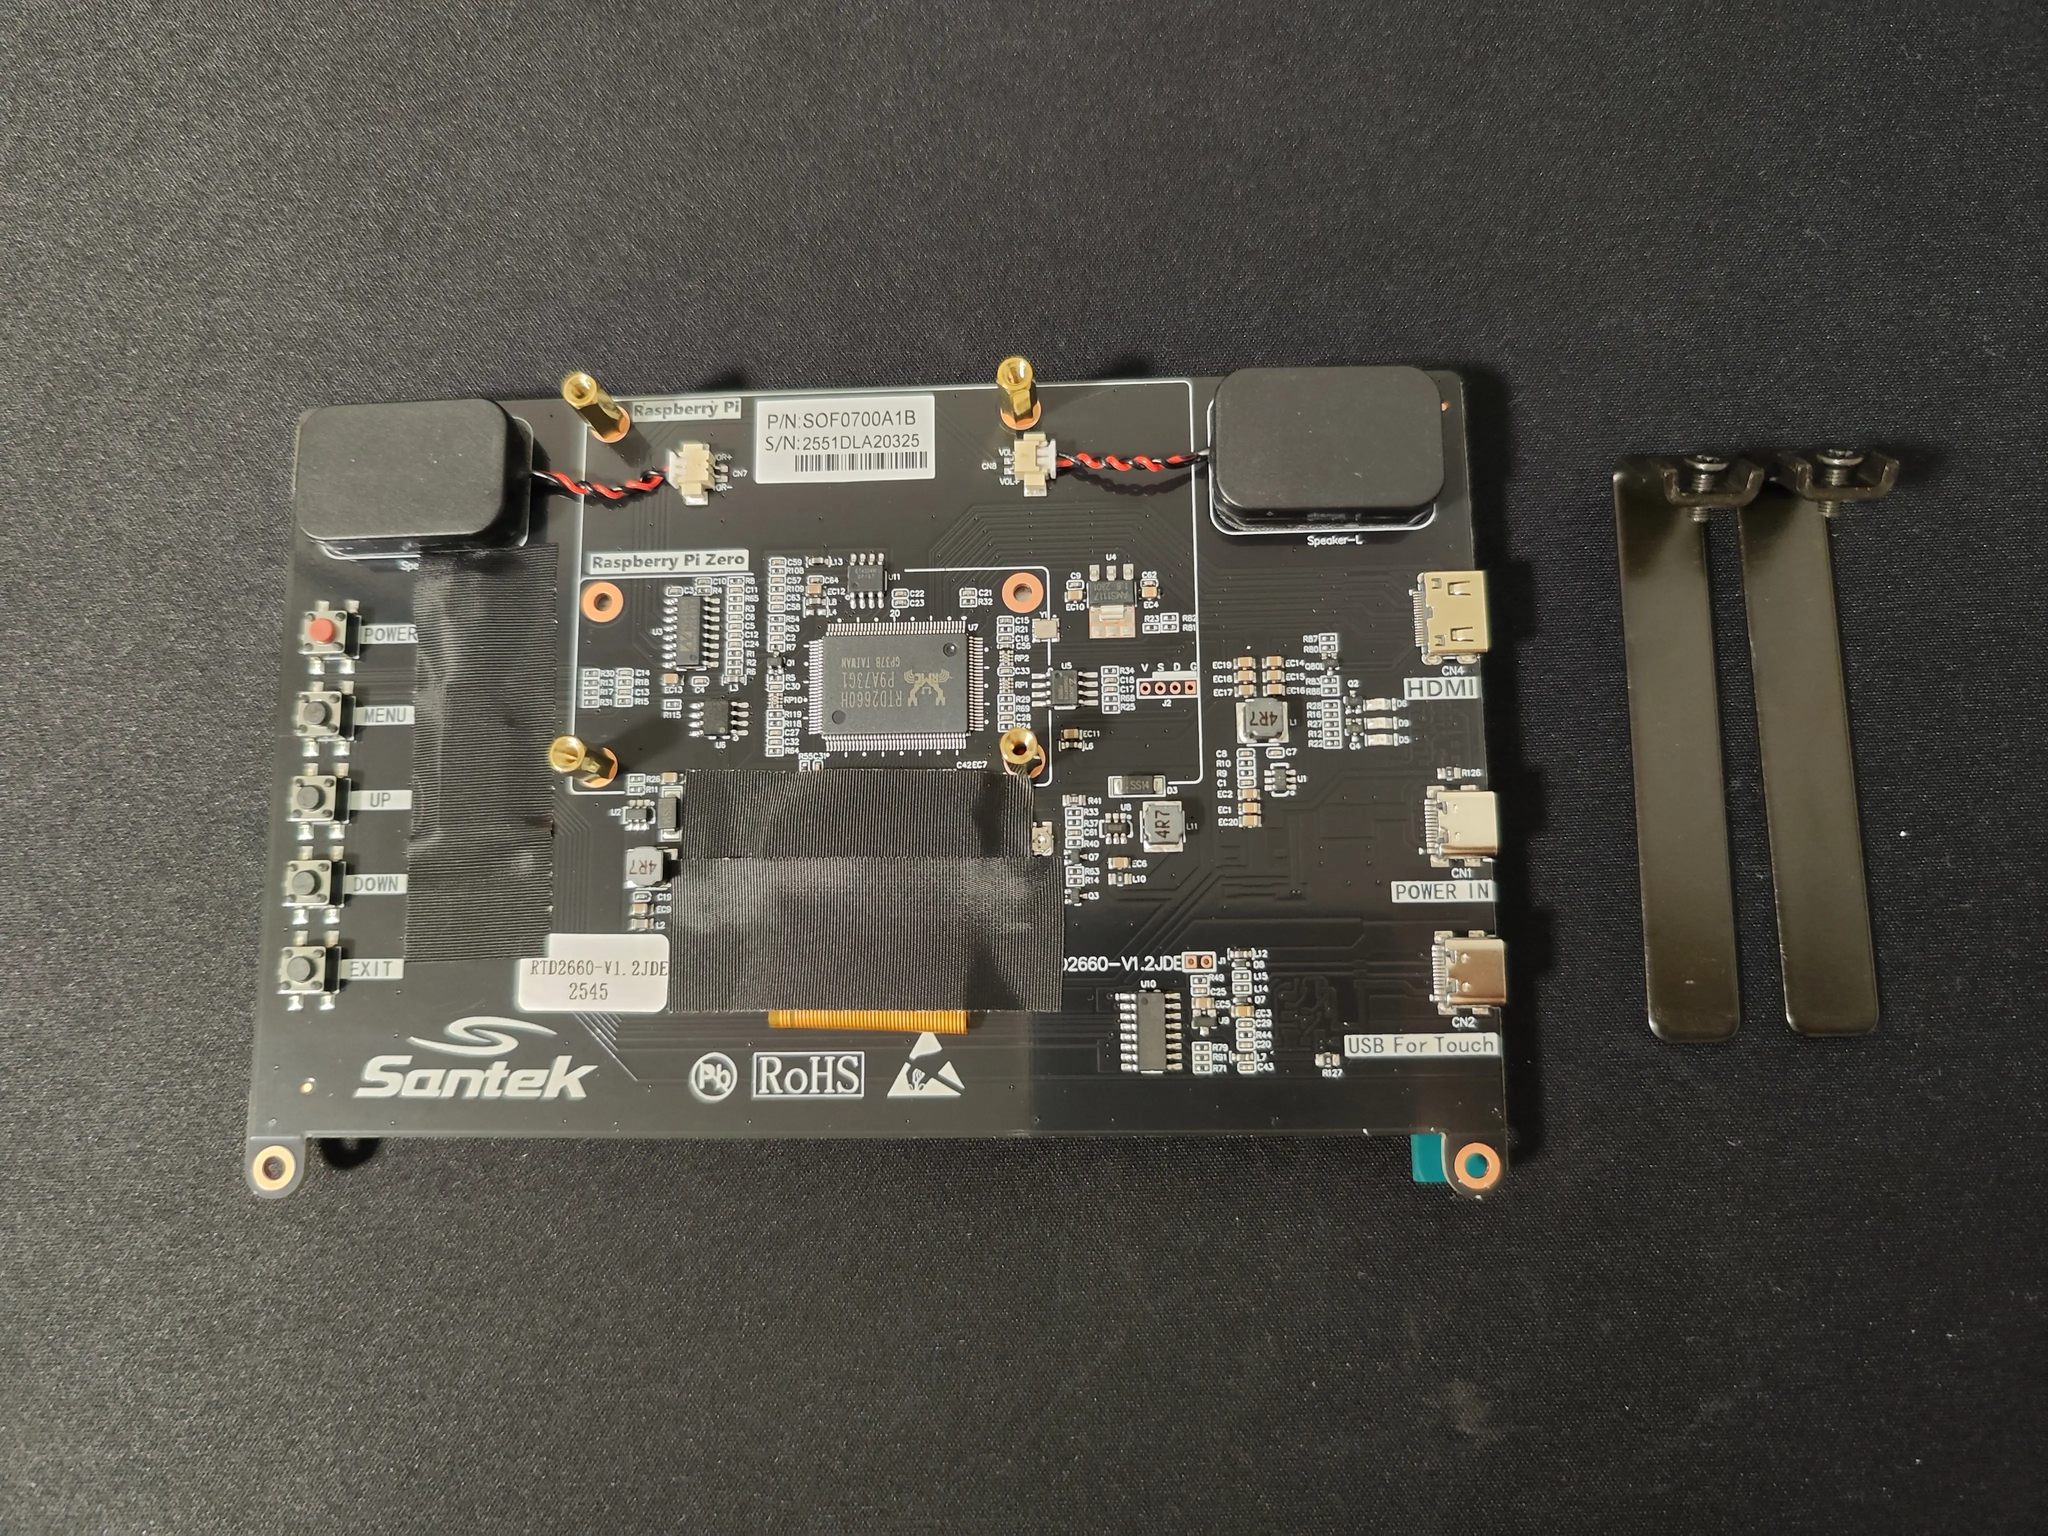
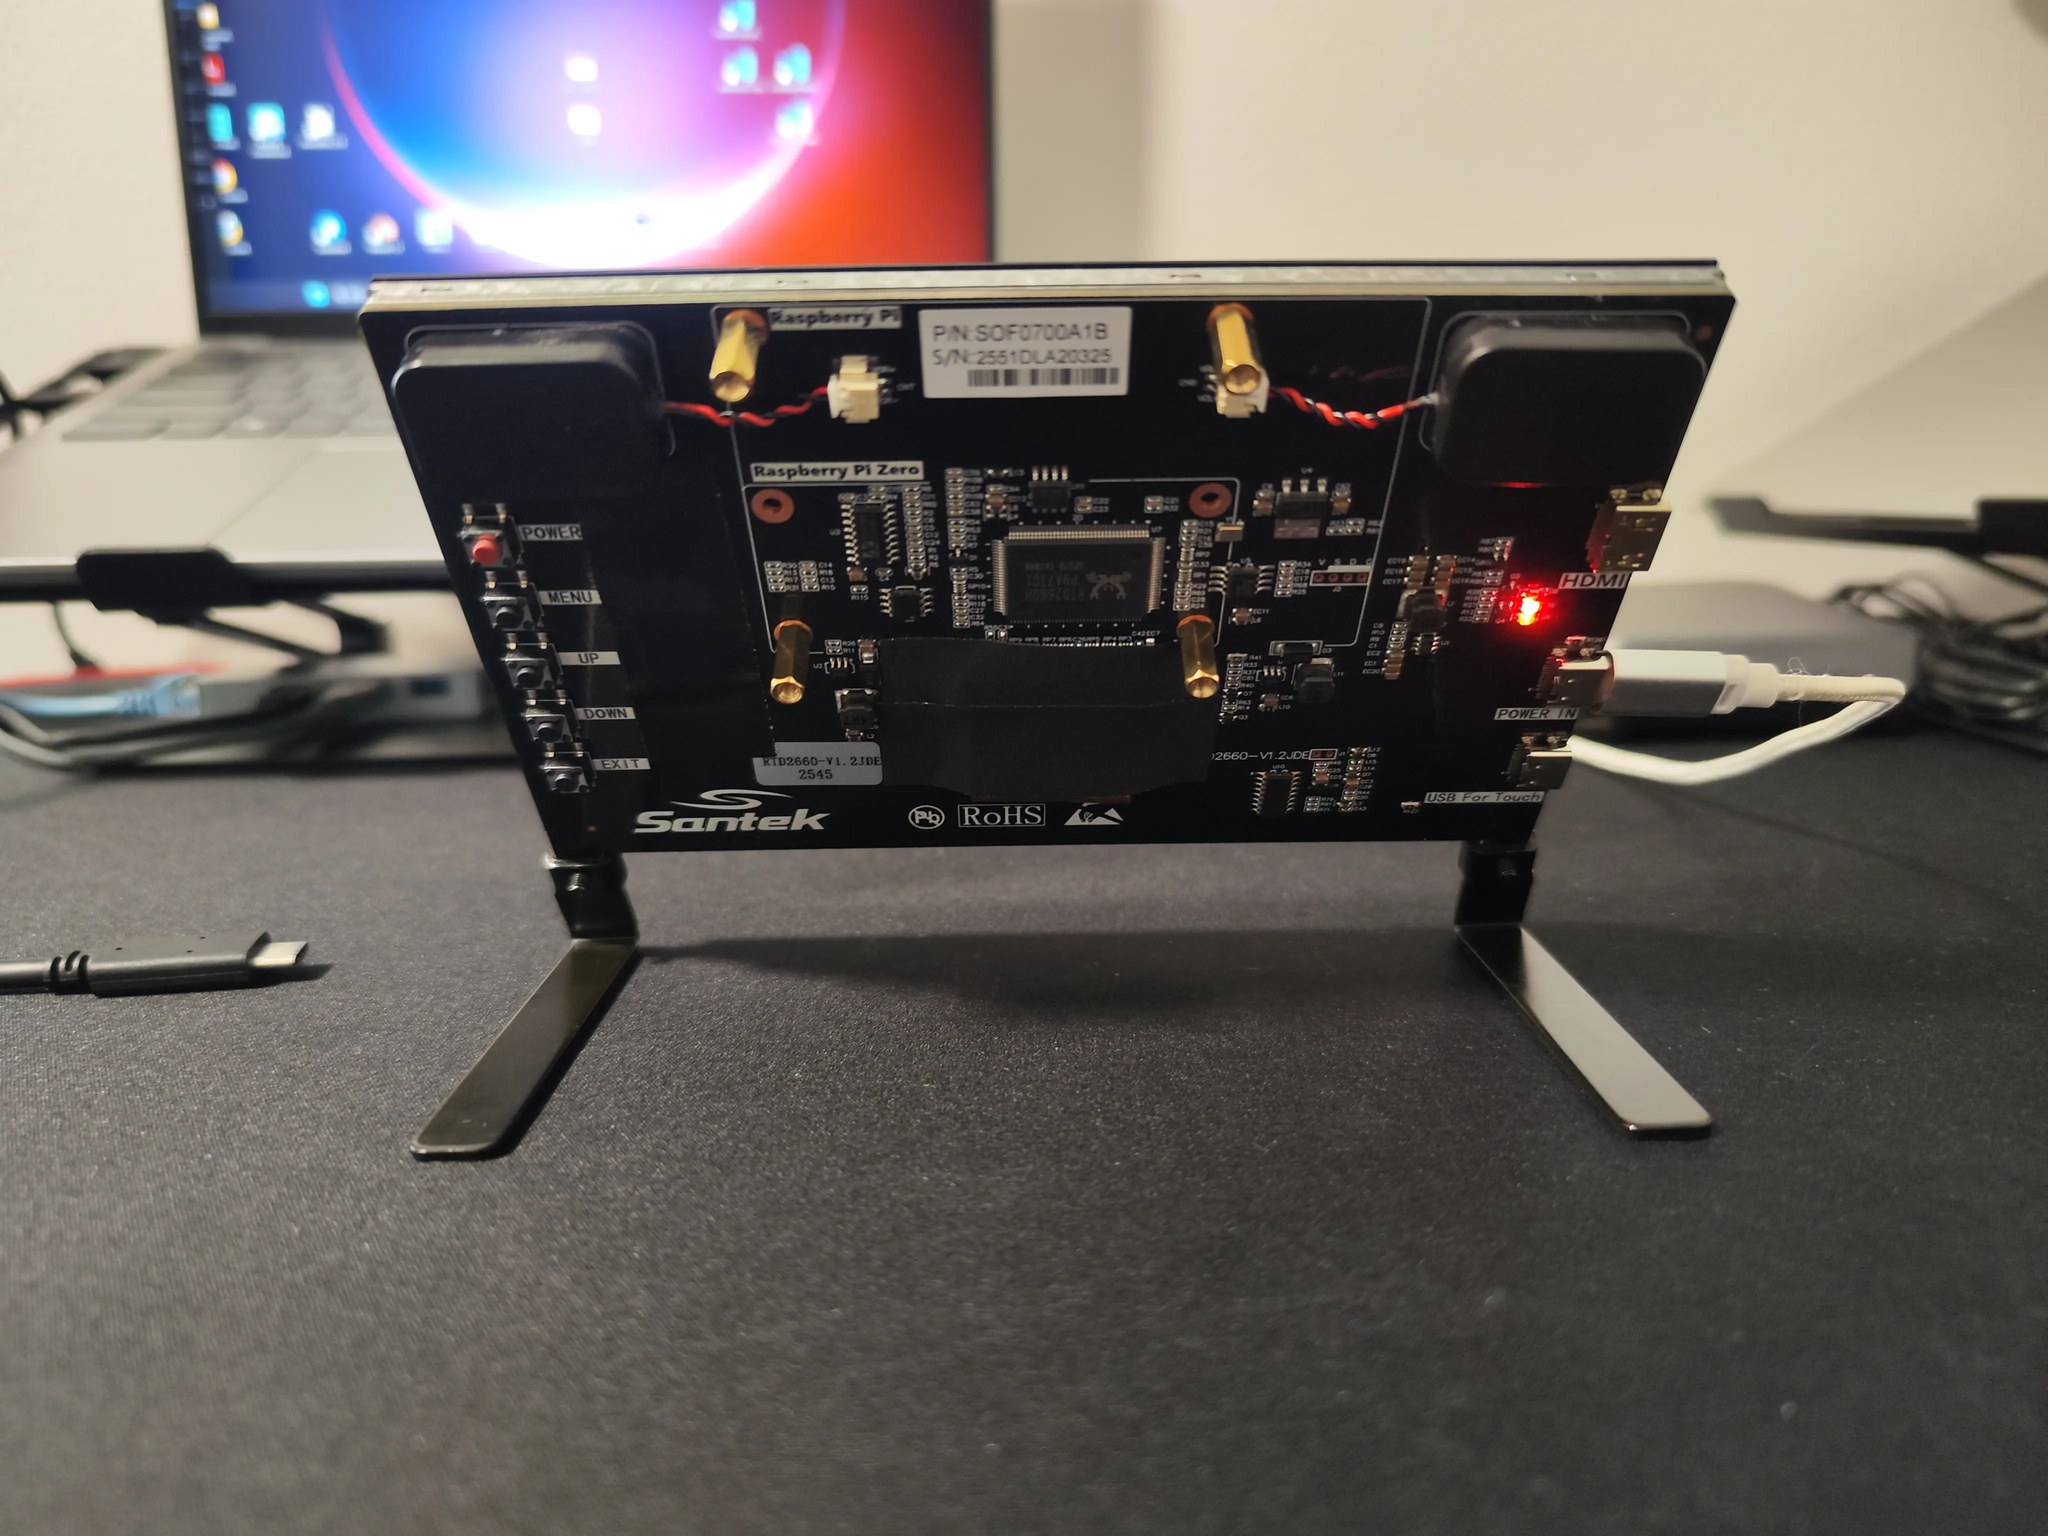
The back side has an exposed circuit board structure, and it is designed so that a Raspberry Pi can be mounted on it.
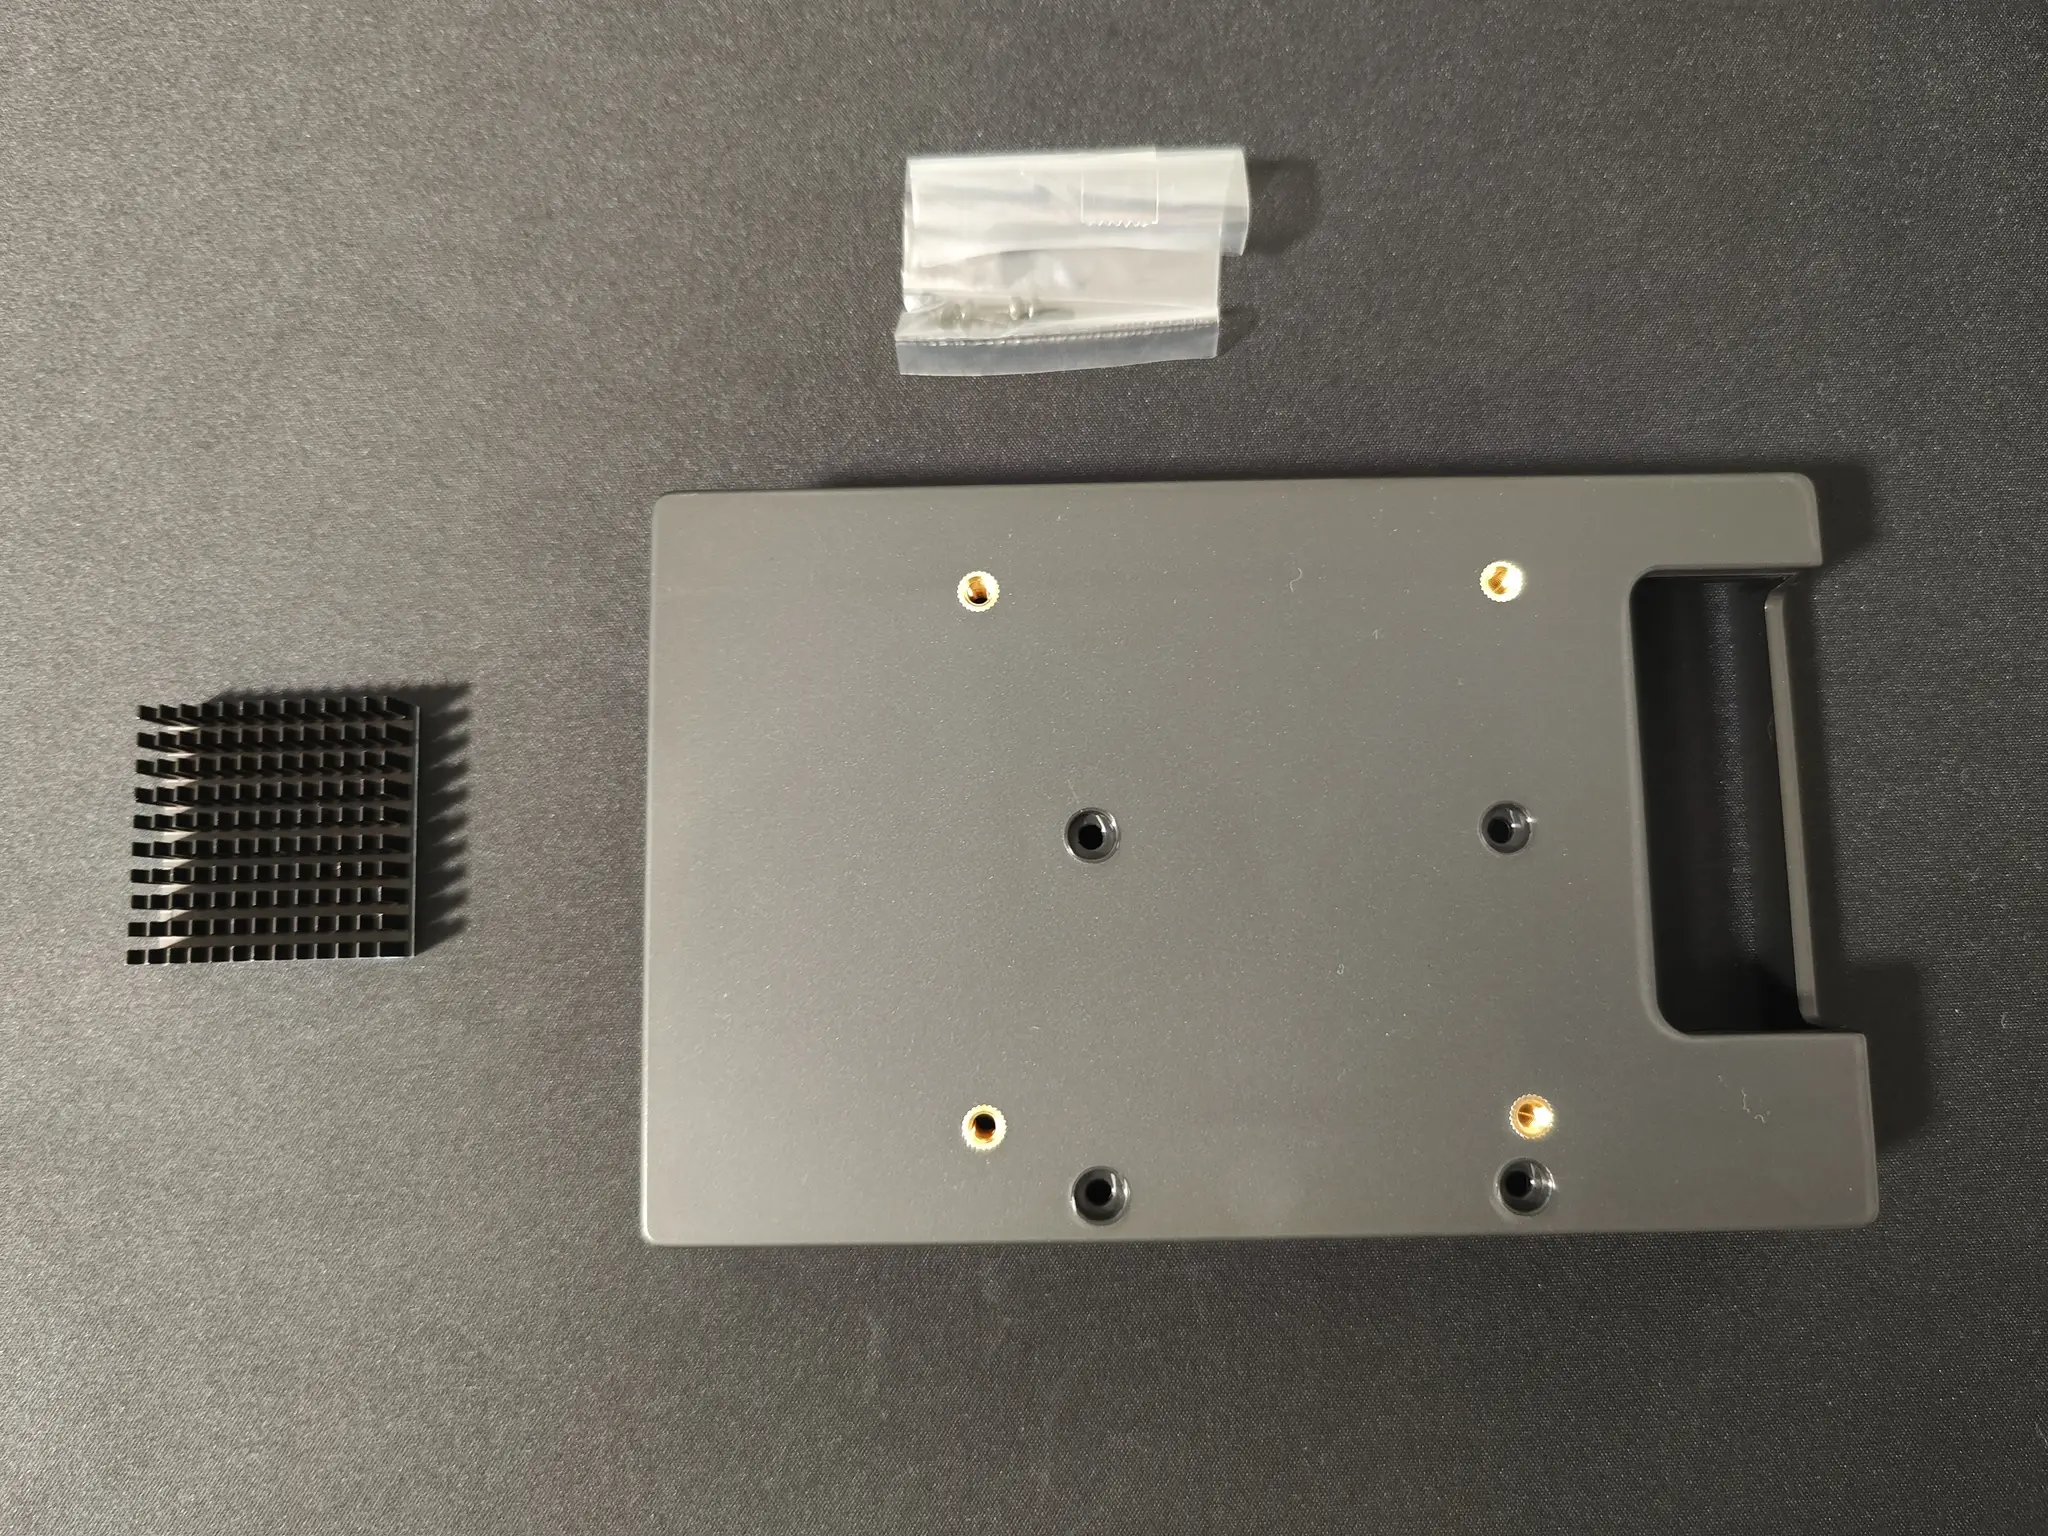
Since I also bought the dedicated cover this time, and some reviews mentioned that the central chip can get hot, I plan to attach a heatsink before putting the cover on.
I attached the stand and also checked whether the monitor would power on.
For the monitor’s power supply, I reused an Android charger I already had. It seems to require 5V-2A. If the power conditions are not met, the red LED does not appear to light up.
As a test, I connected an Anker PowerPort III Nano (5V=3A / 9V=2.22A), but this monitor did not power on with it.
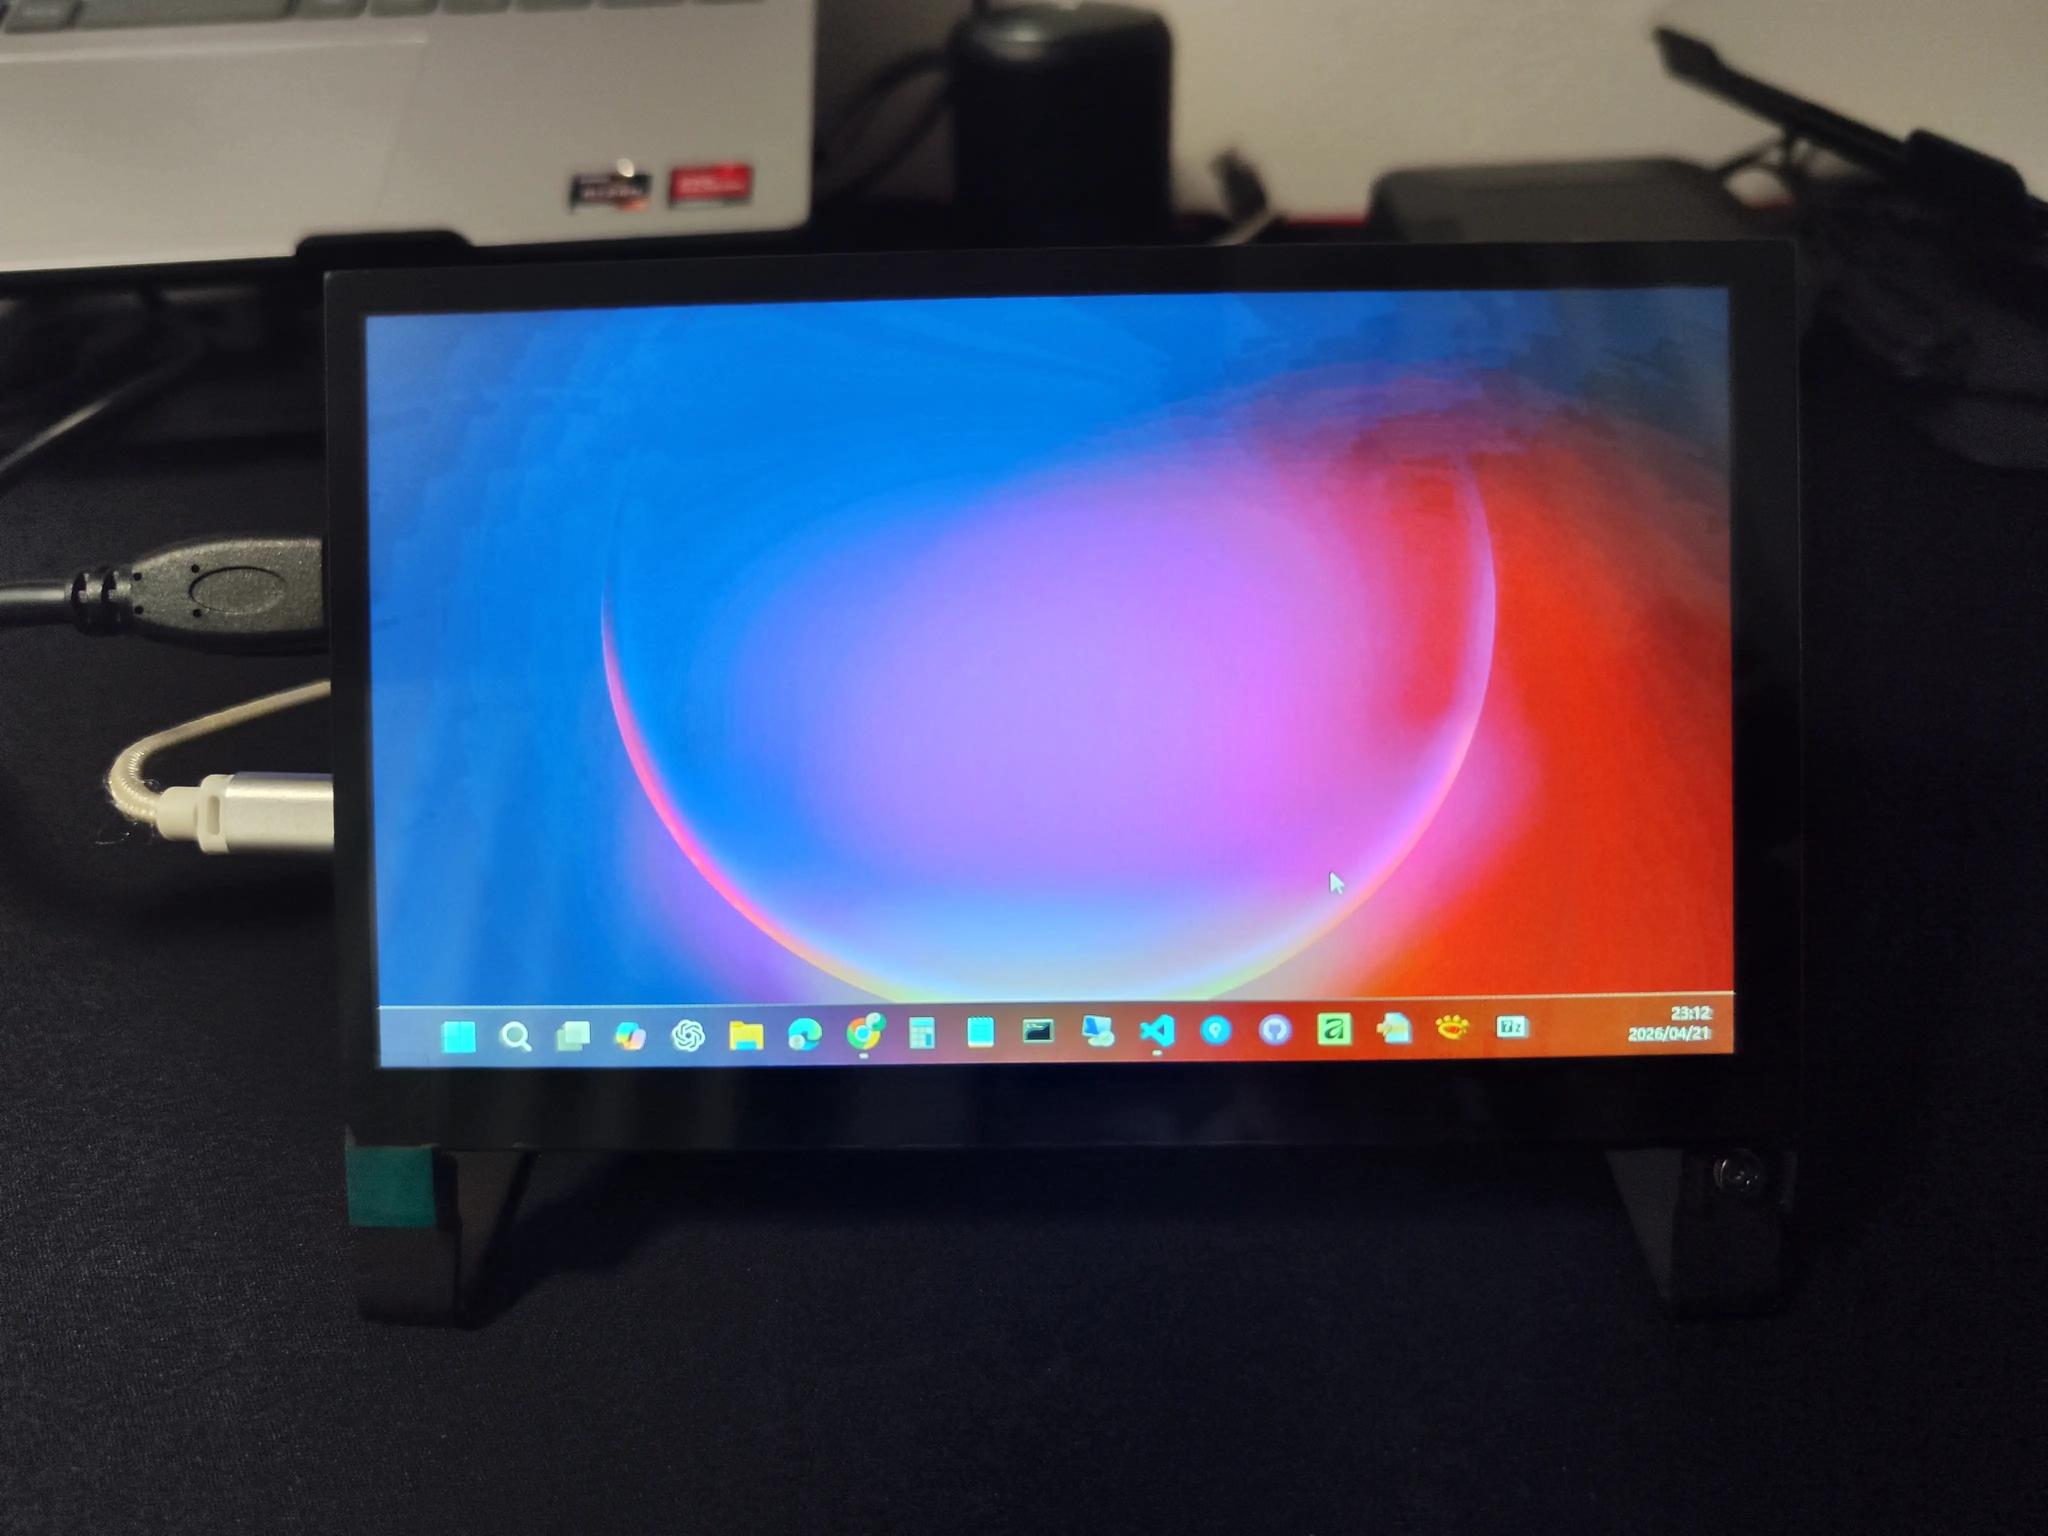
After that, I connected my work laptop using the included HDMI cable and confirmed that the display worked.
Installing the Heatsink and Dedicated Cover
A few days later, the heatsink and dedicated cover arrived, so I installed them on the monitor.
For the heatsink, I chose a black aluminum model measuring about 40 × 40 × 11 mm.
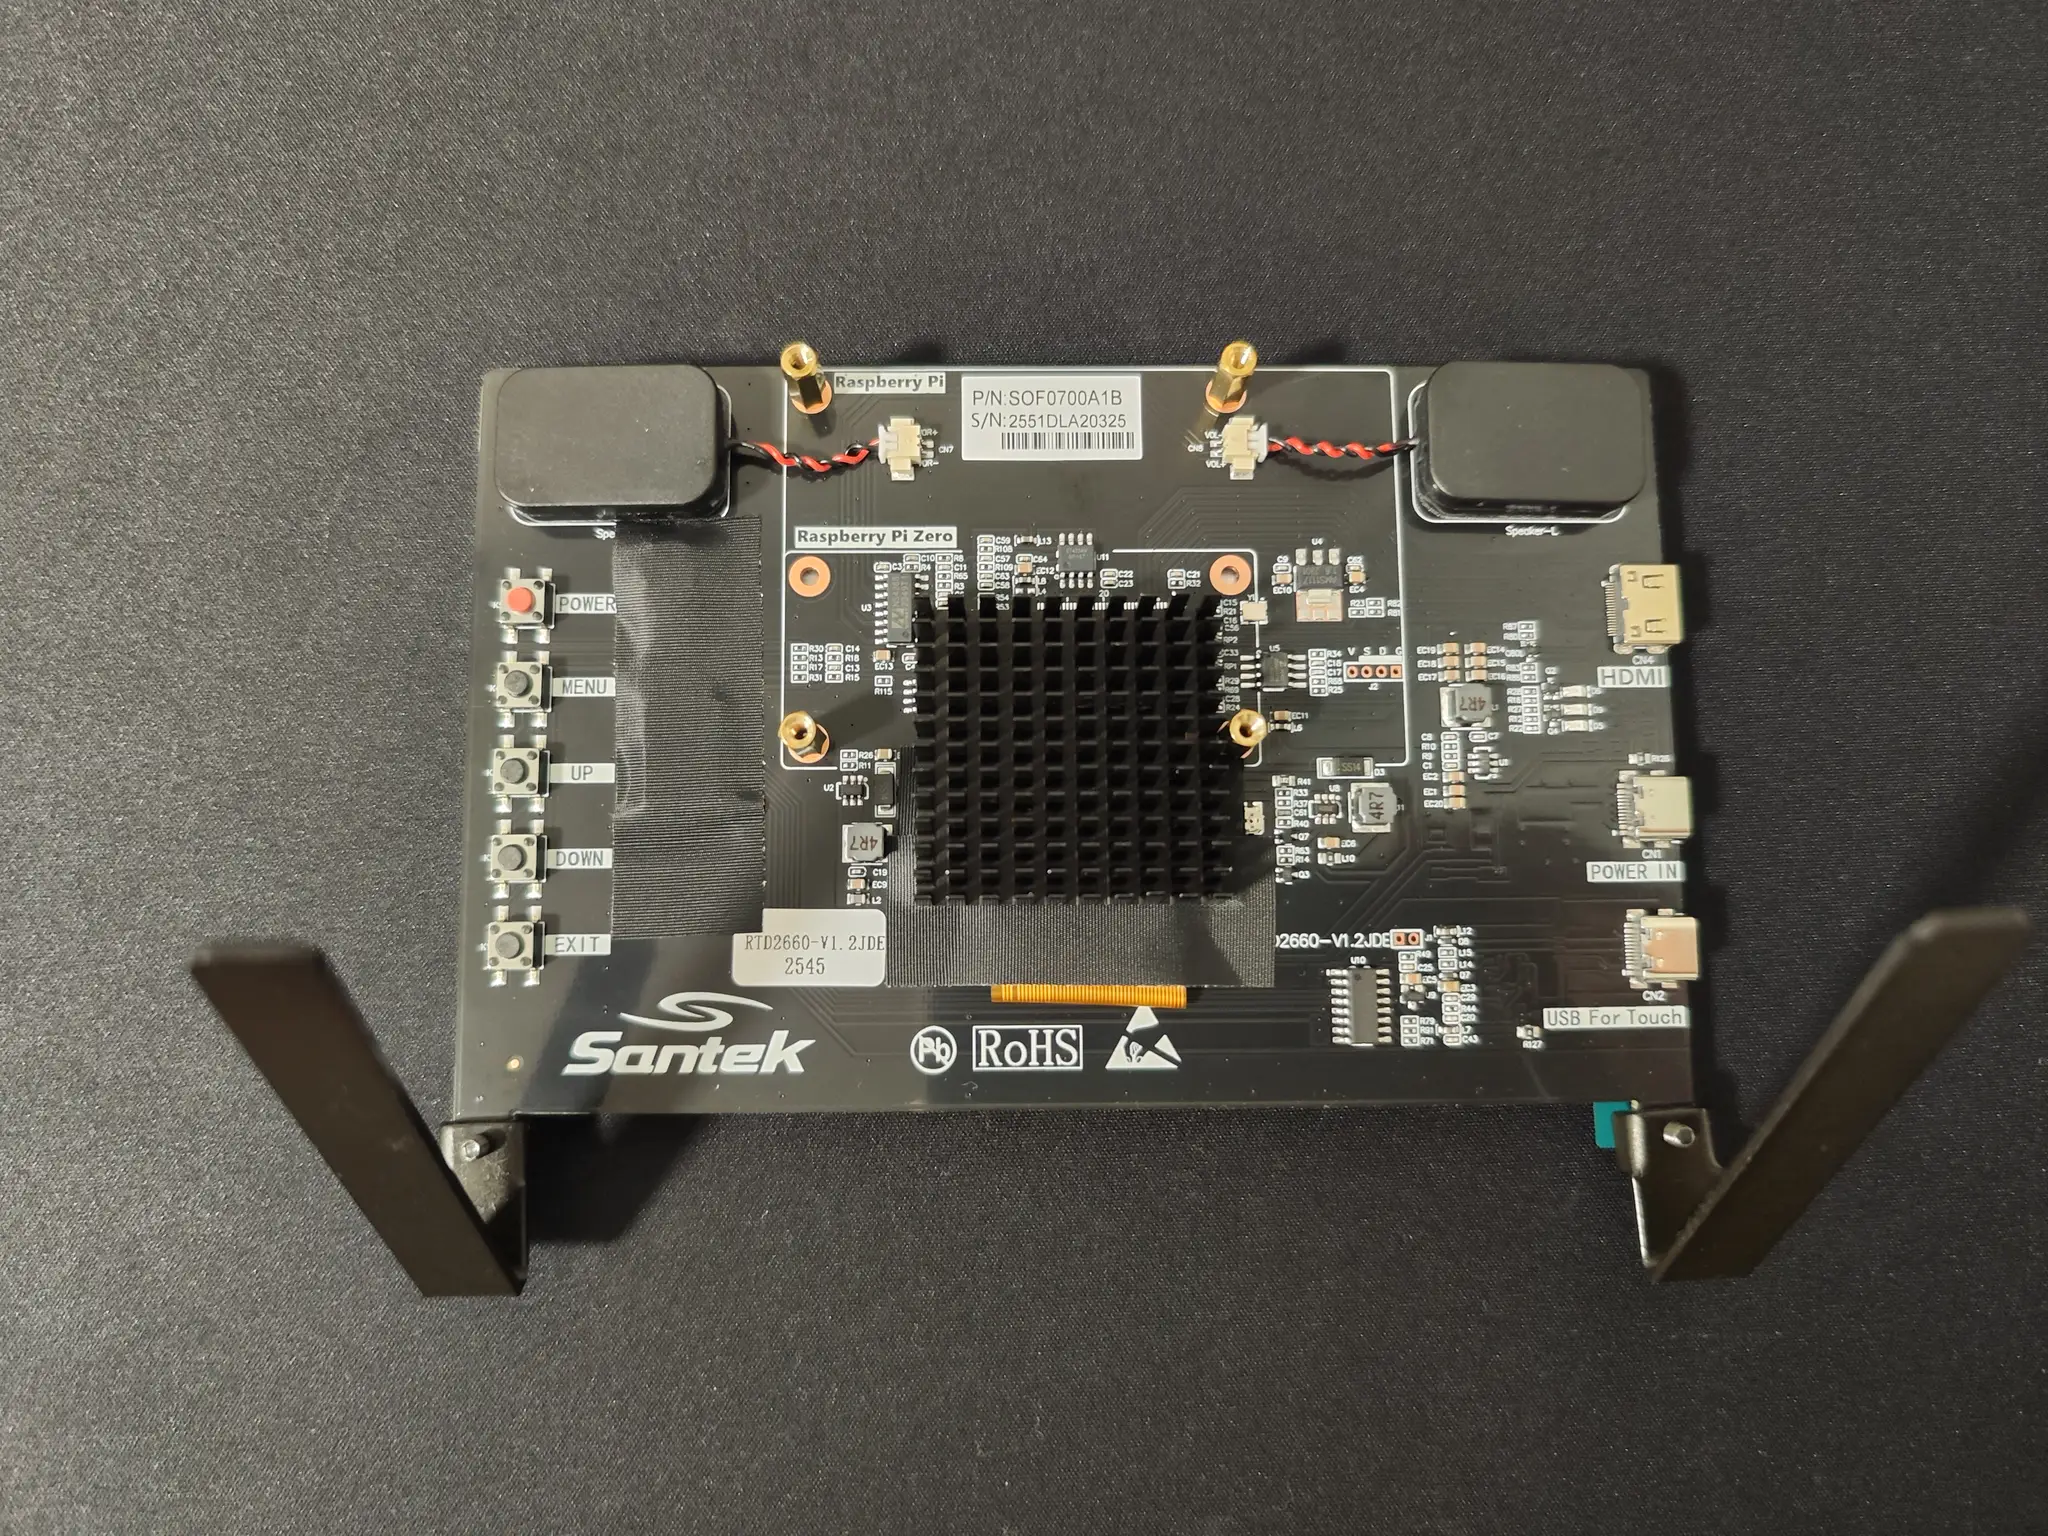
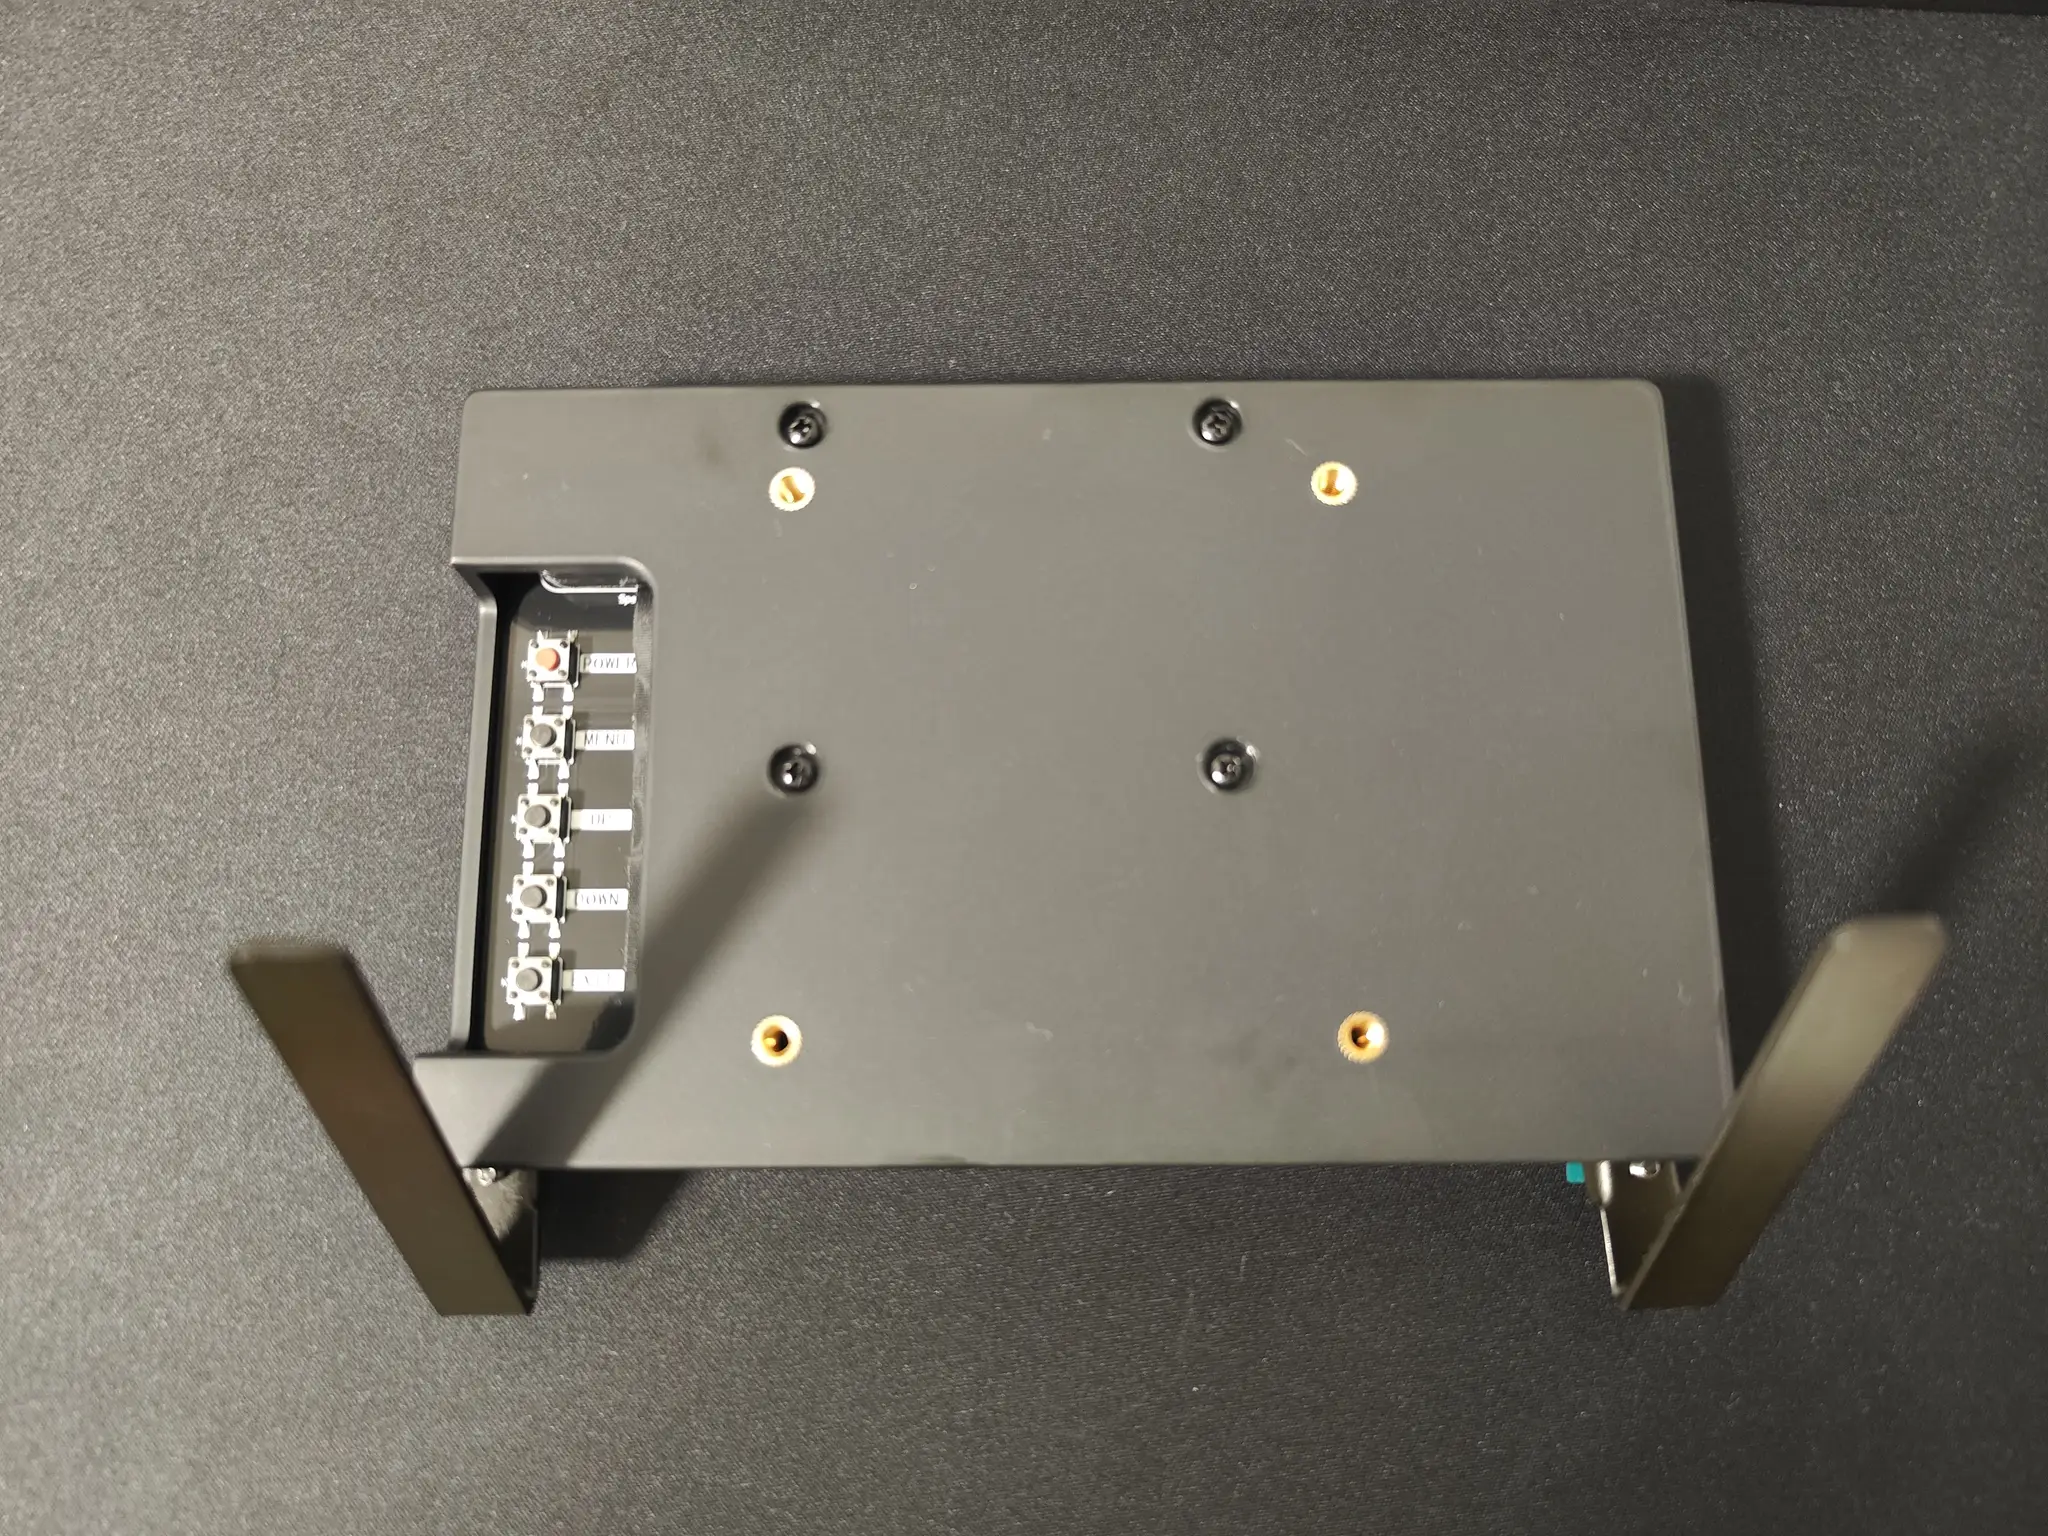
The temperature of the controller chip on the back became much lower.
When I am not using it with the Raspberry Pi, it also seems useful as a small secondary monitor for my work PC.
✅ Checking Raspberry Pi Operation
I had already checked the Raspberry Pi itself by connecting it to my main monitor when I first bought it, so I skipped that step this time.
However, if you are setting up a Raspberry Pi for the first time, I think it is reassuring to connect the monitor and Raspberry Pi directly at this stage and confirm that the boot screen appears.
This makes it easier to separate hardware-side issues from OS writing or initial setup problems later.
✍️ Summary
This Raspberry Pi had originally been prepared for 🐍Python learning, but this time I finally started setting it up together with the surrounding equipment.
Since this was my first Raspberry Pi, I ended up buying some items that were not strictly necessary. Still, I want to keep that included as a real record of the introduction process.
Next time, I will move on to installing Raspberry Pi OS.