
🍓 Getting Started with Raspberry Pi [05] Setting Up a Python Environment
Getting Started with Raspberry Pi 4
- [01] Hardware Setup
- [02] Installing Raspberry Pi OS
- [03] Initial Setup and Operation Check
- [04] Editing Raspberry Pi Files from VS Code on a Work PC via SSH
- [05] Setting Up a Python Environment
- [06] Connecting from Raspberry Pi to a Local LLM
- [07] Trying Ollama and Lightweight Models on Raspberry Pi
👀 Table of Contents
- 🏠 Setting up a Python development environment to communicate with a local LLM
- ✅ Checking the Python version
- 📂 Creating a working folder
- 🌐 Creating a virtual environment
- 🔃 Updating pip
- 📥 Installing requests
- 🐍 Creating a Python file for a basic operation check
- 📡 Checking network communication
- 📄 Creating requirements.txt
- ✍️ Summary of this step
🏠 Setting up a Python development environment to communicate with a local LLM
In the previous article, I connected to the Raspberry Pi from VS Code on my work laptop using Remote-SSH, and confirmed that I could edit and run files directly on the Raspberry Pi.
This time, I will prepare the development environment a little further so that the Raspberry Pi can connect to the local LLM running on the PochomLab machine.
First, I will create a Python virtual environment on the Raspberry Pi, install a library for HTTP requests, and run a simple operation check.
✅ Checking the Python version
Raspberry Pi OS usually comes with Python installed, so first I checked the version.
python3 --versionI also checked pip.
python3 -m pip --versionIf Python or venv is not installed, you can install them with the following commands.
sudo apt update
sudo apt install -y python3 python3-pip python3-venv
📂 Creating a working folder
For future development, I decided to create a projects folder and keep each project inside it.
This time, I created a working folder called pochomlab-pi.
mkdir -p ~/projects/pochomlab-pi
cd ~/projects/pochomlab-pi
When writing experimental code on the Raspberry Pi, separating the working location like this makes the project easier to manage.
🌐 Creating a virtual environment
To avoid changing the Python environment of the entire Raspberry Pi directly, I created a virtual environment using venv.
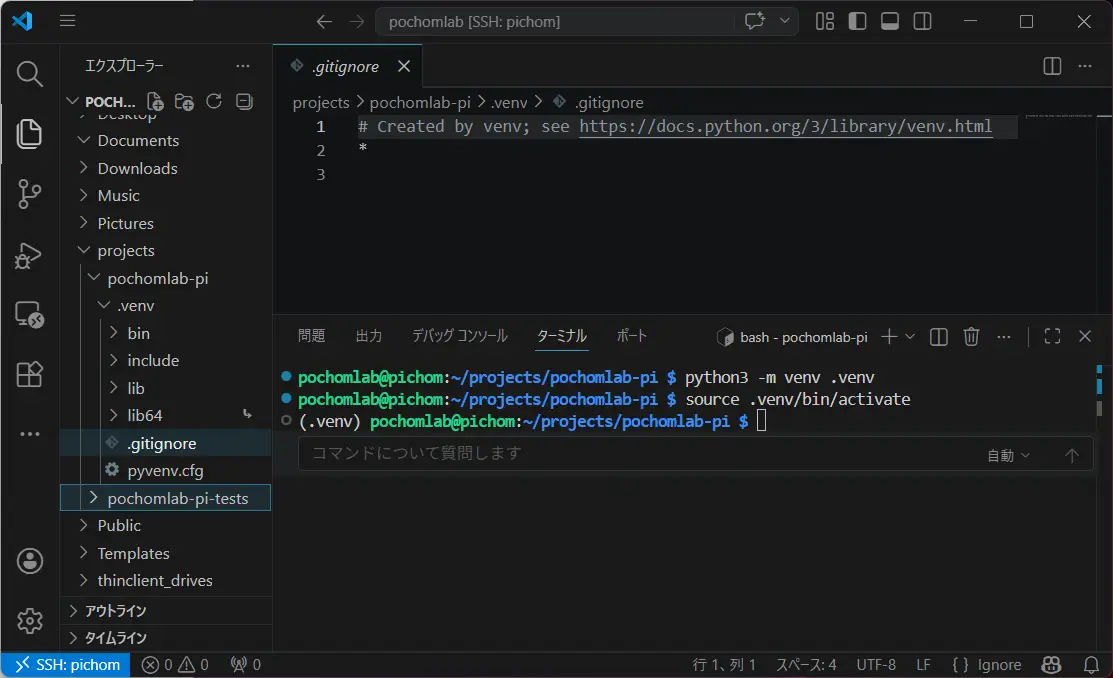
python3 -m venv .venvThen I activated the virtual environment.
source .venv/bin/activateOnce the virtual environment is activated, the terminal prompt will look something like this.
(.venv) pochomlab@pichom:~/projects/pochomlab-pi $If (.venv) is shown, it means the current terminal session is working inside the virtual environment.
🔃Updating pip
With the virtual environment activated, I updated pip.
python -m pip install --upgrade pipThe python command used here refers to the Python inside the virtual environment.
What to do if VS Code shows a warning
VS Code may show a warning saying that the package might be installed into the global environment.
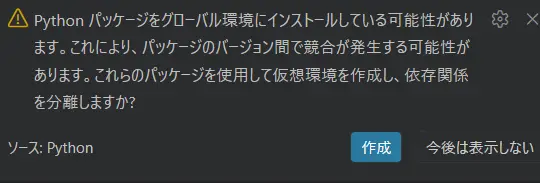
Even in that case, if (.venv) is displayed in the terminal like below, the virtual environment is active.
(.venv) pochomlab@pichom:~/projects/pochomlab-pi $If you run pip install in this state, the library will be installed inside the .venv created for this project, not into the Raspberry Pi system-wide Python environment.
📥 Installing requests
From the next article onward, I will access the Ollama API on the PochomLab machine, so I installed requests, a library for sending HTTP requests.
pip install requestsThen I checked whether it was installed correctly.
python -c "import requests; print(requests.__version__)"If the version number is displayed, the installation of requests is complete.
🐍Creating a Python file for a basic operation check
If you have not connected to the Raspberry Pi with VS Code Remote-SSH yet, connect first.
Inside the working folder, I created hello.py.
~/projects/pochomlab-pi/
├── .venv/
└── hello.py
Then I wrote the following code in hello.py and saved it.
print("Hello from Raspberry Pi!")I ran it from the terminal.
python hello.pyIf the following message is displayed, the Python development environment is working correctly.
Hello from Raspberry Pi!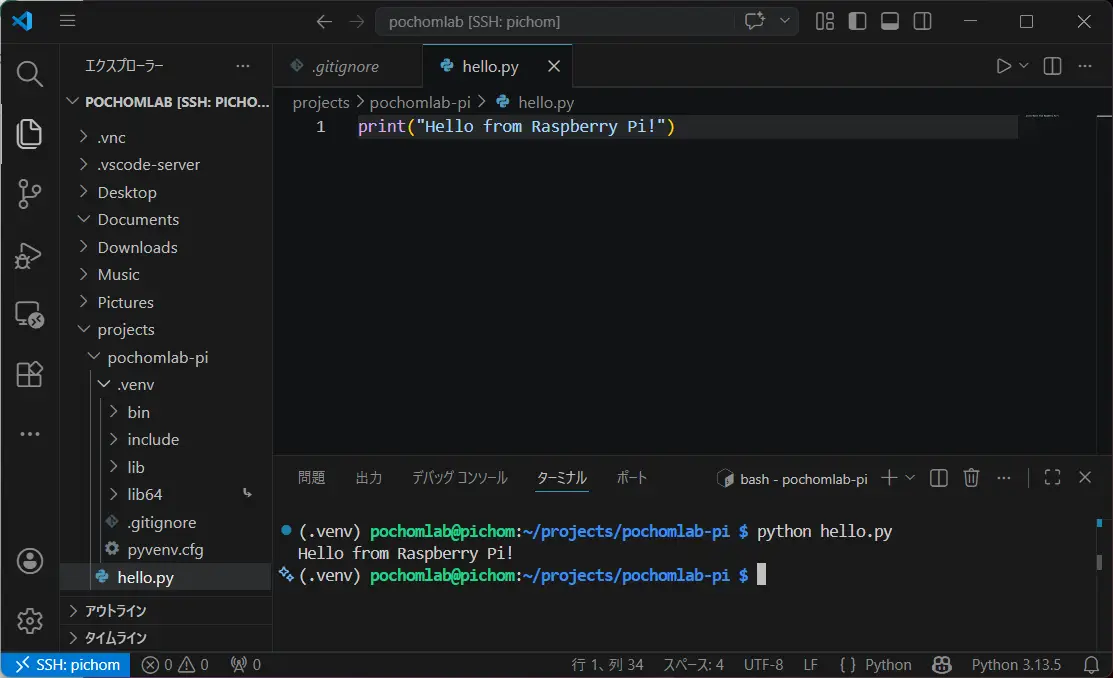
📡 Checking network communication
Next, I tested whether Python could send an HTTP request to the web.
import requests

response = requests.get("https://example.com")
print(response.status_code)
example.com is just a sample address for checking the request.
After running the script, if 200 is displayed as below, the request was successful.
200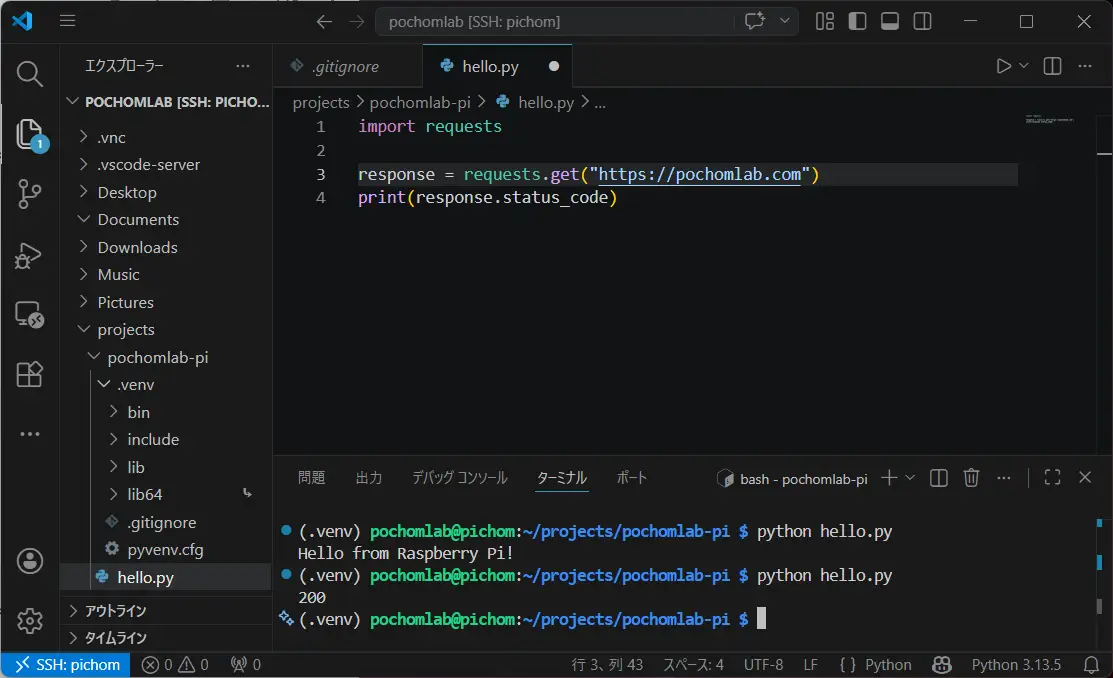
This confirmed that Python running on the Raspberry Pi can send HTTP requests to an external website.
📄 Creating requirements.txt
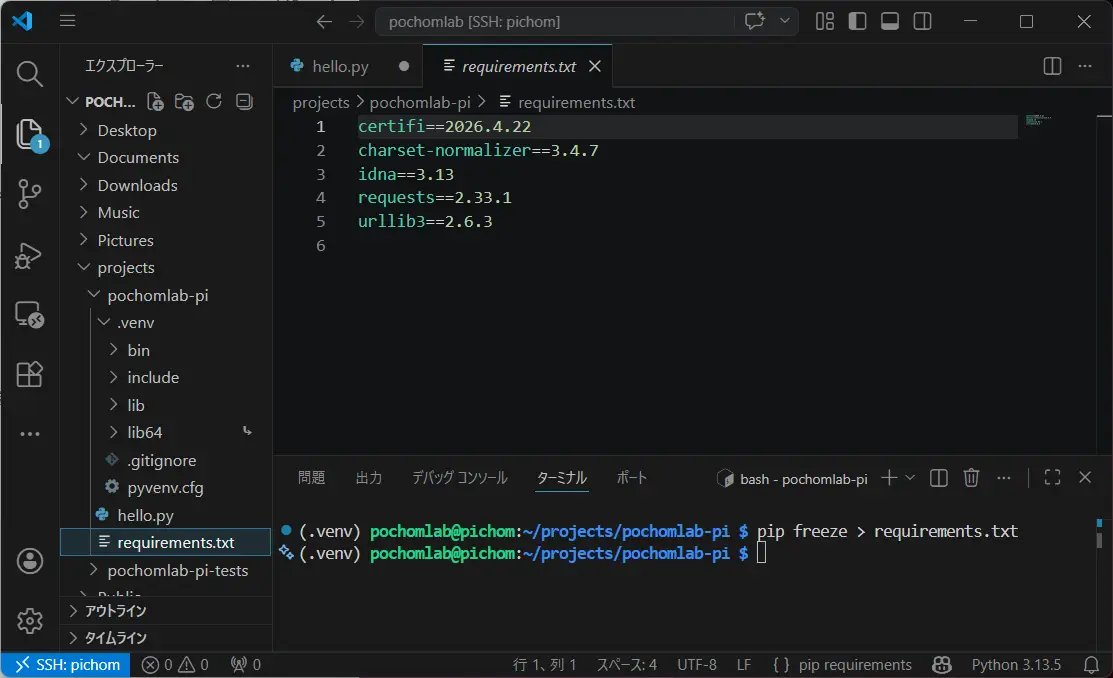
To make it easier to recreate the same environment later, I exported the list of libraries installed in the current virtual environment to requirements.txt.
pip freeze > requirements.txtAfter creating it, the folder structure looks like this.
~/projects/pochomlab-pi/
├── .venv/
├── hello.py
└── requirements.txt
With requirements.txt, the same libraries can be installed in another environment with the following command.
pip install -r requirements.txtEven for a small test project, creating this file from the beginning makes it easier to keep things organized later.
✍️ Summary of this step
This time, I prepared a Python development environment on the Raspberry Pi as a first step toward connecting it to a local LLM.
The work included checking Python and pip, creating a working folder, creating a virtual environment, installing requests, running a simple Python script, and confirming HTTP request communication.
Everything went smoothly without any major issues.
Next time, I will actually connect from the Raspberry Pi to the local LLM running on the PochomLab machine.