
🏠 Getting Started with Local LLMs [04] Installing Open WebUI and Using It Across a LAN
Local LLM Setup Series
- [01] Learning the Basics
- [02] Choosing Models
- [03] Installing Ollama and Checking It Works
- [04] Installing Open WebUI and Using It Across a LAN
👀 Table of Contents
- 🛠️ Why Install Open WebUI
- 🐍 Preparing Python 3.11
- 📦 Installing Open WebUI
- 🔗 Connecting It to Ollama
- 🌐 Using It from Another PC on the Same LAN
- 💾 Creating a Startup Batch File
- ✍️ Notes This Time
🛠️ Why Install Open WebUI
A local LLM can already run with Ollama alone, but it becomes much easier to use once it is available
through a browser on another PC, such as a working laptop.
That is why I installed Open WebUI this time.
The goals were simple:
- to make the local LLM usable from a browser
- to access it from another PC on the same LAN
- to make model switching and chat testing easier
🐍 Preparing Python 3.11
One thing that needed a little attention during setup was the Python version.
The current version, open-webui 0.8.12, supports Python 3.11 or newer, but below 3.13,
so Python 3.13 was not supported.
Because of that, I removed my existing Python 3.13.1 installation,
uninstalled it from the Windows Settings screen, and then prepared Python 3.11 using Python Install Manager.
✋ Installing Python Install Manager
I installed it from the Microsoft Store.
When it starts, it asks whether you want to add it to PATH, so I proceeded with Yes.
After that, I checked things in PowerShell or Command Prompt.
py listpy list --onlinepy install 3.11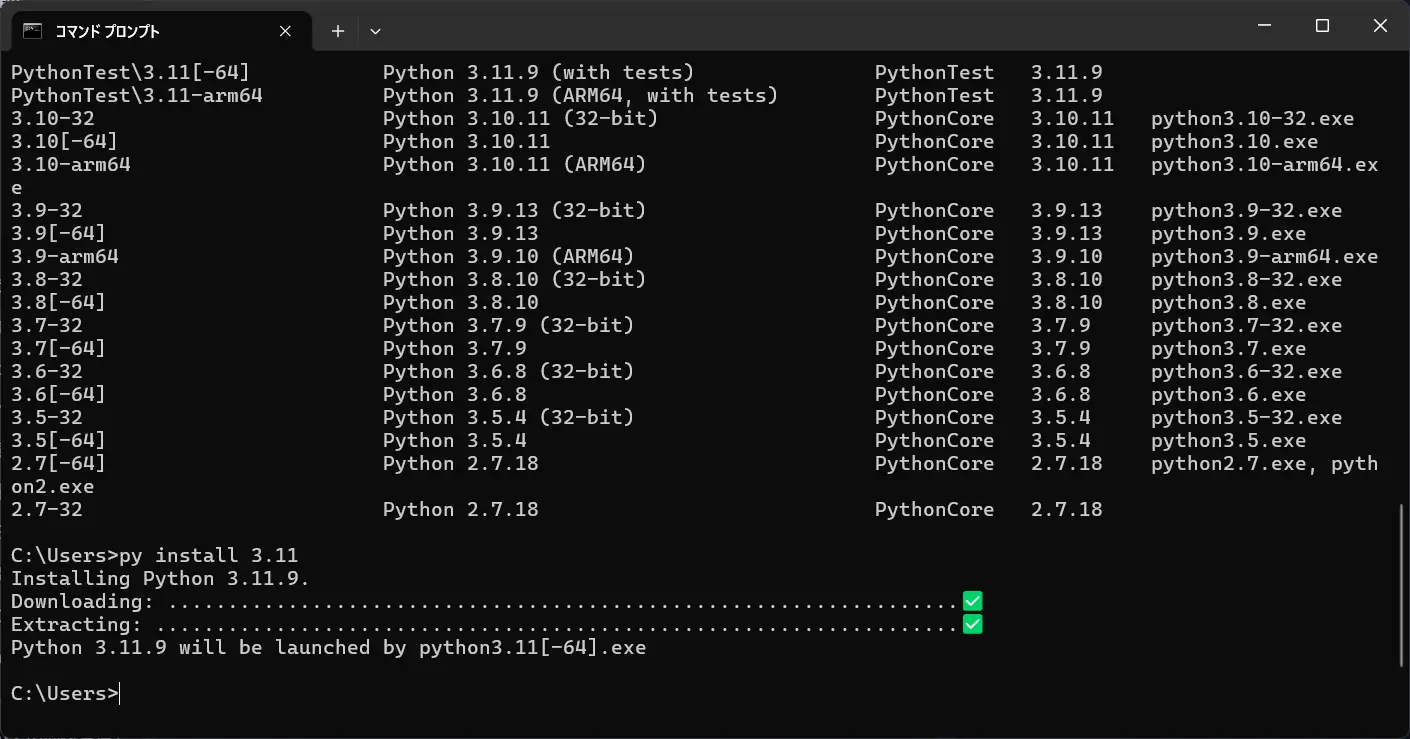
At this point, Python 3.11 was ready.
📦 Installing Open WebUI
First, I created a working folder for the installation.
mkdir D:\AI\open-webui
cd D:\AI\open-webui
Next, I created a virtual environment using Python 3.11.
py -3.11 -m venv .venvThen I activated it in PowerShell.
.\.venv\Scripts\Activate.ps1Once activated, I installed Open WebUI.
python -m pip install --upgrade pip
pip install open-webui
To start it:
open-webui serve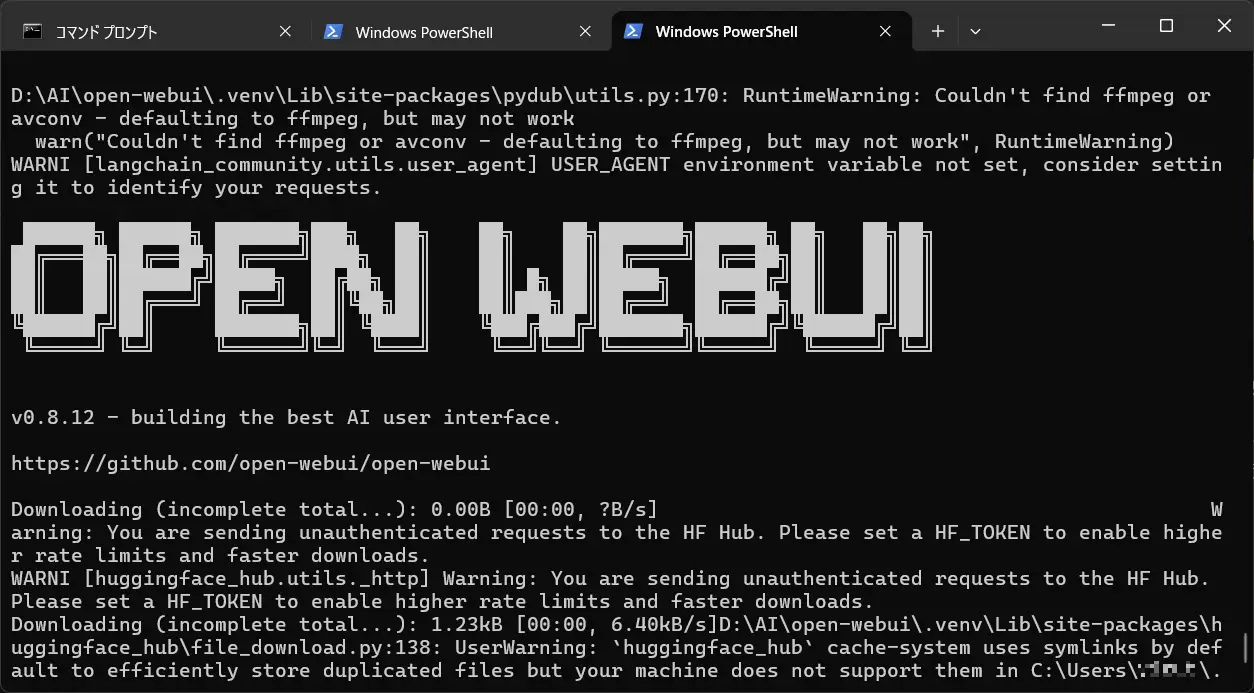
Then I accessed it from a browser.
http://localhost:8080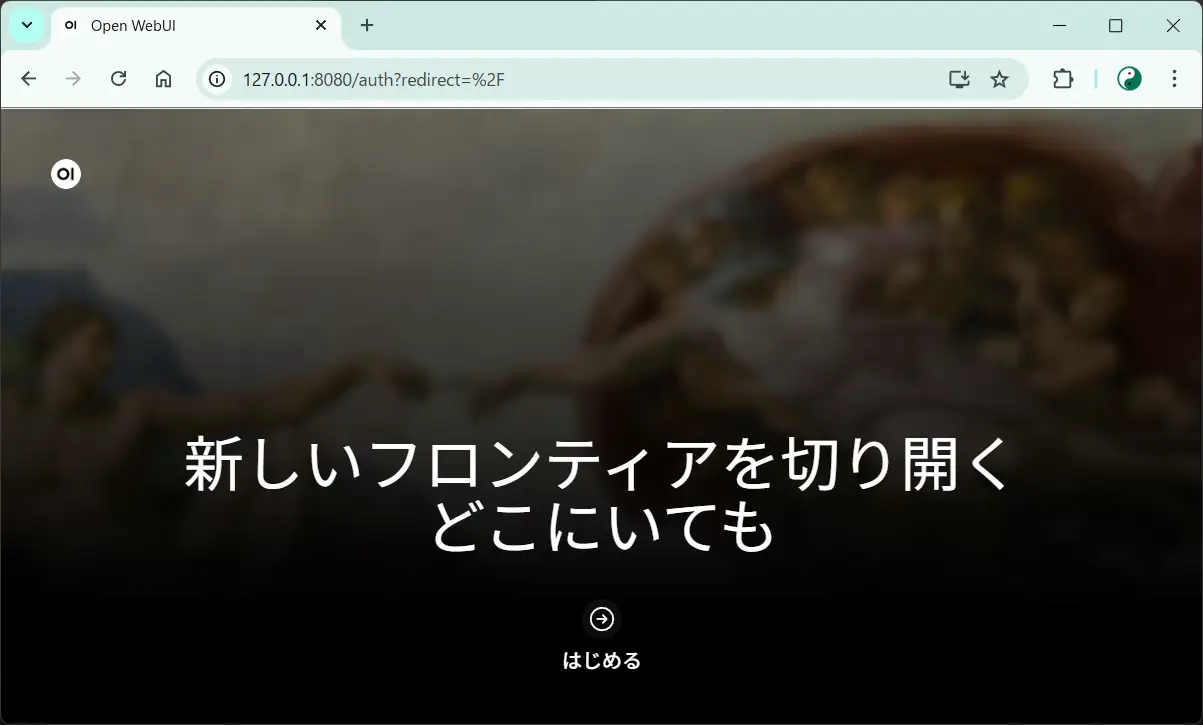
Connecting It to Ollama
After launching Open WebUI, I first created an admin account.
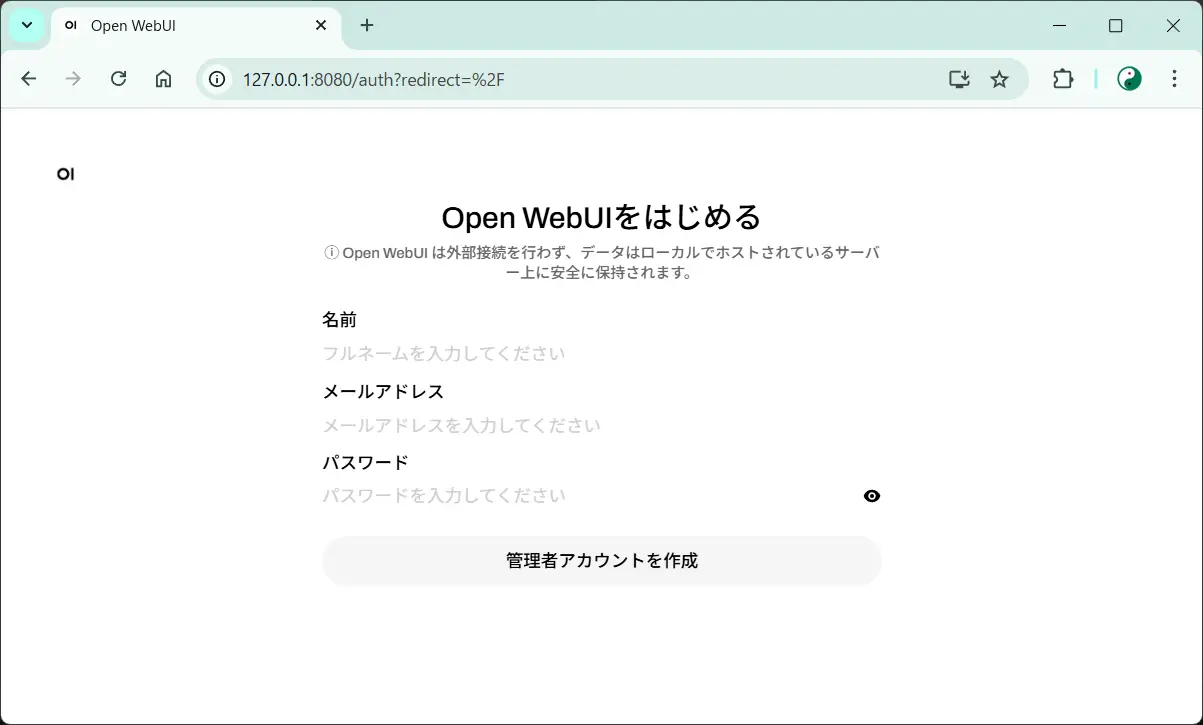
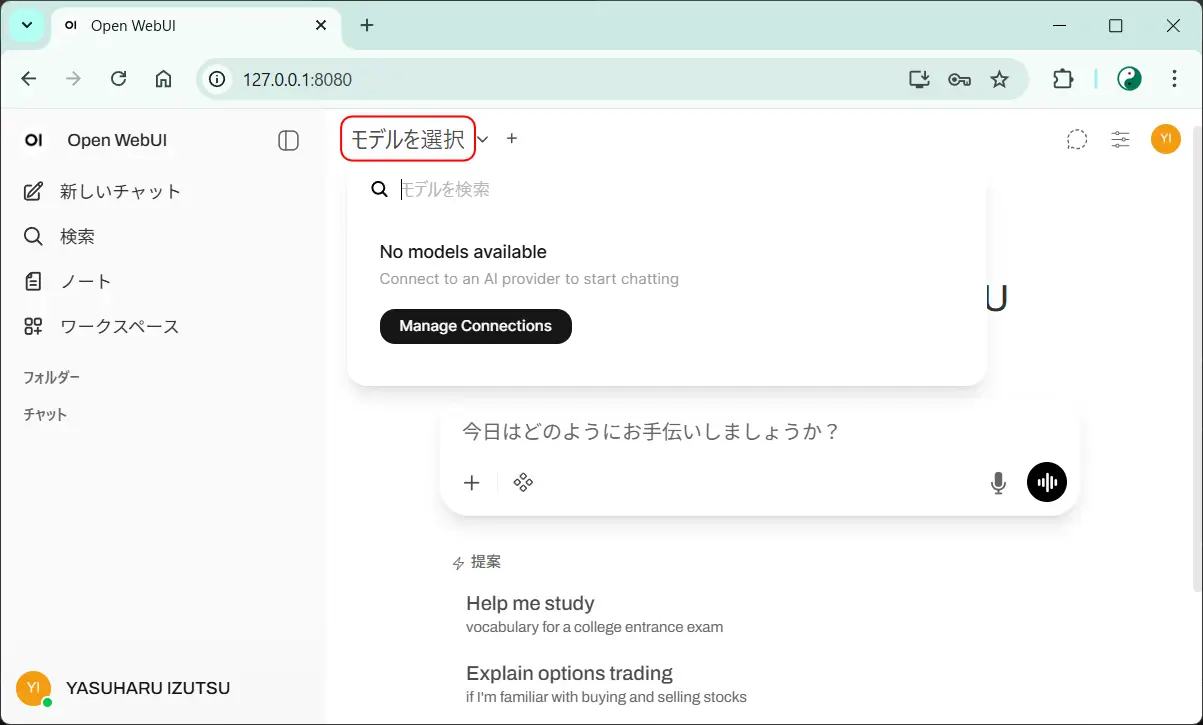
At first, I confirmed that it was not yet connected from the model selection screen.
Then I changed the connection target from:
Settings > Manage Ollama API Connections
http://localhost:11434 → http://<host-pc-name>:11434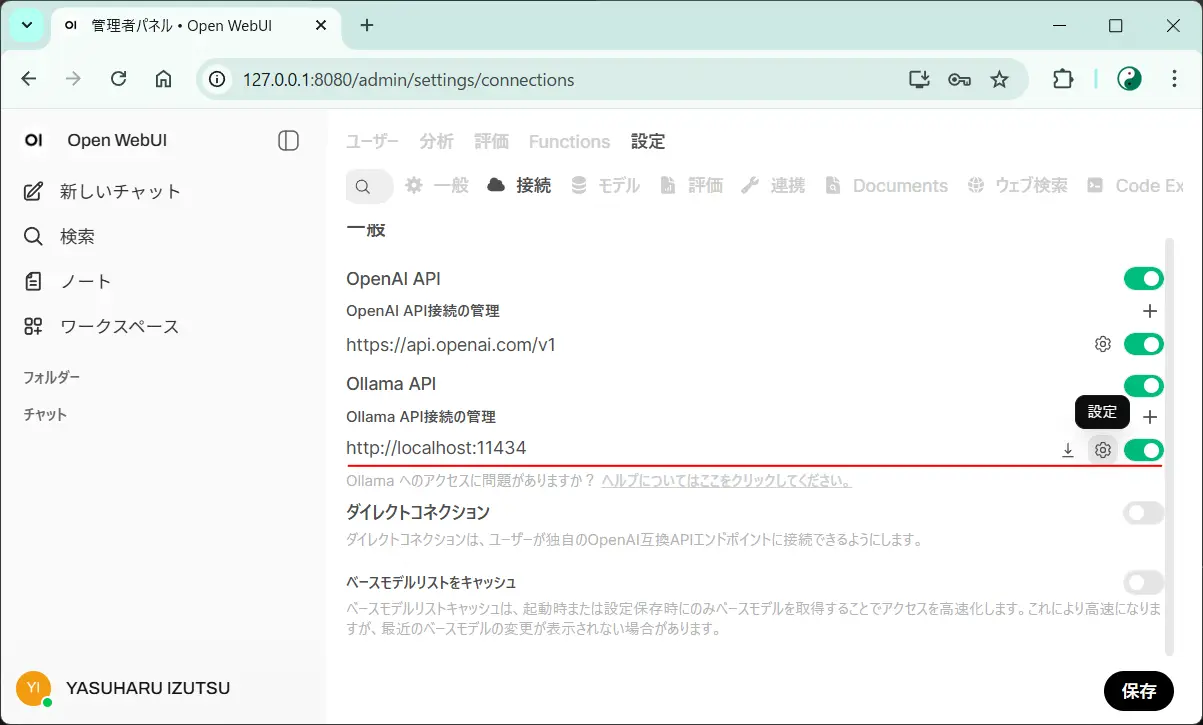
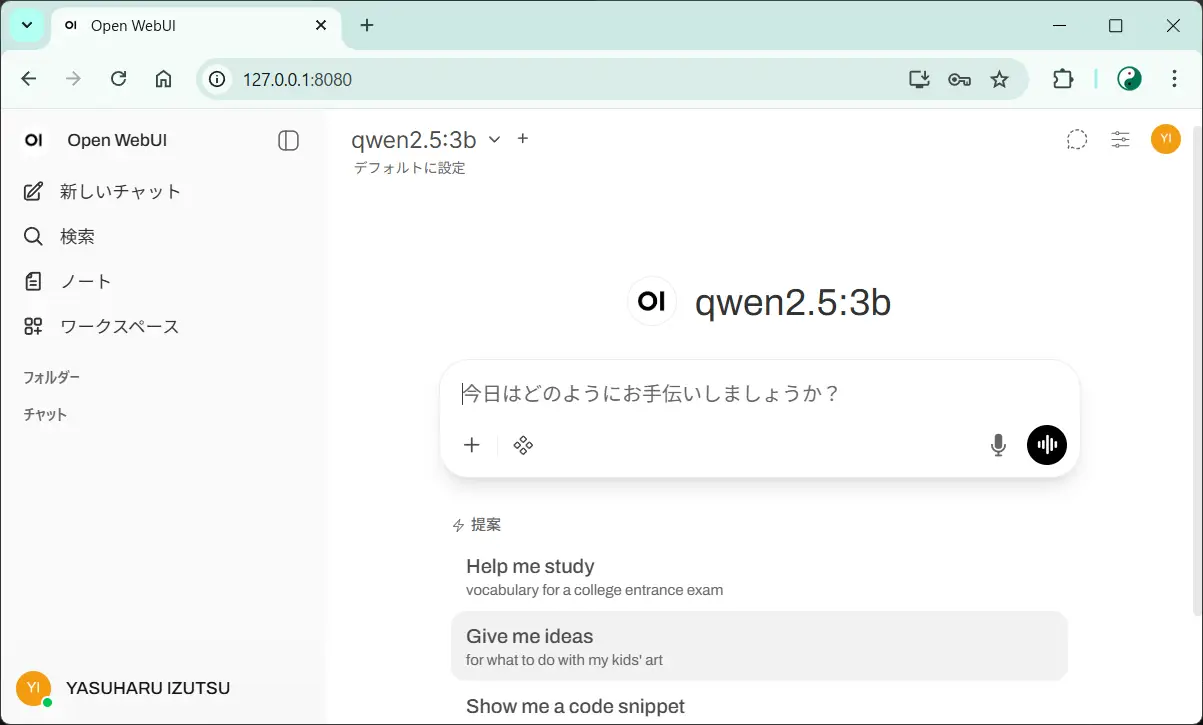
After that change, Open WebUI was able to connect to Ollama.
I then confirmed that qwen2.5:3b could be selected from the model list.
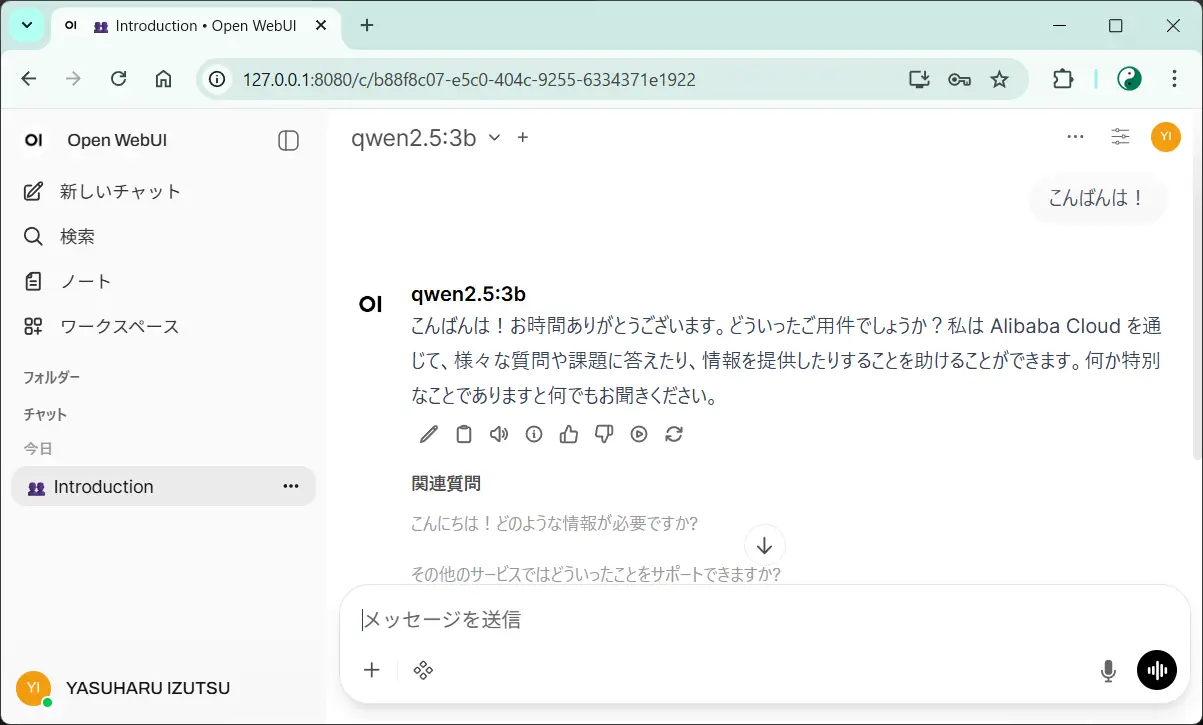
I also entered a chat prompt and confirmed that it returned a response.
🌐 Using It from Another PC on the Same LAN
Once everything above was working, the local LLM setup became available from another PC on the same LAN through a browser.
That was exactly what I wanted to achieve:
- run Ollama on the main PC
- use Open WebUI as the browser-based interface
- access it from a working laptop or another machine
This made the environment much easier to use for experiments, because inference runs locally while the operation can happen from another device.
💾 Creating a Startup Batch File
Just like I do for Stable Diffusion and kohya_ss, I turned Open WebUI into a batch file so that it would be easier to launch from the VS Code terminal.
It can also be launched from PowerShell, but that sometimes involves extra permission-related setup, so using a .bat file felt simpler this time.
@echo off
REM ===== Open WebUI startup batch =====

REM Move to D drive
d:

REM Move to the Open WebUI folder
cd D:\AI\open-webui

REM Create .venv if it does not exist (only needed the first time)
if not exist .venv (
    py -3.11 -m venv .venv
)

REM Activate the virtual environment
call .venv\Scripts\activate.bat

REM Start Open WebUI
call .venv\Scripts\open-webui serve

pause
✍️ Notes This Time
After actually installing Open WebUI, I noticed that it has quite a lot of configuration options. It gave me a small glimpse of how many tuning points may also exist behind cloud-based generative AI services.
It also looks like Open WebUI can be configured to work together with Stable Diffusion, so that is something I would like to explore little by little in the future.