
🏠 Getting Started with Local LLMs [03] Installing Ollama and Checking It Works
Local LLM Setup Series
- [01] Learning the Basics
- [02] Choosing Models
- [03] Installing Ollama and Checking It Works
- [04] Installing Open WebUI and Using It Across the LAN
👀 Table of Contents
🛠️ Installing Ollama
To start by running a local LLM directly on my own machine, I chose to install Ollama.
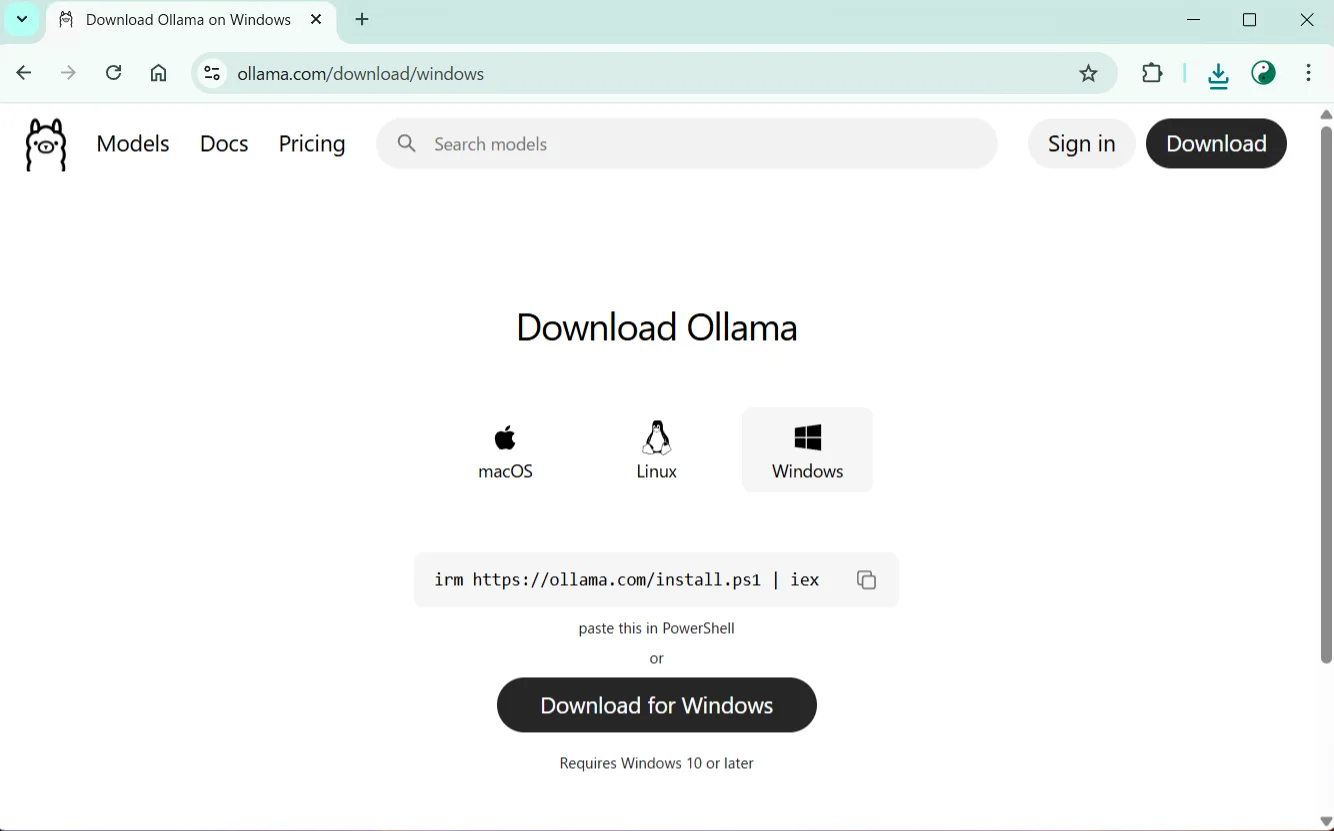
There are ways to install it from PowerShell, but this time I downloaded and installed the Windows installer version from the official website.
Download from the official website
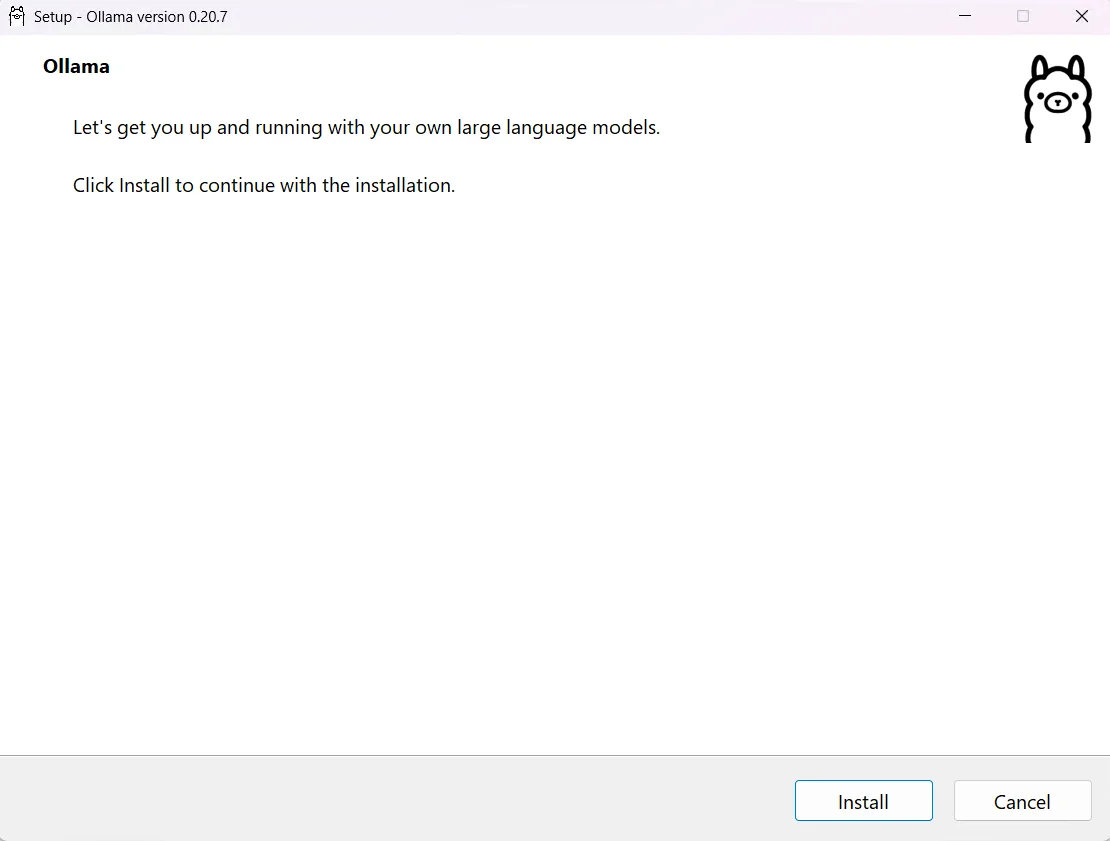
Installer launch screen
Ollama running after installation
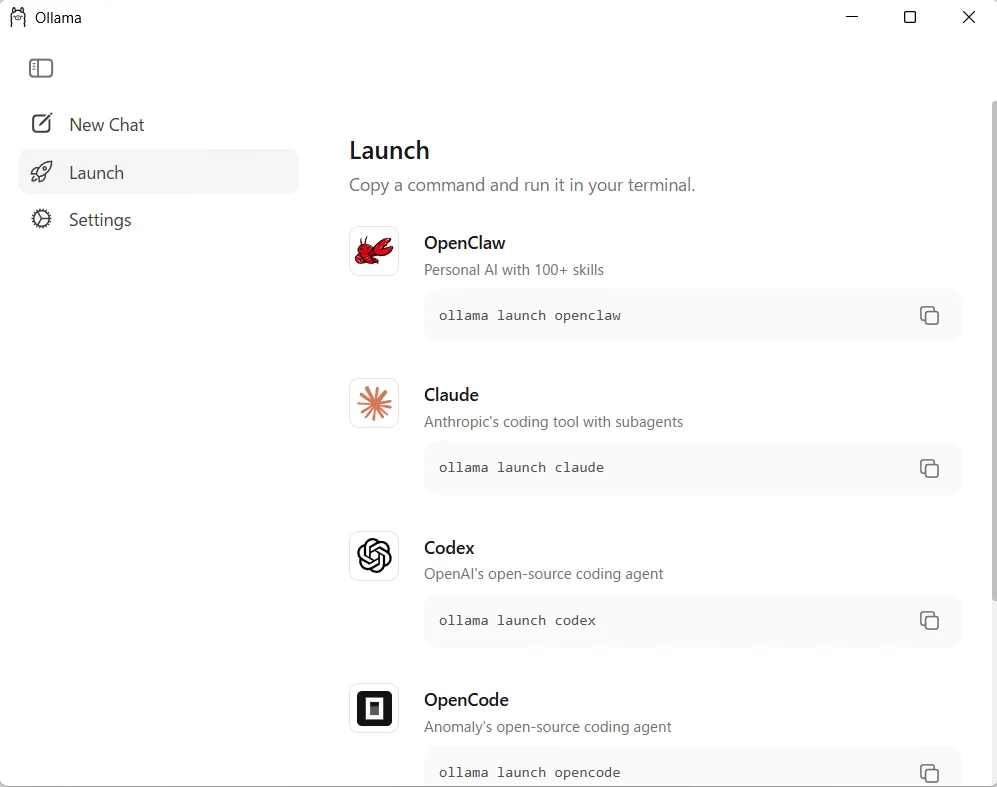
I confirmed that Ollama installed successfully on Windows.
✅ Checking It in PowerShell or Command Prompt
After installation, the first thing to check is whether Ollama was installed correctly.
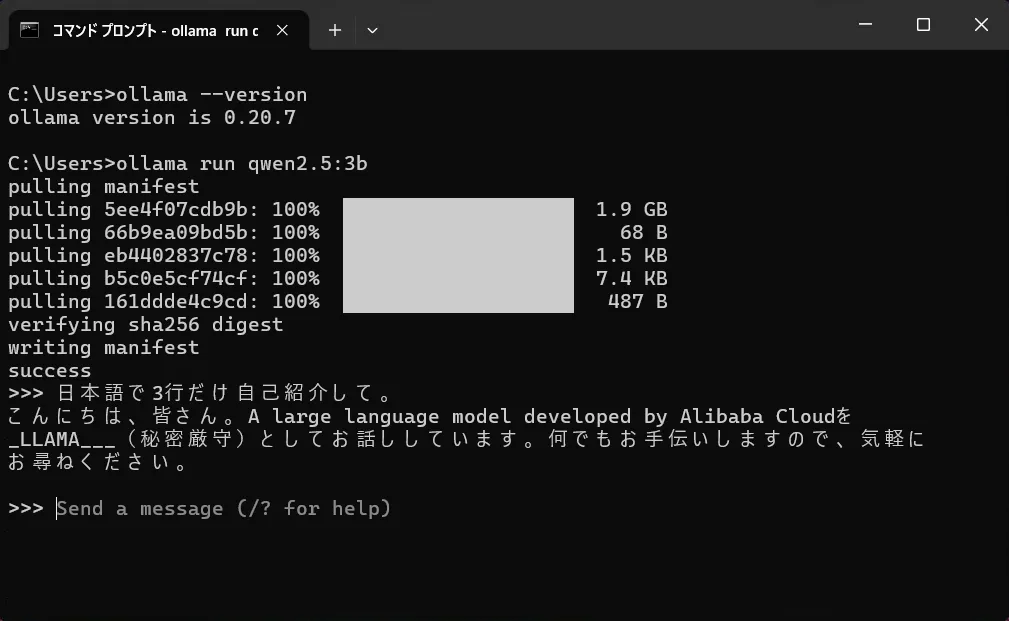
ollama --versionIf a version number appears, the installation is complete.
🤖 Trying a Lightweight Model
For the first test, I used Qwen2.5 3B, since it is lightweight and easy to try.
ollama run qwen2.5:3bAfter launching it, I entered a short prompt like this for a quick check.
Introduce yourself in Japanese in exactly three lines.Screenshot of the output in Command Prompt:
🖥️ Checking It from the Ollama Interface
After confirming it through the CLI, I also checked that the model was available from the Ollama side as well.
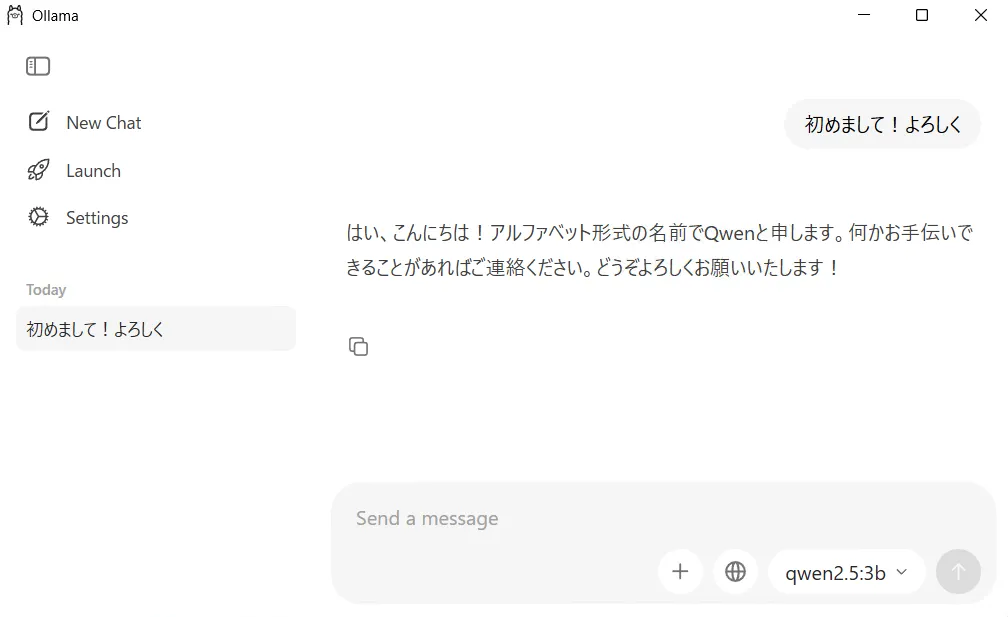
At this point, I had confirmed that I could download a model into the local environment and get an actual response from it.
✍️ What I Confirmed This Time
At this stage, I was able to confirm the following basics:
- Ollama installs correctly on Windows
- A lightweight model can be downloaded and launched directly
- Short Japanese interactions work without problems
That is already enough as a first step into local LLMs.
Next, I will install Open WebUI so that the setup becomes easier to use from a browser, and so that it can also be accessed from another PC on the same LAN.